Applying a fresh bead of silicone sealant directly over an old, mouldy one is the single most common bathroom mistake that professional tilers encounter, week in, week out. The logic seems sound enough, the old sealant is discoloured, the tube of white silicone is already in the drawer, so why not simply run a new line on top and be done with it? The problem is that silicone does not bond to silicone. Within a few months, the new bead will peel away from the edges, trap even more moisture underneath, and leave you with a worse mess than before.
Key takeaways
- A widespread bathroom habit that looks like a quick fix but guarantees failure within weeks
- The surprising chemical reason why layering new sealant over old creates the opposite of a waterproof seal
- A multi-step professional process that takes patience but doubles the lifespan of your bathroom joints
Why silicone refuses to stick to itself
Silicone sealant is deliberately formulated to be non-porous and chemically inert, qualities that make it so effective at keeping water out of the joints around your bath, shower tray, and basin. Those same qualities mean it has almost nothing to grip onto when you apply a second layer. The new product simply sits on the surface of the old one, and any slight movement in the bath (and every acrylic bath flexes when you step into it) breaks the thin bond almost immediately. You end up with a bead that looks neat for a fortnight and then starts lifting at the corners.
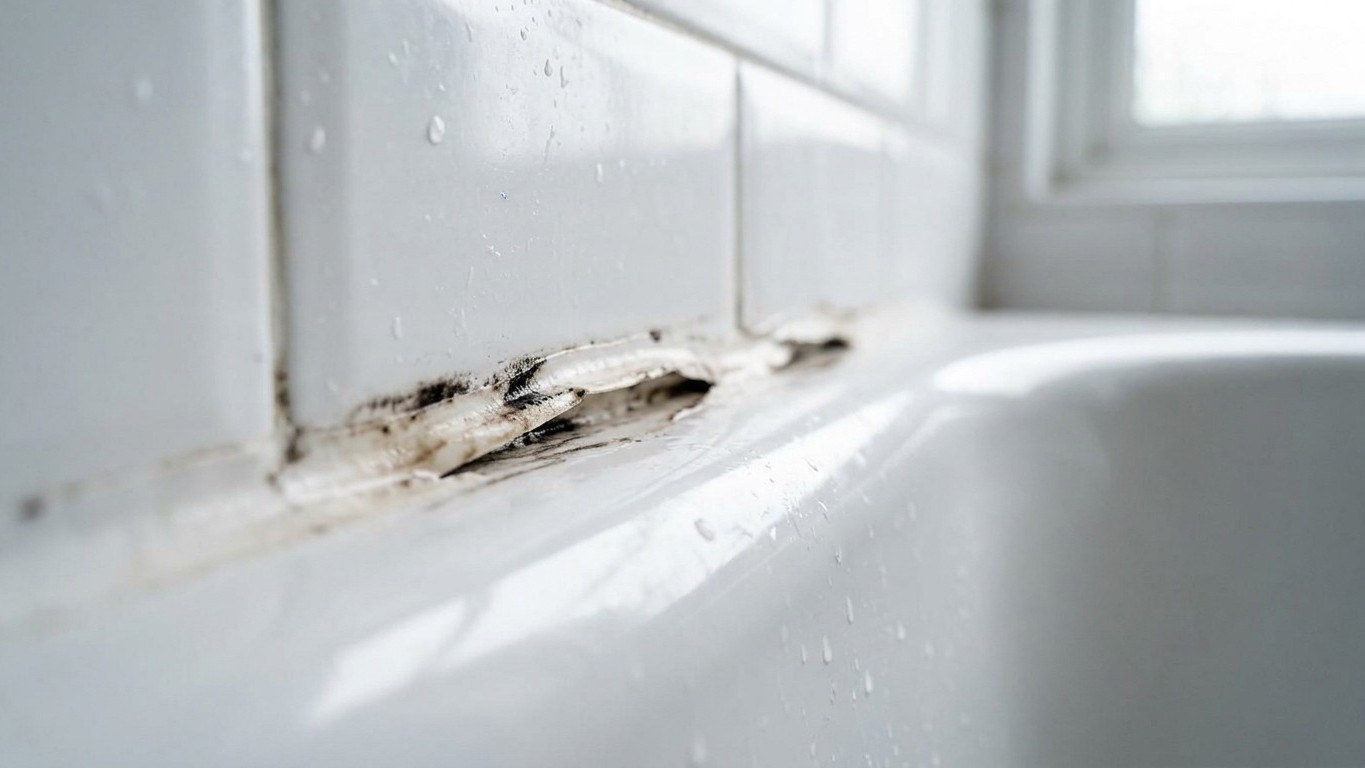
There is also the question of what lives inside that old sealant. Black mould, the streaky, stubborn kind that so many of us battle in British bathrooms — doesn’t just sit on the surface. It grows through the body of the silicone, feeding on the soap residue and skin oils trapped within. Painting over it with fresh sealant seals the mould in rather than dealing with it, and the spores continue to spread outward from the edges. This is why raking out the old material entirely is the only approach that actually works.
How to remove old sealant properly (and without damaging your tiles)
The right tool for the job is a dedicated silicone removal tool, a small, inexpensive plastic scraper available from any DIY shop — used alongside a chemical sealant remover gel. The gel softens the old silicone over a couple of hours, making it far easier to lift away cleanly without scratching enamel baths or gouging the grout lines around ceramic tiles. A Stanley knife blade can work on stubborn sections, but it takes a steady hand; run it at a very shallow angle, almost flat against the surface, rather than digging in.
Once the bulk of the old material is gone, the real work begins: cleaning the joint. Any trace of the old silicone left on the surface will prevent the new bead from bonding correctly. White spirit on a cloth will tackle the residue, followed by a wipe-down with isopropyl alcohol (widely sold in small bottles in DIY and pound shops) to degrease the surface entirely. Then, and this part trips a lot of people up, you must let the joint dry completely before applying anything new. At least twenty-four hours in a well-ventilated bathroom, or longer in winter when condensation is a persistent problem.
Masking tape is your best friend when you get to the application stage. Run two strips of painter’s tape along either side of the joint, one on the tiles, one on the bath surface, leaving only the gap you want to fill exposed. This gives you a straight, professional-looking line without the slightly wobbly edges that tend to haunt DIY attempts. Cut the nozzle of the silicone tube at a 45-degree angle to match the width of your joint, apply steady pressure, and draw the tube along in one smooth movement rather than stopping and starting.
Smoothing the bead is where a wet finger still Outperforms most specialist tools. Dip your fingertip in a small bowl of water with a tiny drop of washing-up liquid mixed in, the soap prevents the silicone from sticking to your skin, and draw it firmly along the bead in a single pass. Remove the masking tape immediately, before the silicone begins to skin over, and leave it to cure fully. Most standard bathroom silicones require twenty-four hours before they can get wet, though some rapid-cure products claim a shorter window; always check the packaging.
Choosing the right product for a British bathroom
Fungicidal silicone sealant, which contains an anti-mould agent built into the formula, is the sensible choice for any area that sees regular splashing and steam. It won’t prevent mould forever if the underlying ventilation problem isn’t addressed, but it does extend the life of the bead considerably compared with standard silicone. A bathroom without an extractor fan, or with one that is never switched on, will defeat even the best sealant in time.
Colour matching matters more than people expect. Bright white silicone applied next to aged, slightly cream grout can look surprisingly stark, and some ranges offer an “ivory” or “magnolia” tone that blends far more naturally with older bathrooms. It is worth holding the tube against the existing grout in good light before you commit to a purchase, even if it means a second trip to the shop.
One final, rather useful fact: the joint between a bath and the wall should ideally be filled with the bath full of water. The weight of the water causes an acrylic bath to drop slightly at its lowest point, and if you apply the sealant while the bath is empty, that joint can pull open slightly every time someone has a soak. Fill the bath first, apply and smooth the sealant, leave it to cure fully, and only then drain the water. It’s a step that takes almost no extra effort and can genuinely double how long a seal lasts.