Ready-made garden bars have become eye-wateringly expensive. A decent timber one from a garden centre will set you back anywhere between £300 and £500, and for what, really? A few planks, some screws, and a coat of varnish. The good news is that your local shop, your nearest supermarket, and quite possibly that small furniture retailer around the corner are quietly stacking up the very raw material you need every single week — and they are usually delighted for someone to take it away.
Key takeaways
- Most shops discard perfectly good wooden pallets weekly—and staff are usually thrilled to give them away
- One critical safety check separates safe pallets from toxic ones—and most DIYers skip it entirely
- A simple three-pallet structure, some sandpaper, and weatherproofing varnish transforms scrap wood into pub-quality furniture
The Tuesday Secret (And Why It Works)
Most small shops and supermarkets receive their stock deliveries on wooden pallets at the start of the working week. By Tuesday morning, the stock is shelved, the pallets are empty, and staff are already thinking about where to put them. Small shops in particular often seek to give pallets away because they clutter their delivery areas and would otherwise have to call professionals to remove them. That is your window. A polite word at the back entrance, or a quick chat with whoever is managing the warehouse bay, is usually all it takes.
Many B&Q stores give away pallets, especially after large deliveries, and most locations will let you take old pallets for free if you ask politely. The same applies to electrical retailers, furniture showrooms, and printing shops, anywhere that receives goods in bulk. These sites have their materials delivered by pallet — printing shops, appliance stores, and furniture retailers alike. One gentle request, and you could walk away with everything you need at absolutely no cost. Always ask permission, though, not all pallets left outside are simply up for grabs.
If the in-person approach feels too awkward, you can also explore online resources such as Freecycle or Gumtree to see if anyone in your area is offering free pallets. Facebook Marketplace is particularly good. One mum from Preston built her entire garden bar this way: she sourced her pallets for free via Facebook Marketplace, and the pallets made up the bulk of the structure. She picked up cladding for £15 from B&Q, added nails and a couple of tins of paint, bringing her total spend to just £30. Thirty pounds, against a £400 price tag. You do the maths.
Before You Build: The Safety Check That Matters
Here is the part most enthusiastic DIYers skip, and they really should not. Not every pallet is safe to bring into your garden. The most important stamps to look for are International Phytosanitary Marks, governed by the IPPC (International Plant Protection Convention). Any pallet that has travelled internationally must have one, a three-part code that reveals everything you need to know.
An HT stamp (Heat Treated) means the wood has been heated to at least 56°C to eliminate pests, it is the most common and safest type for upcycling. An MB stamp, by contrast, indicates the pallet has been treated with a highly toxic pesticide — methyl bromide. You should never use pallets with an MB stamp on for a craft project, and you should never burn them either. For garden furniture, only use pallets clearly marked HT, KD, or KD-HT. If you see MB or SF, or if there are no stamps at all, don’t use them.
Also worth checking: the overall condition of the wood. Carefully inspect the pallets for signs of damage such as broken boards, protruding nails, or splinters. Avoid pallets that are heavily stained with oil or chemicals, and check for any signs of insect infestation or mould. A cracked or contaminated pallet is not a bargain, it is a headache waiting to happen.
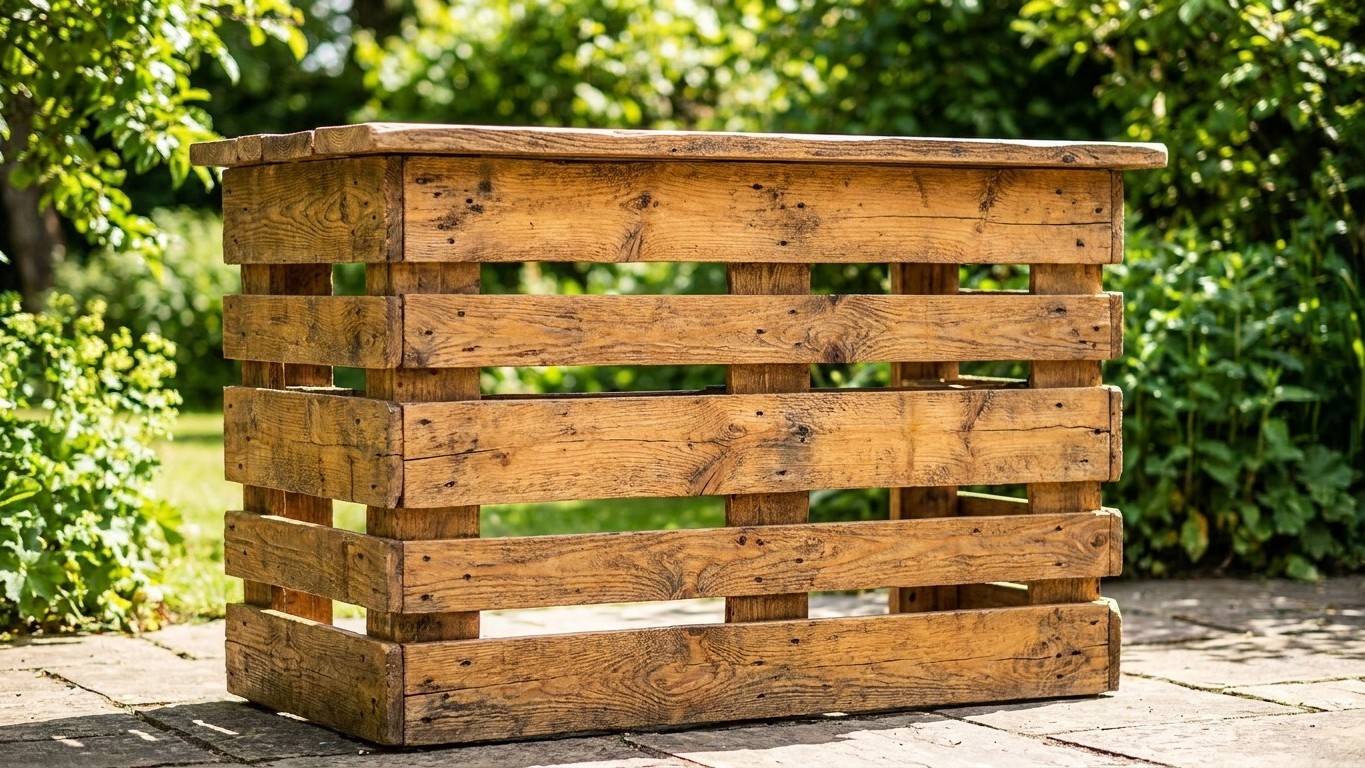
How to Build Your Bar: A Simple Three-Pallet Method
The size of your bar will determine how many pallets you need. For a standard home bar, three pallets work well: one for the front, one to make the sides, and one to make the counter itself. Start by standing up one pallet, this becomes the front of your bar. Then halve your second pallet to make the sides.
For the worktop, take the remaining pallet and remove the planks. These will become the counter, shelf, and trimmings of your bar. Use a crowbar or a hammer to knock the planks free, then remove any nails so you do not accidentally hurt yourself. Screwing the structure together with L-brackets at the corners adds real rigidity, position the front and side panels and secure them together using wood screws and L-brackets for extra stability, reinforcing the corners with additional planks from your spare pallet wood.
Sanding is the step that turns a rough stack of reclaimed wood into something genuinely attractive. Sand the entire pallet twice, once with 80-grit sandpaper, and once with 120-grit. This is what lifts pallet furniture from “skip find” to “did you buy that?” Depending on your DIY skills, the whole project should not take longer than five hours to complete.
Finishing It Off: Weatherproofing for a British Garden
A garden bar in Britain faces rain in May, blistering sunshine in July (occasionally), and damp autumns without fail. Pallet wood is almost always softwood, pine or spruce, and as standard, wooden pallets can resist a small amount of water without taking lasting damage, but as they are made from timber that absorbs moisture, waterproofing them is a great way to ensure they last much longer.
Sealing your wood with varnish or similar finishes is the most popular method. Multiple layers can protect the pallets from moisture and help them resist rotting over time, leading to a longer-lasting result. Apply the finish with a good quality brush rather than a roller, working with the grain. The most important factor for a long-lasting finish is allowing proper drying time between each coat, if you rush this, the next layer will not bond correctly, and you will end up with a weak finish that peels or flakes.
The finish you choose should depend on where your bar will be placed. If it will be outdoors on the patio, use an exterior varnish to waterproof the finish. Decking oil is a worthy alternative, it sinks into the wood rather than sitting on the surface, meaning it does not crack and peel the way a surface film eventually will. Decorating is entirely your choice. You might paint it in your favourite colours, your football team’s kit, or simply varnish the wood and leave it looking natural — this is your own personal bar, after all.
One last thing worth knowing: the standard Euro pallet measures 120cm by 80cm, while the UK standard runs at 120cm by 100cm. Mixing the two sizes in a build is not the disaster it sounds. If your pallets are not the same height, say, a difference of 4cm, simply add small legs or wooden wedges, cutting a square strip of wood and fixing it to the base with wood glue. Small imperfections become character. That, in the end, is the whole point of building something yourself.
Sources : gardentoolbox.co.uk | anovabois.com