For years, my approach to a redundant rawl plug hole was exactly the same as half the nation’s: squeeze filler straight into the opening, smooth it over, and consider the job done. Fast. Neat. Completely wrong. A plasterer watching me do it one afternoon held up a hand and told me I was wasting both my filler and my time. What he explained in about three minutes changed every wall repair I’ve done since, and it’s one of those things that, once you know it, you genuinely can’t un-know.
Key takeaways
- Why squeezing filler straight into a plug hole almost guarantees it will fail within months
- The two-stage mistake most home improvers make before they even apply the filler
- The ‘proud finish’ trick that separates invisible repairs from visible patches
The mistake almost everyone makes
The instinct to stuff filler directly into a raw plug hole is entirely understandable. The hole is there, the filler tube is in your hand, and the gap looks just about the right size to swallow a good squeeze. The problem is what happens after you walk away.
Filler almost always shrinks a little as it dries, and a faint ridge at the surface gives you something to sand back later, but that only works if the filler has proper purchase inside the hole. If you don’t press filler deep into the hole to remove air pockets, the filler can collapse inside as it sets. Squeeze a blob straight in from a tube and you’re likely creating exactly that: a hollow behind a thin skin of dried compound that will either crack, sink, or pop out entirely under the slightest knock.
There’s a second error, even more common. Most home improvers make the same mistake: grab a random pair of pliers, clamp onto the tiny plastic rim of the plug, and pull with all their strength, and the plug finally comes out along with a chunk of plaster and half the paint around it. So before you even get to the filling stage, you’ve made the job twice as hard. The plasterer who stopped me mid-squeeze started there: he told me to stop yanking, start by tapping.
What to do with the plug first
There are two schools of thought, tap the rawl plug further into the wall and fill, or remove it entirely — with the logic for the first being that pulling it out can mean a clump of plaster comes out with it. For most solid-wall situations, tapping in wins every time. You only need to knock the head a couple of millimetres below the surrounding plaster so the filler has somewhere to grip; you can almost always punch it in by putting a screw a couple of turns into the plug and tapping it with a hammer, then unscrewing and removing the screw. That little recess around the hole edge is the key, filler bonding to the plaster rim around the cavity is what holds the repair flat.
If the plug genuinely needs to come out (perhaps the hole is too damaged to tap in cleanly), the method matters. Use a screw to get a ‘bite’ on the fixing and give the screw head a pull with pliers, this usually works on plaster-over-block walls. Patience beats brute force every time.
One thing worth bearing in mind before any of this: most wall plugs are only 32 to 38mm long and most plaster is between 12.5mm and 19mm thick, so not much of the plug is actually going into the brick or block if you leave it flush with the plaster, and the front part of the brick is not able to take much load either without risking a ‘fisheye’ breakout. Wall plugs work best when their whole length is fully inside the wall’s main building material. That’s useful context for understanding why a plug that was only sitting in the plaster layer pulled out in the first place.
How to fill the hole properly
Right. Plug dealt with. Now the filling, and here is where the plasterer’s advice really counted.
First, clear the hole out. Remove all debris and loose plaster from inside the hole with a small scraper or brush, and use a vacuum cleaner to ensure any crumbly or dusty remnants are gone, you want the filler to have contact with the actual wall, not loose debris. A quick blow into the hole works too, but do stand back. Before filling, chamfer the edge of the hole slightly to give the filler something to grip at the surface. A quick scrape around the rim with a nail or the corner of your filling knife does this perfectly.
Now choose your filler wisely. For small plug holes up to roughly 8–10mm, a ready-mixed filler in a tub or tube is very convenient; for larger cavities left by heavy-duty anchors, a powdered filler mixed with water works better and shrinks less as it dries, keeping the surface flat and stable so the patch does not sink or crack months later. The powdered stuff gives you far more control over the consistency too, slightly thicker mixes are easier to sculpt into deeper gaps without slumping.
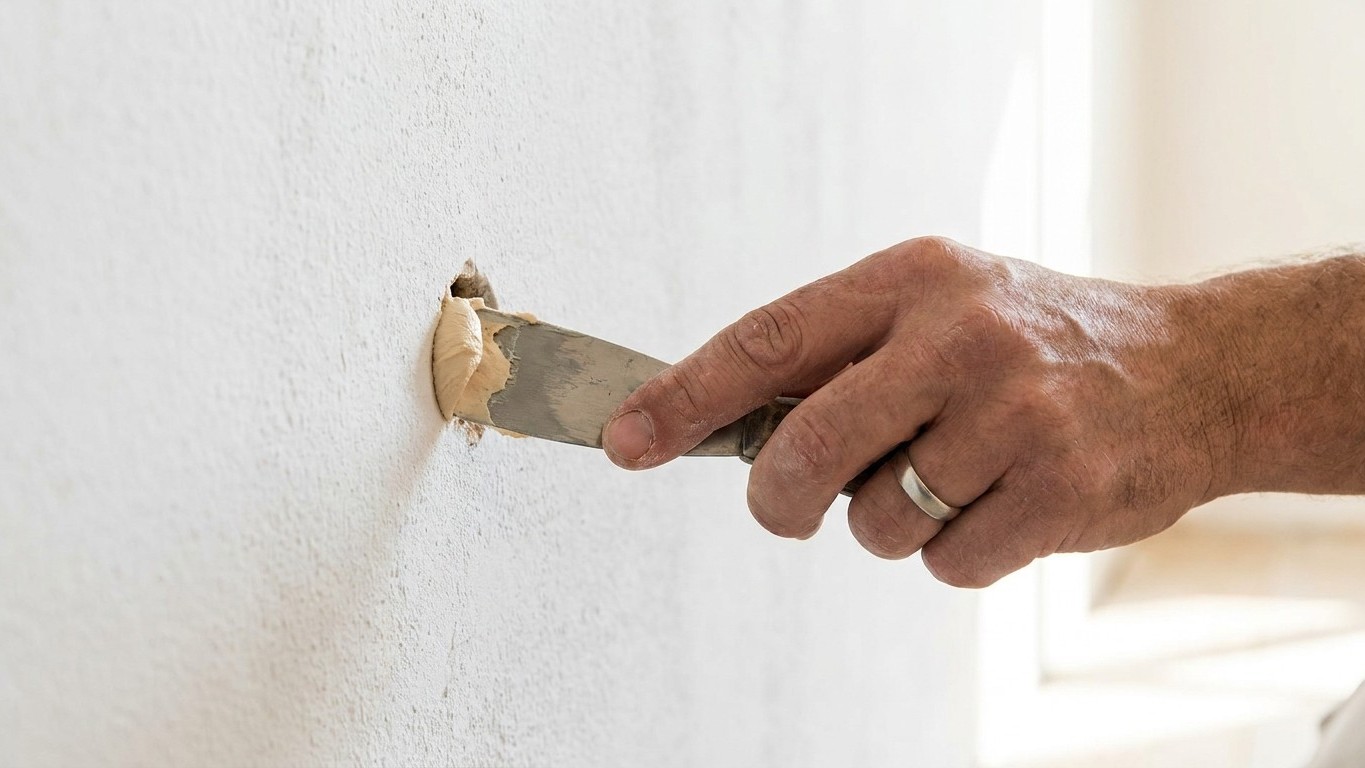
Apply it in stages, not in one generous squeeze. When filling a particularly deep hole, apply the filler in layers and wait for each layer to dry before applying the next. Fill up the hole with a filling knife and fingers, being prepared for the material to shrink back; once it’s gone off, do a final fill slightly proud of the surface with the intention of sanding it back flush once dry. That “proud finish” is the plasterer’s trick in a nutshell, leave standard filler slightly raised as it often shrinks when drying.
Let the material bulge slightly over the surface, then smooth with crossed strokes: first pass your knife horizontally, then vertically across the same area, this cross pattern helps you match the flatness of the surrounding wall. Once fully dry, your fingertips are the best inspection tool: close your eyes and run your hand over the patch; you should feel no step or ridge at all, and if you still feel a dip, add a second thin layer of filler, let it dry, and repeat the sanding.
The finishing details that separate a patch from a repair
Sanding is only half the finish. Before you reach for the paint, use a paintbrush to dampen the crack or edge of the hole with water, as this helps prevent the filler from drying out too quickly and shrinking or cracking once dry, particularly useful on warm days when the wall is dry and thirsty.
When painting over, prime the area with a mist coat (watered-down emulsion) before painting to ensure the paint adheres evenly. Skipping that step is the reason so many patched holes are still visible after two coats of emulsion: the filler soaks up the first coat like blotting paper, leaving a dull ghost behind the gloss.
One last thought, specific to older homes. If you live in an older property with very soft plaster, practise on a discreet area first, like inside a cupboard, to get familiar with how much force the wall can take, how quickly your chosen filler dries, and how your paint behaves in thin blended layers. Victorian lime plaster behaves very differently from modern gypsum, and a repair that’s invisible on a 1990s semi can look like a bruise on a Georgian wall. That’s the kind of thing you only learn the first time you try it somewhere nobody will see.
Sources : bullandco.co.uk | pistonheads.com