Bleeding your radiators is one of those jobs that feels satisfying for about forty-eight hours, then the tell-tale cold patches return and you’re back on your knees with the bleed key wondering what went wrong. The culprit, nine times out of ten, isn’t your technique, it’s a single step that most of us skip entirely: checking and adjusting the system pressure after you bleed, every single time.
Key takeaways
- Most people bleed radiators but ignore one critical step that makes the whole process pointless
- A sealed heating system automatically draws in fresh air-filled water when pressure drops—here’s why
- The exact sequence a professional uses, from start to finish, that actually keeps the air out for good
Why the air keeps coming back
A central heating system is a sealed loop. When you open a bleed valve and release trapped air, you’re also releasing a small amount of water, which drops the pressure inside the system. On most modern combi boilers, the correct operating pressure sits between 1 and 1.5 bar when the system is cold. Drop below that threshold, even slightly, and the system compensates by pulling in fresh water from the mains through the filling loop. Fresh mains water carries dissolved oxygen and nitrogen. Once that water heats up, the gases separate out and collect in your radiators all over again. You haven’t fixed the problem. You’ve restarted the cycle.
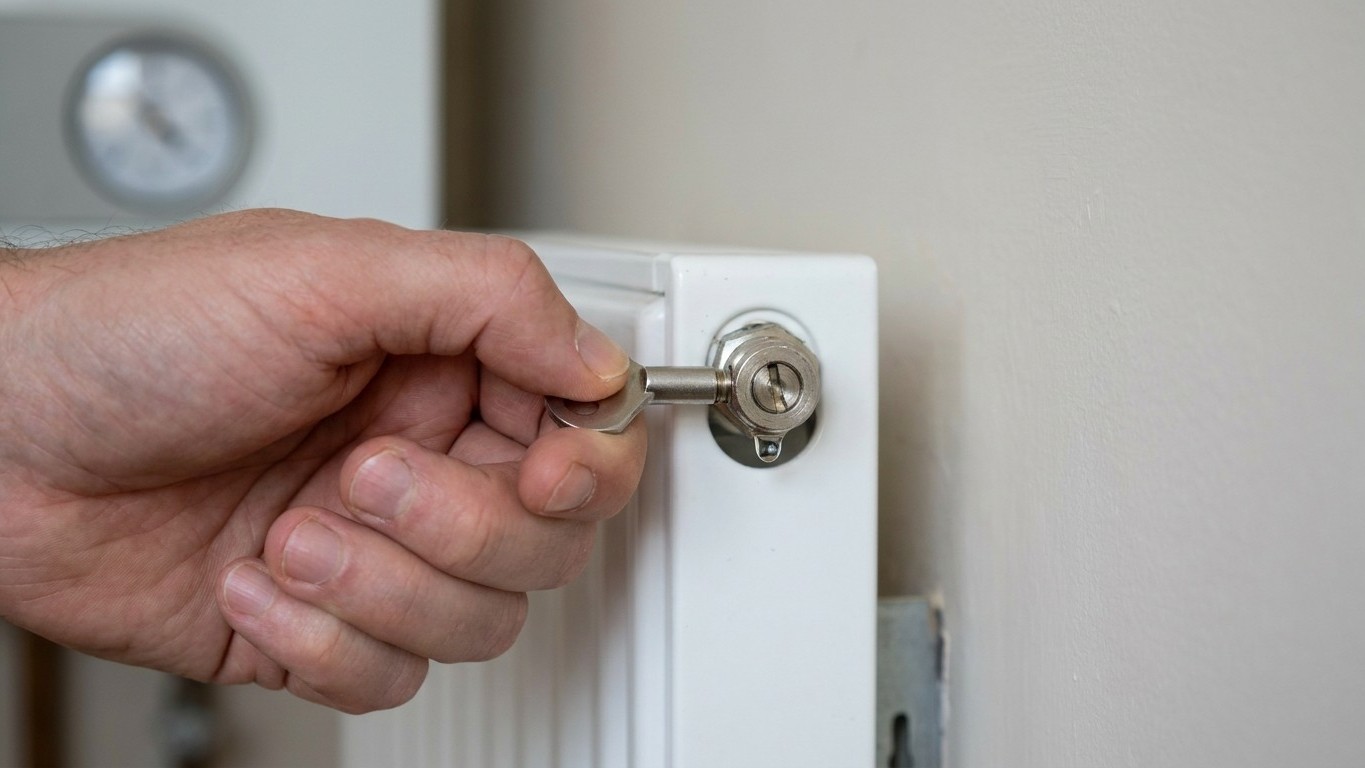
A heating engineer pointed this out to me with the kind of weary patience that suggested I wasn’t the first person to make this mistake. She watched me bleed the hallway radiator, saw the pressure gauge on the boiler drop from 1.2 bar down to 0.8, and asked whether I’d been re-pressurising after each session. I hadn’t even thought to look. The gauge had been sitting quietly under the boiler for three years and I’d paid it absolutely no attention.
The correct sequence, start to finish
Before you touch a single bleed valve, check the boiler pressure gauge. Write it down if you need to. Then work through your radiators methodically, starting with the ones furthest from the boiler and moving towards it, this is the order that clears air most effectively, since air tends to migrate to the highest and most distant points of the system first. Use your bleed key, turn it a quarter-turn anti-clockwise, and wait for the hissing to stop before the first dribble of water appears. That’s your cue to close it. A quick twist back clockwise, a wipe with an old cloth, and you’re done with that one.
Once you’ve worked through every radiator in the house, go straight back to the boiler. If the pressure has dropped below 1 bar, you need to re-pressurise using the filling loop, typically a braided silver hose with one or two valves underneath the boiler. Open the valve(s) slowly, watching the gauge, and stop the moment you hit 1.2 to 1.5 bar. Don’t overshoot. Too much pressure and the system’s pressure relief valve will discharge water outside, which is a different kind of headache. If your boiler doesn’t have an obvious filling loop or the setup looks unfamiliar, check your manufacturer’s manual or call a Gas Safe registered engineer rather than guessing.
The reason I kept failing was simple: I bled the radiators in the evening when the heating had been running all day, checked for cold spots, declared victory, and went to bed. By morning, the pressure had dropped overnight, fresh water had been drawn in, and the dissolved gases were already separating back out. Seven evenings of this achieved nothing except sore knees and false hope.
A few things worth knowing before you start
Always bleed radiators when the heating is switched off and the system has cooled down. Hot water under pressure can spray out when you open a bleed valve, and that water can reach temperatures that cause a serious scald. Give the system at least an hour after switching off. Room temperature radiators are quite safe to work on and the air releases just as well.
If you find yourself needing to bleed radiators more than two or three times a year, that’s a sign of something more persistent than trapped air. A faulty automatic air vent, a micro-leak drawing in fresh oxygenated water, or corrosion producing hydrogen gas inside the system could all be causing the problem. Hydrogen produced by corroding steel radiators is worth taking seriously, it’s flammable and it means your system needs an inhibitor top-up or possibly a full power flush. An inhibitor is a chemical additive (available from most plumbers’ merchants) that reduces internal corrosion and keeps the water chemistry stable. If the water that comes out when you bleed is very dark or smells metallic, that’s your sign to call someone.
For households with older gravity-fed systems rather than a sealed pressurised circuit, the logic is slightly different. These systems have a cold water feed-and-expansion tank in the loft that maintains the water level automatically, so pressure isn’t something you manage manually. But the sequence of bleeding from furthest to nearest still applies, and if you’re unsure which type of system you have, the presence or absence of that loft tank is your clearest indicator.
One last thing the engineer mentioned
After we’d re-pressurised and run the heating through a full cycle, she pointed at the thermostatic radiator valves on two of my radiators, the ones that had been giving me the most trouble. Both were turned all the way down to the frost setting, meaning the radiators weren’t circulating water at all during normal heating periods. Air had been sitting in them, undisturbed, for months. Bleeding them had released nothing useful because there was barely any flow to carry the air towards the valve in the first place. Turning them up to a normal setting, running the heating for twenty minutes, then bleeding them solved it immediately. Sometimes the fix is embarrassingly straightforward.