MDF edges drink primer like a parched sponge. Sand them with fine grit first, and you’ve just made that problem dramatically worse, sealing the surface so the fibres absorb even more liquid, and no amount of extra coats will ever give you a smooth, professional finish. The fix is simple once you understand what’s actually happening inside the board, but it runs completely counter to what feels instinctively right.
Key takeaways
- Fine-grit sanding on MDF edges compresses fibres instead of cutting them, deepening absorption problems rather than solving them
- Coarse-grit sandpaper (80-120) cuts fibres cleanly and creates the mechanically stable surface primers actually need
- A proper sealer applied before primer is the hidden step that separates amateur rough finishes from professional results
Why MDF edges behave so differently from the face
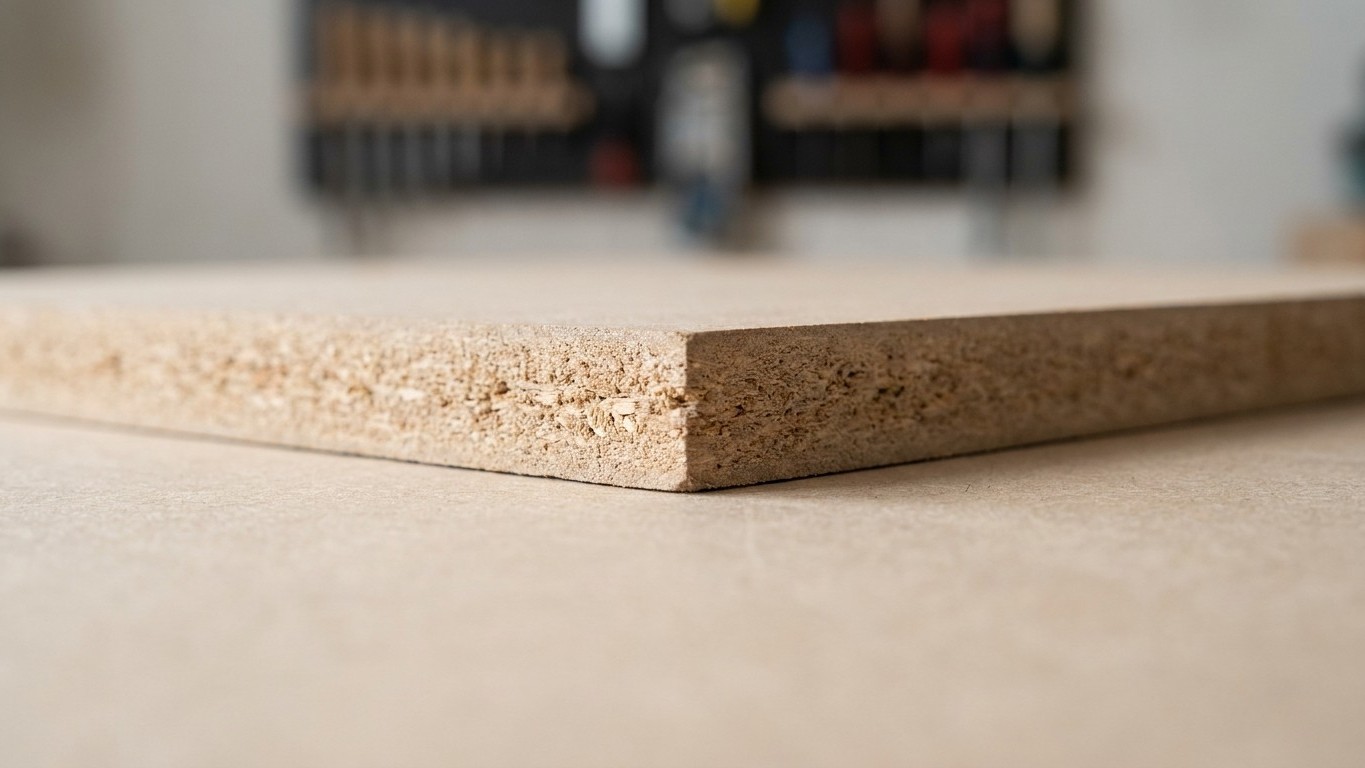
Medium-density fibreboard is made by compressing wood fibres with resin under heat and pressure. The flat faces of the board come out relatively dense and smooth, almost sealed by the manufacturing process. The edges, though, are a cross-section of all those compressed fibres, essentially raw, cut ends pointing outward like millions of tiny drinking straws. Every single one of them is ready to wick moisture straight into the core of the board.
When you apply water-based primer to an unprepared MDF edge, those fibres swell. The surface becomes rough and slightly raised, which is why most people reach for sandpaper. A light sand, they think, will knock back the raised grain and leave a flat surface for the next coat. Except the grit you choose changes everything. Fine-grit paper, anything from 180 upwards, burnishes the fibres rather than cutting them cleanly. It compresses and polishes the surface, making it even more receptive to the next application of liquid. You haven’t solved the absorption problem; you’ve deepened it.
The coarser grit approach that actually works
The counterintuitive answer is to start with a much coarser grit on bare MDF edges : 80 or 120 is what most experienced joiners and decorators reach for. Coarser abrasive cuts the fibres cleanly instead of crushing them flat. The result is a slightly rough but mechanically stable surface that accepts primer without the same catastrophic absorption. You’re not going for smoothness at this stage; you’re going for a clean, open surface that you can actually build upon.
After that initial sand with coarse grit, the next step before any primer touches the edge is to apply a sealer. Traditional shellac-based products work well for this because they dry rapidly and form a genuine barrier rather than simply sitting on top. Some decorators use neat PVA diluted to about a 50/50 ratio with water, though this requires patience: it needs to dry thoroughly, often overnight, before sanding lightly with 120 grit and priming. The goal at the sealing stage is to fill and stabilise the fibre ends so that the primer is forced to sit on top of the surface, where it belongs.
A tip my late father-in-law swore by, and which I’ve seen confirmed by cabinetmakers ever since: applying two thin coats of sealer, sanding lightly between them with 120 grit, gives a far more consistent result than one heavy coat. A heavy first coat can raise the grain dramatically and dry unevenly, leaving you with an almost corrugated texture that takes a great deal of work to recover.
Primer choice matters more than most people realise
Once the edges are properly sealed, your choice of primer can still make or break the job. Oil-based primers have long been the professional standard for MDF precisely because they penetrate slightly but don’t cause the dramatic fibre swelling that water-based products do. They also sand back beautifully to a hard, stable surface. The trade-off is drying time and the need for solvent-based cleaning, which suits some projects and not others.
Water-based primers have improved considerably, and several products are now formulated specifically for MDF. If you’re committed to water-based, look for primers described as high-build or wood primer rather than general purpose, as these tend to have a higher solids content and sit more densely on the surface. Two thin coats, sanded with 180 grit between them once the surface is properly sealed, will generally give you a surface comparable to oil-based for painted interiors.
The temperature and humidity in your workspace matter too. MDF edges sealed and primed in a cold, damp garage absorb differently than the same process carried out in a warm, dry room. Aim to work at room temperature and give each coat adequate drying time before sanding, rushing this stage is where most amateur finishes go wrong, regardless of grit choices.
Recovering edges that have already been over-sanded
If you’ve already made the fine-grit mistake and your edges are now stubbornly rough no matter how many primer coats you apply, all is not lost. Strip back what you can with 80 grit, working across the grain to break the burnished surface. Then apply a generous, even coat of shellac-based sealer and allow it to cure properly, not just touch-dry, but fully hardened, which typically takes two to four hours depending on the product and conditions. Sand back with 120 grit, apply a second sealer coat, and only then begin building up your primer coats thinly.
For badly raised edges where the fibre has swollen significantly, a fine surface filler applied before sealing can rescue the situation. Work it into the rough areas, allow it to harden completely, sand flat with 120 grit, then proceed with the sealing and priming process above. It adds an hour or two to the job, but the alternative is a painted edge that will look rough forever.
One detail worth keeping in mind for future projects: MDF with a higher density rating, which you’ll sometimes see marketed for moisture-prone areas like kitchens and bathrooms, has edges that behave somewhat better than standard board, the fibres are more tightly compressed and absorb slightly less. It costs more, but for painted cabinetry where the finish is everything, the extra cost per sheet is genuinely worth budgeting for.