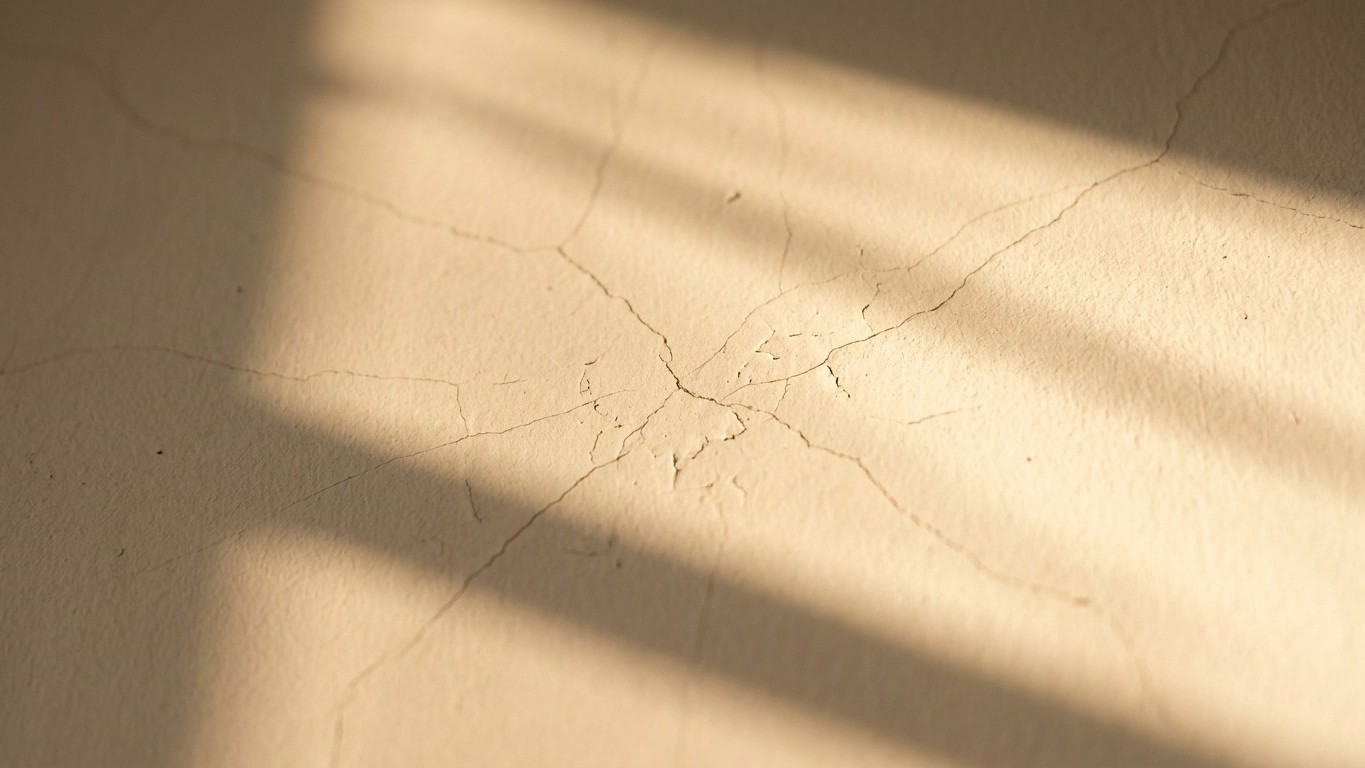
Fresh filler and direct sunlight are, quite simply, a disastrous combination. If you’ve ever come home to a wall that looks like a dried-up riverbed, hairline cracks mapping every inch of your carefully painted surface — there’s a very good chance the weather had more to do with it than your technique. The science behind it is straightforward once you know it, and the fix is cheaper than repainting an entire room.
Key takeaways
- The sun doesn’t just speed up drying — it creates a dangerous internal conflict inside the filler
- Packaging drying times are drastically underestimated for real-world conditions and direct sunlight
- The fix doesn’t require starting over, but it requires understanding what actually went wrong beneath the paint
What actually happens inside the filler when the sun gets involved
Cellulose-based fillers, the standard ready-mixed variety most of us reach for, work by releasing moisture slowly as they cure. That gradual drying process allows the filler to shrink evenly and bond properly with the surrounding plaster or wall surface. On a warm, sunny May afternoon, though, that process gets hijacked. The heat, particularly if sunlight is falling directly on the wall, forces the surface skin to dry and harden within minutes, while the interior of the filler remains wet and pliable. The outside sets. The inside keeps shrinking. Something has to give, and that something is your freshly painted topcoat.
This is called differential drying, and it’s the same principle that cracks clay pots left too close to a kiln. The surface tension between the rigid outer skin and the still-moving core creates stress fractures that eventually push right through any paint layer sitting on top. A thin coat of emulsion doesn’t stand a chance. Even a good-quality trade paint will crack if the filler beneath it hasn’t fully cured, and “fully” means all the way through, not just dry to the touch.
There’s another factor people rarely mention: a sunny day often means low humidity as well. Lower humidity accelerates surface evaporation even further, making the differential even more pronounced. That brilliant, dry, blue-sky afternoon that feels like perfect decorating weather is, from the filler’s perspective, genuinely one of the worst conditions imaginable.
The rules for getting the timing right
The packaging on most ready-mixed fillers will suggest a drying time of two to four hours before painting. Treat that as an absolute minimum for thin, skim-coat applications in a cool, shaded interior room. For anything deeper, a filled crack wider than a few millimetres, or a patch covering a decent-sized hole — allow at least 24 hours. In a room with direct sun exposure or above-average warmth, that extends to 48 hours with proper ventilation.
Colour is your most reliable guide. Fresh filler is typically a flat, slightly translucent white or off-white. As it cures fully, it turns a consistent, uniform bright white with no darker patches or damp-looking areas. If any part of the patch still shows a slightly grey or damp tone, the moisture hasn’t left yet. Painting at that stage locks in the remaining moisture, which then tries to escape through the paint film, causing blistering and, in time, cracking.
Temperature matters at the other end of the scale too. Anything below 5°C will stall the curing process almost entirely. The sweet spot for filler application, and most decorating work, sits between 10°C and 20°C, with moderate humidity and good airflow rather than direct heat. A slightly overcast spring day, is often better than a scorching sunny one. There’s a reason professional decorators sometimes close blinds while they work.
Fixing the damage without starting from scratch
If you’re already staring at a cracked topcoat, the temptation is to simply sand it back and repaint. Resist that urge. The underlying filler may still be moving, and a fresh coat of paint over a cracked, stressed surface rarely lasts more than a few weeks before the same cracks reappear through the new layer.
The proper approach is to remove the cracked paint film around the affected area, check whether the filler has fully cured (press a fingernail gently into the very edge, it should feel rock hard with no give), and then sand the filler smooth. If it still has any softness or whitish powder comes away in quantity, rake it out and start again with a fresh application, this time in appropriate conditions. A thin, fresh skim of filler over a fully cured base coat is absolutely fine and will level out any texture differences.
For cracked paint over fully cured filler, which can happen if the filler shrank after drying and created a slight ridge — a flexible decorator’s caulk along the crack line, sanded once dry, gives a more forgiving surface than rigid filler for areas with slight movement. Caulk is particularly useful around window reveals and door frames where seasonal timber expansion makes rigid repairs crack repeatedly.
A few things worth keeping in mind for next time
Overfilling is one of the most common mistakes in amateur decorating, and it compounds the drying problem. Multiple thin coats, each allowed to dry fully before the next, produce a stronger, less crack-prone repair than one deep application. A first coat that slightly underfills the hole, followed by a skim coat once dry, beats a single generous application every time.
If you do need to work in a warm, sunny room, shade the wall during drying. A piece of cardboard taped loosely over the patch, or simply closing the blind for a day, slows the surface evaporation enough to let the filler cure more evenly. It feels faintly eccentric, standing a bit of cardboard against a wall, but it genuinely works.
One thing that often surprises people: the type of filler matters more than most manufacturers let on. Lightweight fillers, which use air-filled microspheres to reduce weight and shrinkage, are considerably more forgiving in variable temperature conditions than traditional gypsum-based products. They’re worth the marginal extra cost for any repair in a south-facing room that gets a proper baking in summer.