A brand-new paint roller, still in its plastic sleeve, feels ready to go. Surely you can just tear off the wrapper, dip it straight into the tray and get started? The problem is that “brand-new” does not mean “clean.” Synthetic fibres shed during manufacturing, and the loose fluff that clings to a fresh roller will transfer directly into your wet paint, leaving tiny bobbles and lint specks embedded across your freshly painted wall. By the time you notice them, the damage is already done.
Key takeaways
- Manufacturing leaves loose fibers clinging to new rollers, waiting to transfer into paint
- Dark paint colors reveal the problem immediately—pale fibers stand out like tiny white threads
- A quick tape-and-rinse treatment before painting eliminates 90% of shedding
Why new rollers are dirtier than they look
Roller sleeves are manufactured by bonding fibres, either synthetic polyester, natural lambswool, or a blend, onto a cardboard or plastic core. During that process, loose fibres that haven’t properly bonded sit on the surface, waiting to come free the moment the roller meets liquid. Packaging protects the sleeve from dust in transit, but it does absolutely nothing to remove those loose fibres. With cheaper rollers, the shedding can be quite dramatic; you’ll pull the roller across the wall and watch a small blizzard of fluff disappear into the paint. With mid-range and even some good-quality sleeves, the problem is subtler but still very much present.
The colour of your paint makes a big difference to how visible the problem becomes. Rolling lint into a pale magnolia emulsion on a ceiling? You might not notice until the paint dries and the light catches it at an angle. Painting a deep navy or forest green feature wall is where the horror truly reveals itself, because every pale fibre stands out like a tiny white thread against a dark background. The wall ends up looking textured in all the wrong ways.
The right way to prepare a roller before use
The fix is simple and takes about two minutes. Before you touch any paint, wrap a length of masking tape or painter’s tape around the dry roller sleeve and pull it off firmly, much like you would use a lint roller on a jumper. Repeat this three or four times, working your way around the entire surface of the sleeve. You’ll be quite surprised by how much fluff comes away on the tape.
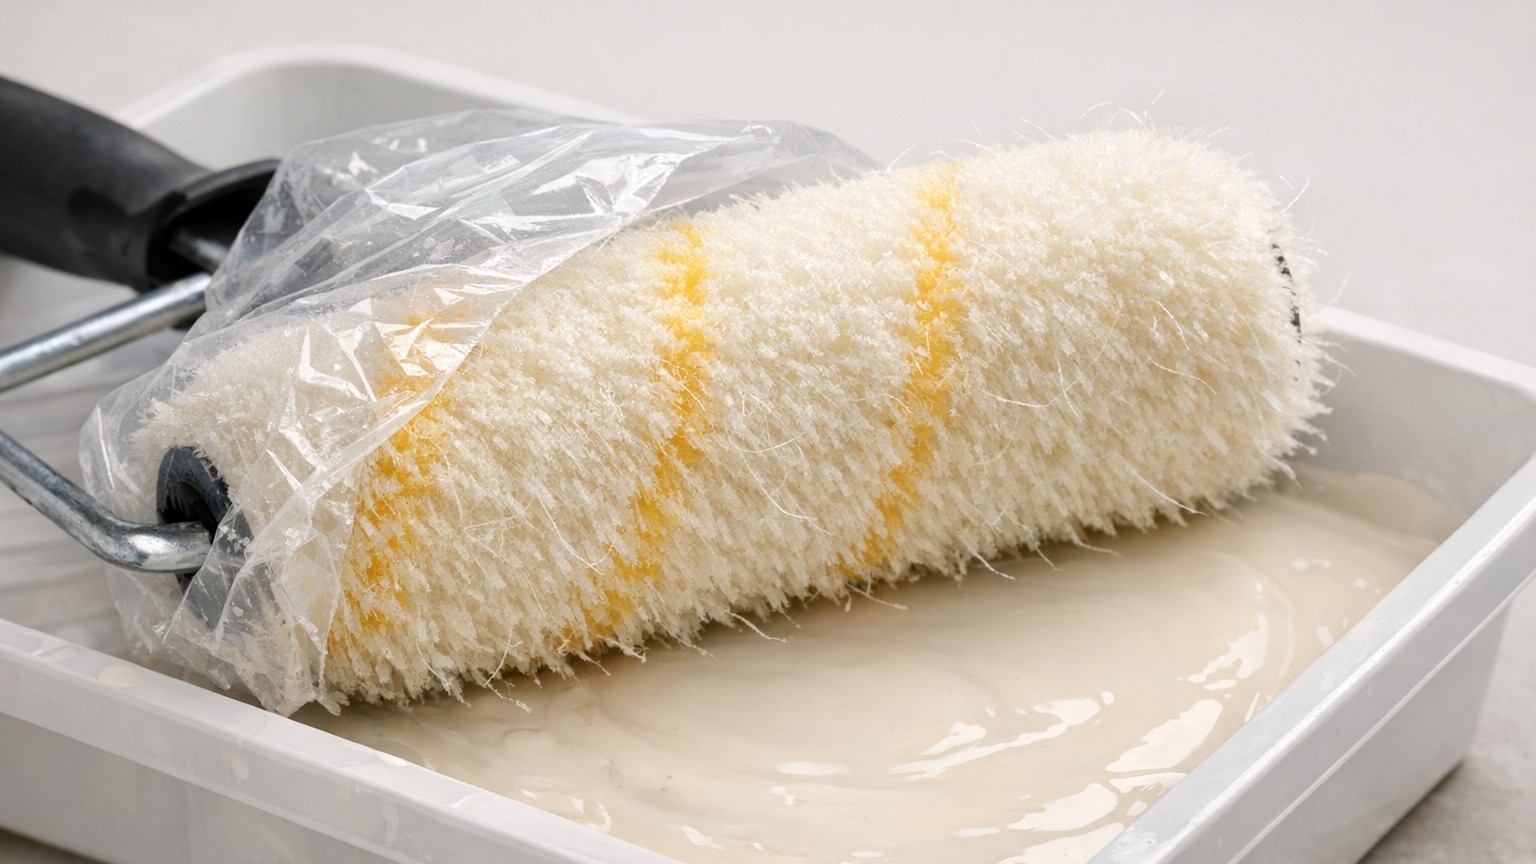
After the tape treatment, run the sleeve under a gentle stream of cold water and work it with your fingers to dislodge anything remaining. Give it a firm shake and allow it to hang vertically (or slot it over the roller frame and rest it across the rim of the tray) for a few minutes. You want it damp, not dripping. A slightly damp roller actually picks up and releases emulsion paint more smoothly than a bone-dry one, so this step does double duty.
There’s one more thing worth doing before you commit roller to wall: do a test pass on a spare piece of lining paper or the back of an old piece of hardboard. Roll it out properly, look at the surface carefully. If fibres are still present, you’ll see them on the test surface rather than on your wall. A second round of tape-lifting usually sorts any stubborn shedders.
What to do if you’ve already painted over the fluff
All is not lost. If the paint is still wet, you can carefully pick out individual fibres using a pair of fine-point tweezers or even the tip of a clean, dry artist’s brush. Work under a good lamp so you can see every fibre, and try not to drag the tweezers sideways, lift straight up, or you’ll create a smear worse than the original problem.
If the paint has already dried, the approach depends on how bad the situation is. A light sanding with 240-grit sandpaper will flatten individual fibres flush with the paint surface. Wipe away all dust with a slightly damp cloth, allow it to dry fully, then apply a fresh topcoat with a properly prepared roller. On smooth walls, this genuinely restores a good finish. On walls already textured with a heavy roller pile, minor fluff is often less visible once overcoated, because the surface texture works in your favour.
Gloss and satin finishes on woodwork are far less forgiving than matt emulsion on walls. The sheen amplifies every imperfection. For these surfaces, many decorators prefer a foam roller or a good-quality brush rather than a fibre sleeve, precisely because the lint risk is eliminated entirely. Foam rollers have their own quirks, they can create a faint orange-peel texture if the paint is too thick — but on a smooth-painted door, the result is often cleaner than a fibre sleeve that hasn’t been thoroughly prepared.
A few extra habits that make painting far less frustrating
Storing roller sleeves between coats (when you’re leaving the job for a few hours rather than days) is worth doing properly. Wrap the loaded sleeve tightly in cling film, this prevents it drying out without the need to wash it mid-job. A sleeve dried stiff with paint and then reloaded sheds dried flecks in exactly the same way as lint from a new sleeve. The cause is different, but the result on your wall is equally annoying.
Roller nap length also matters more than most people realise when buying. A short nap (around 6mm to 9mm) suits smooth walls and gives a finer finish with less splatter. A longer nap (15mm upwards) is designed for rough or textured surfaces and holds more paint, but it also holds more loose fibre when new. On heavily textured surfaces, the extra preparation time is worth doubling.
One genuinely useful habit: keep the plastic sleeve wrapper after you open it. Once the roller is cleaned and dried after the job, sliding the sleeve back into its original wrapper stops it picking up dust from the shed or garage during storage. A roller you bought last autumn, still in good condition, is always worth using again — provided you give it the same tape-and-rinse treatment before the next job, because stored fibres can become just as loose as new ones after months sitting idle.