
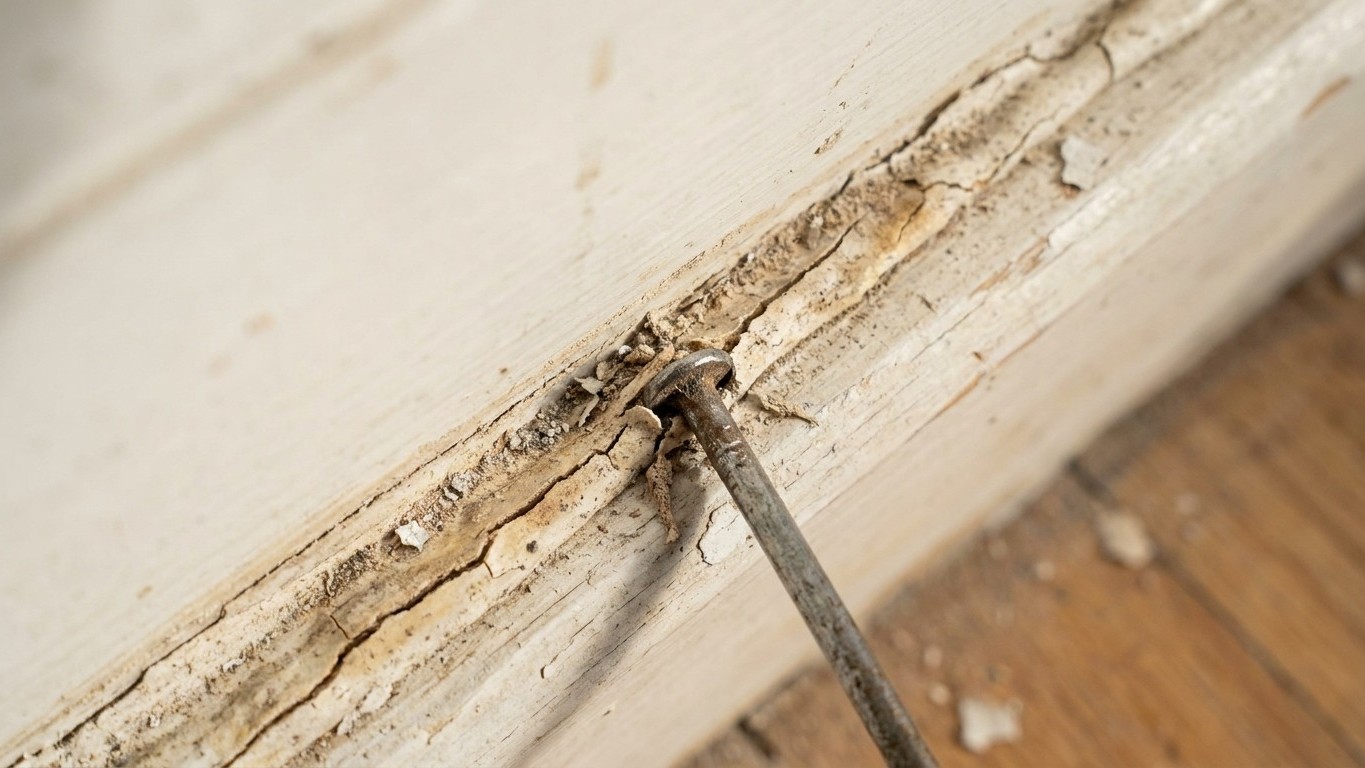
That nail told the truth. What felt like a smooth, glossy seal on the surface hid a hollow, splitting mess underneath, because heat had raced ahead of the chemistry inside the tube. Acrylic sealant does not cure by magic; it cures by losing water, slowly, from the outside in. Slap it onto sun-baked skirting at 2pm on a warm afternoon and you force the top layer to skin over in minutes, while the body of the bead is still wet and soft. Three days later, that mismatch shows up exactly where you dragged your nail: a crust with nothing solid holding it up.
Key takeaways
- A smooth surface can hide a hollow, splitting mess underneath caused by heat forcing rapid outer curing while the interior stays soft
- Most sealant fails not from poor application but from impatience, wrong timing, or three-point adhesion that leaves nowhere for wood movement
- The real fix isn’t just technique—it’s choosing cooler hours, using backer rod for gaps, and smoothing immediately to prevent trapped air pockets
Why Heat Turns a Good Bead Against You
Most trade sealants are formulated to perform within a fairly narrow window. Ideal conditions are 40°F–80°F (4.5°C–26.5°C), and while cold slows curing, extreme heat can cause surface cracking. Skirting board that’s been sitting in direct sun for hours is often well above room temperature, sometimes hot enough to sting your hand. Apply caulk onto that surface and, as one troubleshooting guide puts it, it can crack if applied during extreme heat, causing rapid drying and poor adhesion, so it’s best to apply when temperatures are between 40°F and 90°F, avoiding direct sun exposure.
There’s also a simpler, almost embarrassing reason so many DIY jobs fail in summer: rushing. Most sealing failures aren’t caused by poor application; they’re caused by impatience. A bead that looks finished after twenty minutes on a hot skirting board is nowhere near finished underneath, and painting or knocking it too soon locks in a problem you won’t see until the surface starts to give way. Humidity plays its part too. Temperature fluctuations, both extreme heat and cold, can cause expansion and contraction of the sealant, leading to cracks, while humidity levels affect curing times, with high humidity delaying curing and low humidity causing premature set before full adhesion occurs. A stuffy, sun-warmed room in August manages to combine several of these problems at once, which is rather unlucky if you’re only trying to tidy up before guests arrive.
What That Nail Line Was Really Showing You
Running a nail along a bead and feeling it lift or crumble usually points to one of two culprits: depth or bonding. Sealant needs to touch two surfaces, not three, to flex properly as wood expands and contracts with the seasons. As one manufacturer’s guidance explains, if the opening is a quarter inch or greater, backer rods or bond breaker tape should prevent three-point adhesion, because when sealant adheres to the walls and the bottom of a gap, a significant amount of flexibility is lost, whereas two-point adhesion, wall to wall, offers the maximum flexibility and performance. Skirting gaps against an uneven wall are notorious for this. The bead bonds to the wall, the board, and the plaster behind, then has nowhere to go when the timber moves, so it tears itself apart from the inside rather than stretching.
Skipping the smoothing stage doesn’t help either. Cracking is mainly due to the outer surface reacting differently from the still-curing body underneath, and the disparity in drying times, along with the fact that the caulk bead is substantially thicker than a paint film, imposes significant stress that leads to failure. If you laid your bead and left it, admiring your handiwork rather than running a wet finger or a proper tool along it, you’ve left ridges and pockets where a skin can form over trapped air. Add midday heat to that and you’ve built a little crust roof over a soft, unset core, exactly what your nail found.
Doing the Job Properly, Without the Drama
None of this means acrylic sealant is a poor choice for skirting boards. Quite the opposite: acrylic decorators’ caulk is best for skirting boards because it’s paintable, stays flexible, and handles normal house movement without cracking. The trick is choosing your moment rather than your convenience. Wait for a cooler part of the day, ideally morning or early evening once the sun has moved off that wall, and check the skirting itself feels no warmer than your hand. If you must work in summer, close the curtains an hour beforehand to let the board cool before you even pick up the gun.
Prepare properly too. Clean surfaces thoroughly and ensure they are dry before application, then use a smooth, continuous bead and tool it immediately for proper sealing. A damp cloth followed by a dry one removes the dust that stops adhesion in the first place; a dry paintbrush handle or a proper caulking tool, run through with a little washing-up liquid on your finger, gives you that neat, slightly concave finish that sheds moisture rather than trapping it. For any gap wider than about 6mm, don’t just pile in more sealant. Push a length of foam backer rod into the joint first so the bead only touches two surfaces, keeping it thin, flexible, and honest.
If You’ve Already Found the Crack
The fix isn’t complicated, just a touch fiddly. Score along both edges of the failed bead with a sharp blade, peel it out (it usually comes away in one satisfying strip once you’ve broken the seal), then clean the channel with a cloth dampened in warm water to lift any residue. If cracking occurs, remove the failed caulk, clean the area, and reapply under recommended conditions to improve flexibility and durability. One detail worth knowing before you start again: sunlight itself keeps working against you long after the initial cure, since UV exposure from sunlight degrades some caulks, especially those that aren’t UV-resistant, leading to cracking over months rather than days. A south-facing skirting board that catches the afternoon sun through a bay window will always need a slightly more forgiving eye than one tucked in a shady hallway, no matter how careful your technique.
Sources : tidyhomeguide.com | justanswer.com