Silicone sealant failure is one of those maddening home maintenance problems that seems simple until you’ve stripped it back, reapplied a fresh bead, and watched the whole thing go mouldy or peel away within months. That was my experience exactly, twice over, before a plumber visiting for an unrelated job glanced at my bath surround and quietly asked whether I’d removed the old primer before resealing. I hadn’t. I didn’t even know there was a primer to remove.
The invisible layer he was referring to is the residue left behind by silicone’s curing agents, combined with soap scum, mineral deposits from hard water, and sometimes the ghost of an old fungicidal primer that had never been fully stripped. You can scrape away every visible trace of old sealant, wipe the surface dry, and still be applying your new bead onto a substrate that actively prevents adhesion. The new silicone looks fine for a few weeks, then slowly lifts at the edges, lets moisture in behind it, and the whole sorry cycle starts again.
Key takeaways
- Why removing old sealant visibly isn’t enough—there’s a chemical layer underneath sabotaging every fresh bead
- Hard water deposits create an almost invisible film that acts as a release agent between new sealant and your tiles
- A surprising pre-sealing ritual with white spirit, vinegar, and surgical spirit that professionals use but rarely mention
Why the surface matters far more than the sealant itself
Most of us blame the product when a seal fails. We buy a more expensive tube, choose a “professional grade” formula, apply it more carefully. The product rarely deserves the blame. Silicone adheres through a chemical bond with the substrate, and that bond is only as strong as the cleanliness of the surface beneath it. Any oily, waxy, or silicone-contaminated layer sitting between the new sealant and the tile or bath surface acts as a release agent, quite literally stopping the bond from forming properly.
Hard water areas have an additional complication. Calcium and magnesium deposits build up in a thin, almost invisible film across bathroom surfaces. These mineral layers are not removed by ordinary bathroom spray cleaners, and they are certainly not removed by the quick wipe-down most people give a surface before resealing. The silicone sits on top of the mineral film rather than bonding to the porcelain or tile beneath, which is why the failure often starts at the bottom edge of the bead, exactly where water sits longest and mineral deposits are thickest.
The proper preparation that actually solves it
After that conversation with the plumber, I went back to the beginning. Proper preparation turns out to involve several distinct stages, each one addressing a different type of contamination.
Start by removing all old sealant mechanically. A sealant removal tool (the plastic sort, not metal, which scratches enamel) works well, and there are gel-based silicone removers that soften stubborn remnants over a few hours. Be thorough, including inside the joint itself, not just the visible surface bead. Once the bulk of the old material is gone, the surface still needs chemical treatment.
White spirit, applied on a clean cloth and wiped firmly across the joint area, dissolves silicone oils and the residue left by curing agents. Allow it to evaporate completely before the next step, which takes around ten to fifteen minutes in a ventilated room. If you live in a hard water area, follow that with a cloth dampened in white wine vinegar or a dilute solution of citric acid, which dissolves mineral deposits without damaging glazed tiles or enamel baths. Rinse, then dry thoroughly with a clean cloth.
The final step before applying new sealant is one most DIY guides omit: wipe the joint with isopropyl alcohol (surgical spirit works well and is inexpensive from any chemist). This removes any remaining traces of the vinegar, the white spirit, and any finger oils you may have deposited during the process. Leave it to evaporate for five minutes. The surface should now feel almost squeaky-clean to a dry fingertip.
Applying the new bead without undoing your work
There is one more thing the plumber told me that I’ve not seen written anywhere clearly: fill the bath with water before you apply the sealant, then leave it overnight once the sealant has cured before draining. A full bath causes the base to flex slightly under the weight, widening the joint by a millimetre or so. If you seal on an empty bath and then fill it, that slight expansion can stress a fresh bead before it’s had time to cure fully, causing hairline splits. Sealing with the bath full means the sealant cures in its most stretched position, so subsequent filling and draining only compresses it rather than pulling it apart.
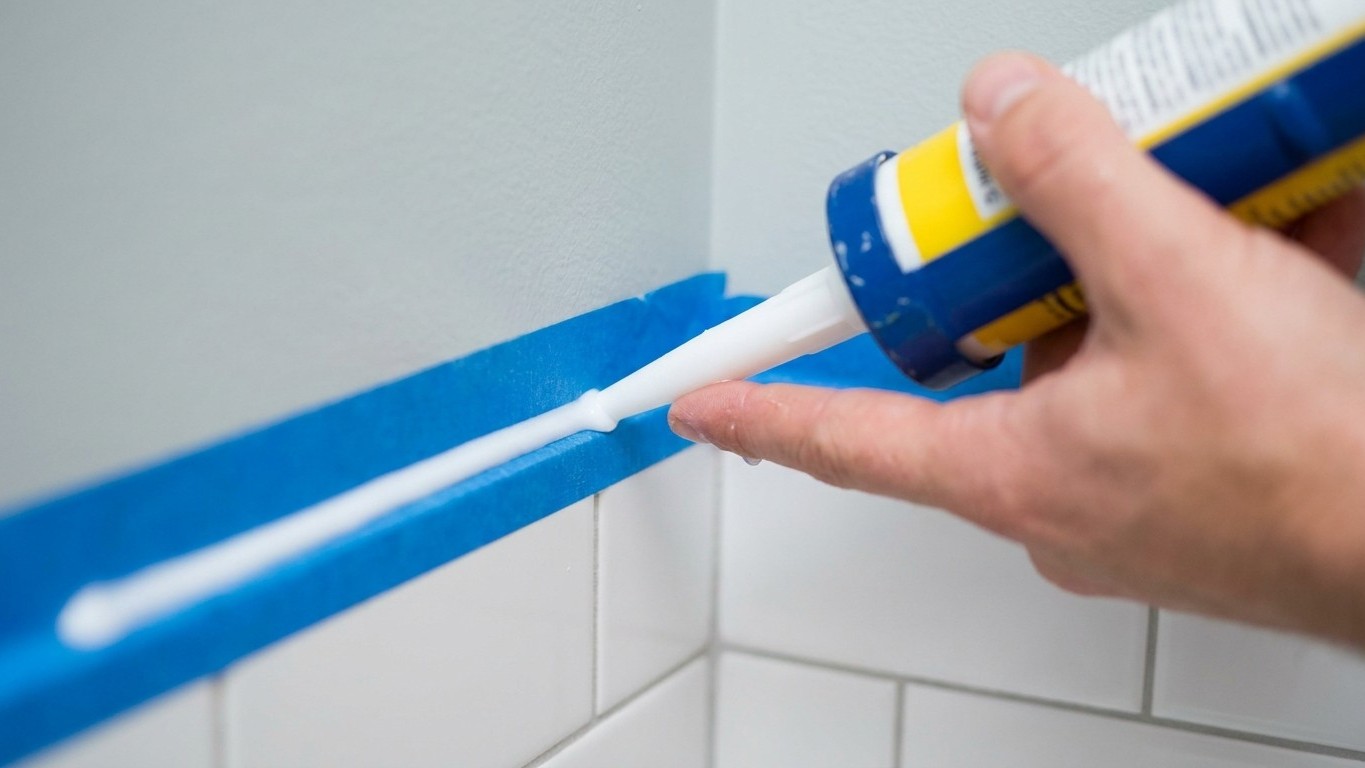
Apply the bead in a single, slow, continuous pass rather than going back over areas you’ve missed. Smooth it with a wetted finger or a proper smoothing tool within a few minutes of application, before the surface begins to skin. Masking tape along both edges of the joint gives a clean line and, removed immediately after smoothing, prevents the sealant from smearing across your newly cleaned tiles. Most sanitary-grade silicones require 24 hours before water contact, though some formulas ask for longer in cooler conditions, so check the packaging for your specific product.
One detail worth knowing: if your bathroom has poor ventilation and persistently high humidity, even a correctly applied sealant will eventually support mould growth on its surface, though not beneath it. The mould in that case is cosmetic rather than structural, and a mould-resistant formula containing an anti-fungal additive helps considerably. The difference between mould growing on a sealant versus growing behind one is significant, because surface mould can be cleaned away without breaking the seal, while mould beneath the sealant means moisture has already breached it and the joint will need resealing before long.