A bag of kiln-dried sand and an afternoon of quiet work can make a patio look freshly laid, no contractors, no scaffolding, no embarrassingly large invoice. The joints between slabs are the first thing to go on any older patio: rain washes the filling away bit by bit, weeds find their foothold, and before long the whole surface looks tired and neglected. Filling them back up costs very little and takes less time than most people imagine.
Key takeaways
- Patio joints erode faster than most people realise, but the fix costs pennies not pounds
- There’s a specific type of sand you must use, and ordinary builders’ sand won’t work
- The transformation is so dramatic your neighbours might ask who did the work
Why Your Patio Joints Matter More Than You Think
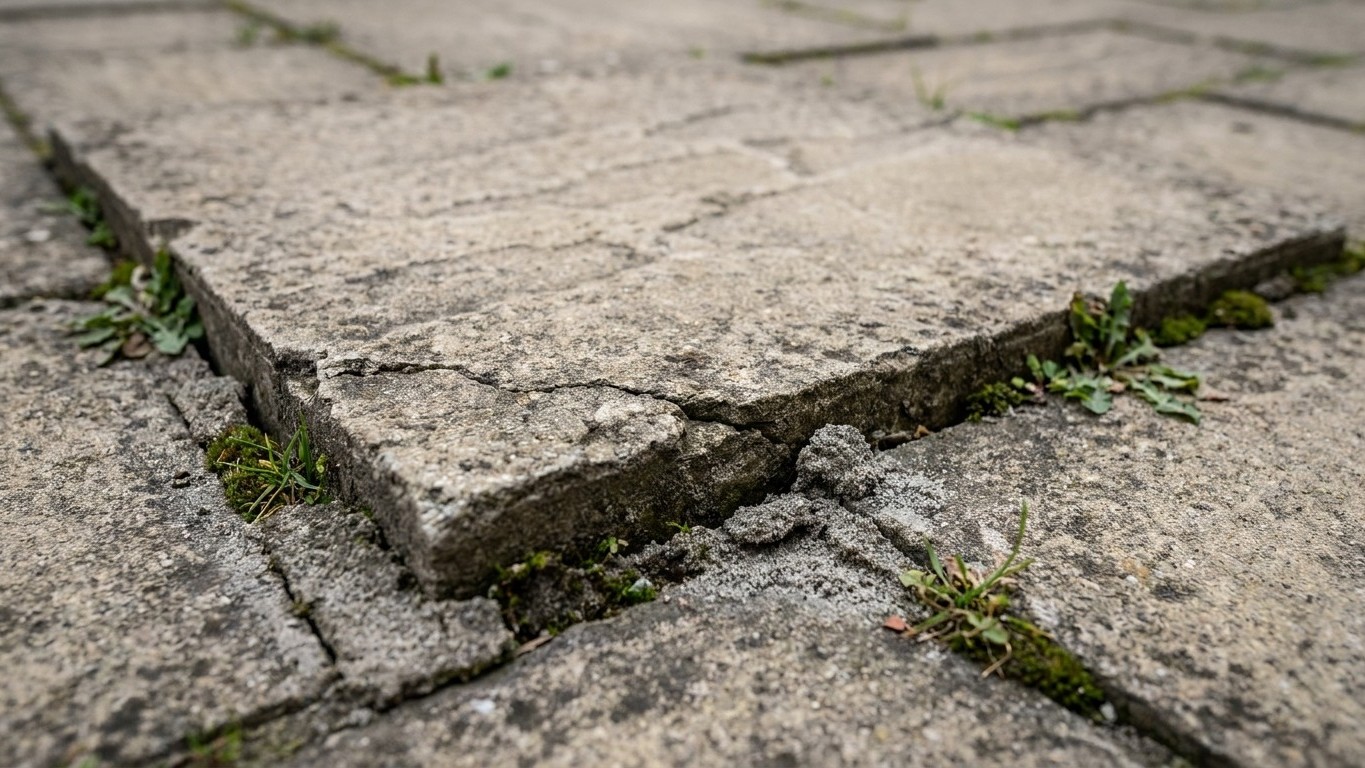
The sand between block paving serves several functions that are easy to underestimate: it locks the pavers in place and distributes loads evenly, deters weed seeds from settling and germinating, and helps surface water drain away rather than pool. Lose that sand and the whole surface starts to shift. Slabs that were perfectly level begin to rock underfoot, and every rainstorm opens the gaps a little wider.
Over time, jointing sand erodes due to weathering, cleaning, or general wear and tear. Pressure-washing, which most of us do without a second thought, is one of the biggest culprits. It is worth inspecting your paving regularly and re-sanding when you notice visible gaps between pavers, loose or wobbly slabs, increased weed growth in the joints, or after cleaning, especially if you have used a pressure washer. Any one of those signs means your joints need attention.
The Right Sand, and Why It Has to Be Kiln-Dried
Kiln-dried sand is very dry, fine sand that contains no moisture. It is used to fill the joints of block paving and paving slabs, and by filling the joints this way, the structure of the paving becomes rigid and strong. That last word, rigid, is the key. An ordinary bag of builders’ sand from the shed will not do the job. You need specific block paving sand that has been kiln-dried; builders’ sand contains moisture so it will not effectively fill the joints between the pavers.
The reason paving sand is dried this way is so that it flows easily into the joints and gaps, the sand reaches the bottom of the joint rather than sticking to the sides of the pavers. Think of it like pouring flour versus pouring wet porridge into a narrow gap. One flows straight to the bottom; the other sticks halfway down and leaves air pockets.
Different suppliers use different names for this product, you may see it labelled as silver sand, silica sand, jointing sand, pavior sand, or dry aggregate sand, and it comes in several colours including grey, natural white, buff, silver, and yellow. Most builders’ merchants and DIY stores stock it, and a 20 kg bag typically covers a respectable area. For standard 50 mm block paving, you will need around 3.3 kg per square metre. A couple of bags, then, handles the average back garden patio.
How to Do It: The Actual Method
The whole job hinges on one golden rule: everything must be bone dry. Ensure the paving is completely dry before re-sanding, because moisture causes the sand to clump and prevents it from filling the joints properly. Choose a dry, settled day, not right after rain, and not if a shower is forecast within a few hours.
Start by clearing the joints of any loose debris, old crumbling material, and visible weeds. Pull them out rather than just snapping them off at the surface; a weeding tool or even an old screwdriver does this well. Once the surface is clean and genuinely dry, you are ready. Evenly spread the kiln-dried sand over the surface, then use a soft-bristled broom to sweep it into the joints, making sure they are fully filled. Work in different directions, diagonal passes are particularly good at coaxing sand into stubborn corners. Work diagonally across the paving to fill the gaps with sand and ensure they all fill evenly.
For small areas, simply walking over the paving may be enough to compact the sand. For larger areas, use a plate compactor to vibrate the sand into the joints. After compacting, add more sand if necessary and repeat the process until all joints are filled. Do not skip this compaction step, compacting causes the sand to press tightly together and keeps it from washing down the sides in future. Finish by sweeping away the surface surplus. Sweep away any excess sand from the surface of the paving, ensuring that the sand sits only within the joints to maintain a clean look.
What Happens If You Want Something Longer-Lasting?
Plain kiln-dried sand does a fine job and is genuinely the most budget-friendly option, but it is worth knowing it will need topping up periodically. Plan to reapply sand every one to two years, or as required, to prevent settling. For those who would rather not repeat the task, there is a step up: jointing compounds. Polymeric sand is a blend of sand and special additives designed to fill the joints between pavers; when properly prepared, it has the potential to reduce weed growth, resist rain washout, and help prevent insect penetration.
Modern jointing compounds combine sand with a specific resin before vacuum sealing the product ready for use. They are easy to use for DIYers, no mixing of separate components, no need to get on your hands and knees — and the job can be completed in a fraction of the time it would have taken a decade ago. The catch is cost: these compounds are considerably more expensive than a bag of kiln-dried sand. For a tired patio that just needs freshening up, sand is absolutely the sensible starting point.
One thing worth noting for anyone who has recently pressure-washed their patio or laid new slabs: pointing should be undertaken once the bedding mix under the slabs is dry, so usually no sooner than 24 hours after laying. Rushing in while things are still settling beneath the surface is a waste of good sand. The traditional pointing mix, when a firmer finish is preferred, involves combining 3 parts sand with 1 part cement, a ratio that ensures a cohesive and effective result. But for most re-sanding jobs on existing patios, the dry kiln-dried method is all that is needed, and the difference it makes to the finished look is quite out of proportion to the handful of pounds it costs.
Sources : paving.org | leftcoastpavers.com