
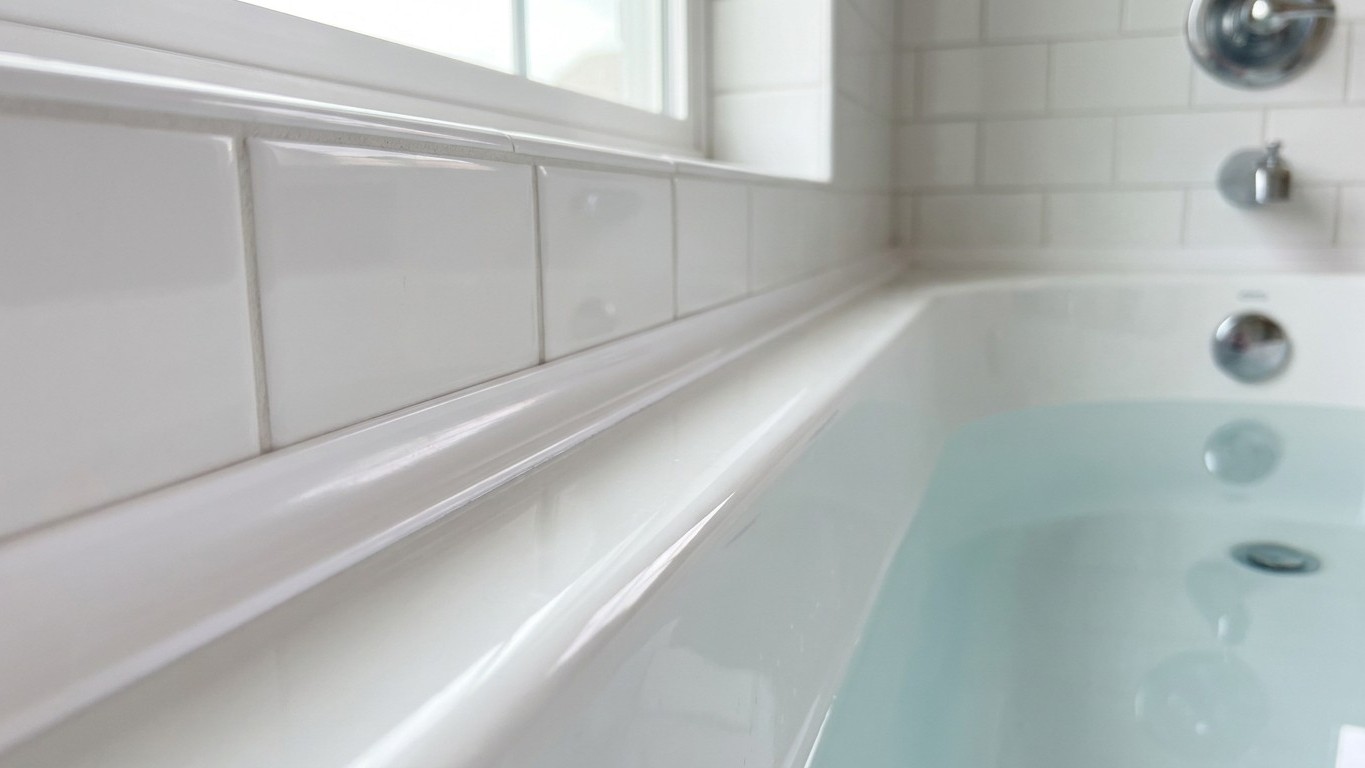
Filling your bath before you apply the sealant sounds like odd advice, but it is one of the most consistently overlooked steps in the whole job. An empty bath sits higher in its frame. The moment you climb in and fill it with water, the combined weight, often well over 150 kg when you account for water, the bath itself, and a person, pulls the tub downward by several millimetres. If your silicone was applied to a dry, empty bath, that movement simply tears the bead away from the tiles. The gap reappears within days, and you are back to square one.
Key takeaways
- An empty bathtub sits higher in its frame than a full one—the difference is enough to destroy your sealant
- Most people apply silicone to a dry bath, but the weight of water and a person causes movement that cured silicone cannot survive
- The solution involves a counterintuitive step that builders have known for decades but manufacturers never print on the tube
Why the physics of a bathtub catch so many people out
A standard acrylic or fibreglass bath is far more flexible than it looks. Even cast iron baths, which are considerably heavier, shift slightly under load because the floor beneath them compresses and the bath feet settle. The movement between the rim of the bath and the tiled wall above it is small, perhaps two to four millimetres in a typical installation, but silicone that has cured in a fully contracted position simply cannot stretch to accommodate it. It cures rigid relative to whatever position it was in when it set.
This is not a niche problem. Builders and tilers have known about it for decades, yet the instruction is almost never printed on the tube of silicone you buy from the hardware shop. The packaging shows a neat white bead and a pleased-looking bathroom. It does not show a bath full of cold water and someone sitting in it for two hours. There is a certain gap, you might say, between the marketing and the method.
Doing it properly, step by step
The correct sequence takes patience rather than skill, which is good news if you have found yourself resealing after a failed first attempt. Start by removing every trace of the old sealant. A proper sealant remover tool, the kind with a hooked blade, makes short work of the bulk of it, and a little methylated spirit on a cloth deals with the residue. The surface must be absolutely dry and free of soap scum before anything new goes down. Old silicone will not bond reliably to new silicone, and trying to squeeze fresh sealant over a compromised bead is a waste of both material and effort.
Once the joint is clean and dry, fill the bath completely with water. Then get in yourself, or place a comparable weight inside. The bath needs to be under realistic load while the sealant cures. Apply masking tape to both the tile edge and the bath rim to keep your lines straight, leaving roughly a four to five millimetre gap between them. Cut the nozzle of the silicone cartridge at a 45-degree angle and keep the bead moving at a steady pace. Rushing creates thin patches; going too slowly builds up lumpy excess.
Smooth the bead with a wetted finger or a proper sealant tool dipped in a little washing-up liquid solution. This prevents the silicone sticking prematurely and gives you a clean, slightly concave finish that sheds water rather than trapping it. Remove the masking tape before the silicone skins over, which in a warm bathroom happens within five to ten minutes, pulling it at a shallow angle away from the joint. Then comes the hard part: leave the water in the bath for the full curing time stated on the tube. Most sanitary silicones need 24 hours minimum before the bath can be used, and some specify 48. Drain it only once curing is complete.
Choosing the right silicone and avoiding common substitutions
Sanitary silicone is a specific product. It contains a fungicide to resist the mould that forms in the warm, damp conditions around a bath, and it remains slightly flexible after curing rather than going brittle. Standard frame sealant, window silicone, or general-purpose clear adhesive are not good substitutes, even if they look identical in the tube. They behave differently under repeated wetting and drying cycles, and most are not formulated to resist the bathroom cleaning products your household will inevitably use.
White sanitary silicone is the standard choice for most British bathrooms, but translucent remains popular where the tiles are patterned or the bath surround is not a clean bright white. The colour difference between a slightly warm-white silicone and a cool-white tile can look surprisingly jarring once you live with it. If you are unsure, translucent is the safer bet. It picks up the surrounding colours without imposing its own.
One thing worth keeping in mind: the joint between a bath and the wall is a movement joint by design. It is not meant to be grouted. Grout is rigid and will crack in precisely the same circumstances as silicone applied to an empty bath. If the previous owner grouted that joint and the grout has cracked, removing it completely before resealing with silicone is the right approach, not patching over it.
When the sealant keeps failing despite doing everything right
Persistent failure, even with correct technique, sometimes points to a problem behind the tiles rather than with the application method itself. A bath that moves noticeably, or one where you can feel the rim flexing when you press on it, may have inadequate support underneath. Some acrylic baths come with adjustable feet and a central cradle; if that cradle was never properly installed or has shifted, the bath will flex far more than a silicone joint can tolerate. Packing the cradle solidly, using plaster of Paris or a rapid-setting repair compound to bed it firmly against the bath base, reduces movement significantly.
There is also a less obvious culprit that catches people out in older properties: tile adhesive failure directly behind the joint. If the tiles closest to the bath rim have begun to pull away from the wall, even fractionally, the whole surface is moving in two directions at once, and no sealant will cope with that. A gentle press on those tiles tells the story quickly. A hollow sound or any give means the tiles need re-adhering before the sealant question becomes worth addressing at all.