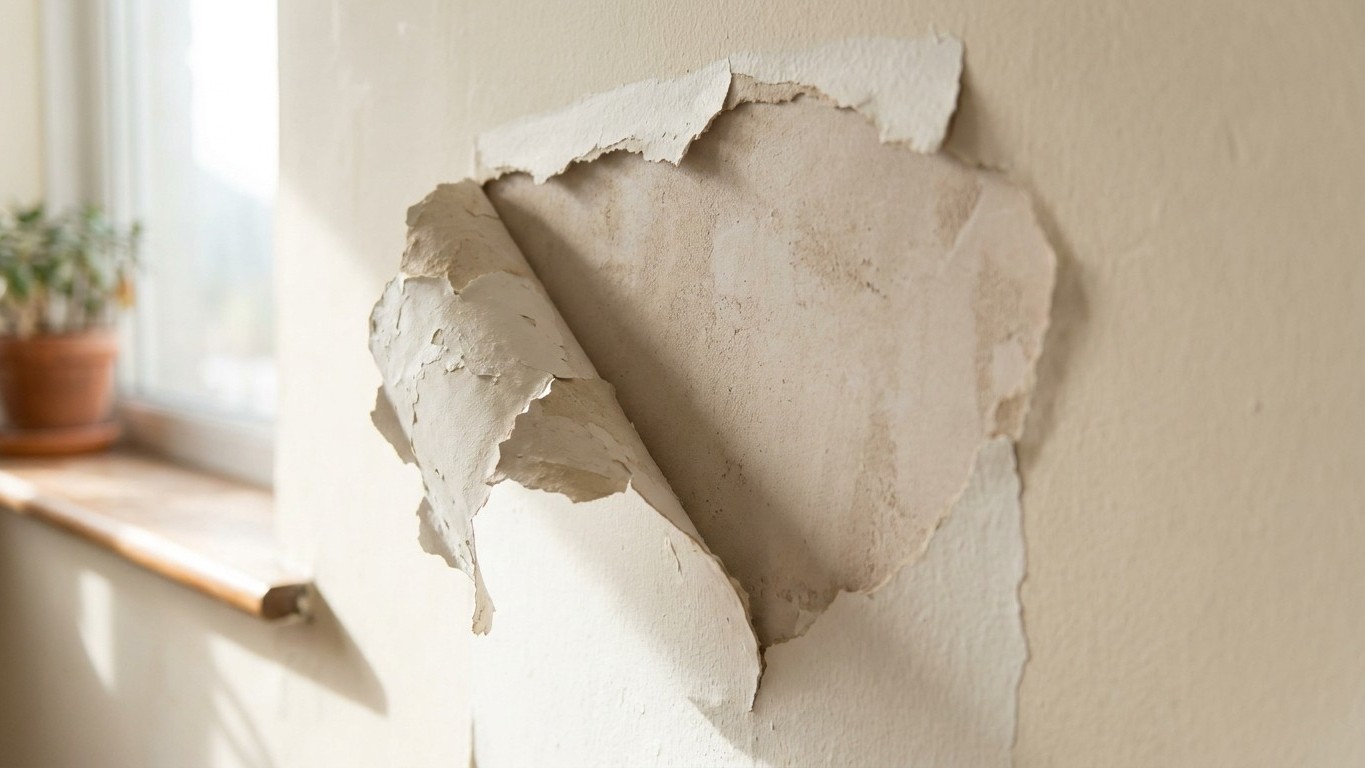
Diluted PVA on fresh plaster is one of those tips that gets passed around so confidently, on forums, in DIY books, by well-meaning neighbours, that questioning it feels almost rude. And yet, up and down the country, people are peeling sheets of emulsion off walls that looked perfectly fine at the time of painting. The culprit, more often than not, is that very coat of PVA they were told would save them.
Key takeaways
- A widely trusted DIY hack is causing paint to peel off walls in whole sheets months after application
- The science behind why this happens involves moisture, water-soluble adhesives, and a critical misunderstanding of how plaster primers work
- Professional decorators use a completely different approach that’s cheaper and dramatically more reliable
Why PVA sealer became the received wisdom
The logic behind PVA sealing is genuinely sound, up to a point. Fresh plaster is extraordinarily thirsty. Apply paint directly to bare plaster and it gets sucked in so fast that the binder has no time to form a proper film on the surface. The paint goes on patchy, dries in minutes, and leaves you with a finish that looks powdery and uneven. A diluted coat of something, applied first to reduce that suction, does make a real difference to the end result. PVA adhesive, being cheap and widely available, became the default solution somewhere along the way.
The problem lies in what PVA actually does when it dries. Unlike a purpose-made plaster primer, PVA cures to form a skin, a flexible, slightly rubbery layer that sits on top of the plaster rather than bonding into it. Paint applied over that skin adheres to the PVA, not to the plaster itself. As long as the PVA stays bonded, everything/”>Everything/”>Everything is fine. But PVA is water-soluble, and if any moisture migrates through the wall, even the very slight movement that comes with seasonal humidity changes in a British home, that bond can be disrupted. When it goes, it takes everything above it with it: primer, undercoat, and topcoat, all in one satisfying, devastating sheet.
What you should be using instead
The product that plasterers and decorators who do this professionally tend to reach for is a mist coat, which is not a proprietary product but a technique: standard white emulsion (not vinyl, which is too flexible and similarly prone to creating a skin) thinned with water to roughly a 50:50 ratio, or sometimes 60% paint to 40% water. This soaks into the plaster rather than coating the surface of it, allowing subsequent layers to grip into the substrate rather than relying on an intermediate layer. It takes longer to apply because it runs and drips more readily, but the bond it creates is categorically more durable.
Purpose-made plaster primers do exist and are worth considering, especially on wall areas that have been patched with finishing plaster of varying ages. These are formulated to penetrate without forming that problematic impermeable skin, and most of them allow you to paint over within a few hours. They tend to cost more than a bottle of PVA, but considerably less than repainting an entire room.
One thing that catches a lot of people out is impatience. New plaster needs to be properly dry before any sealer or paint goes on, and “properly dry” means paler in colour, uniform across the wall, and having had a minimum of four to six weeks to cure in a reasonably ventilated room. A week or two often looks fine but is not. Moisture trapped beneath paint cannot escape and will, eventually, make itself known.
Rescuing a wall where the paint has already failed
If you are already at the stage where paint is lifting or has come away, the situation is recoverable but it does require honesty about the scale of the problem. Small patches, where lifting is localised, can sometimes be stabilised by carefully removing the loose material, sanding the edges back to a feathered finish, and re-sealing with a mist coat before repainting. The joins may be visible for a while but generally settle once the paint has dried fully and you have applied two topcoats.
Larger areas of failure, particularly where PVA has been applied over the entire wall and moisture has got underneath, usually mean stripping back to bare plaster. That sounds daunting, but attempting to paint over unstable paint is simply delaying the next failure. A wide scraper, some patience, and a damp sponge to soften stubborn areas will get most walls back to a workable surface. Once stripped, allow the plaster to air for a day or two, especially if the removal process involved water, before applying your mist coat.
It is worth checking the condition of the plaster itself at this stage. Failed paint occasionally reveals that the plaster beneath was never fully adhered to the wall to begin with, which is a separate problem that no amount of correct priming will fix.
A note on the walls of older homes
Victorian and Edwardian houses add a layer of complexity. Many have original lime plaster beneath later coats of gypsum, and the two materials move differently with temperature and humidity. Modern vinyl emulsions, which are designed to be quite impermeable, can trap moisture in lime walls in ways that cause long-term damage to the substrate. Breathable paints, specifically those formulated for lime or mineral plaster, are the appropriate choice here, and PVA is even more contraindicated than usual. The principle of matching your materials to your substrate applies more strictly the older your home is.
One small but practically useful fact: if you are unsure whether your plaster is fully dry before painting, hold a piece of cling film tightly against the wall and tape the edges, then leave it for 24 hours. If condensation forms on the inside of the film, the plaster still contains moisture and needs more time. It is a simple test that costs nothing and can save you from a very expensive mistake six months down the line.