Every time I moved house, the same ritual unfolded. Hammer, guess, nail, wrong. Another hole, two centimetres to the left. A smear of Polyfilla, another attempt. By the time a single picture was up, my wall looked like it had survived a woodpecker attack. Then, quite by chance, I spent an afternoon watching a professional gallery installer work, and the whole sorry business clicked into place.
The man worked without drama. No repeated hammering, no stepping back to squint and tilt his head. One measurement, one nail, done. The secret wasn’t talent, it was method. And the good news is that every single trick he used costs next to nothing and takes about five minutes to learn.
Key takeaways
- The one measurement professional installers never skip before touching a hammer
- Why most people hang frames too high, and what museum standards reveal
- A craft paper trick that eliminates the need for multiple attempts and wall damage
The error almost everyone makes before they even pick up a hammer
Most of us approach a wall with a frame in one hand and a vague feeling of optimism. We hold the frame up, decide “yes, about there,” and immediately reach for the nail. One of the biggest mistakes is simply rushing the process, skipping the planning stage leads to uneven spacing, crooked frames, or a layout that feels unbalanced once everything is on the wall. The planning needn’t take long, but it has to happen.
The other blunder, and this one is almost universal, is hanging pictures far too high. The standard museum practice places artwork at eye level, with the centre at 57 to 60 inches from the floor. In centimetres, that’s roughly 145 to 152 cm from the floor to the centre of the frame, not the top, not the bottom. This 57-inch rule is the museum standard, used by MoMA, the Smithsonian, and most major galleries. When frames sit too high, the room feels disconnected and slightly off, even if you can’t immediately put your finger on why. Above a sofa or a console table? Maintain 8 to 12 inches of space between the top of the furniture and the bottom of the artwork. That gap prevents the piece from looking as if it has floated away from everything below it.
The paper template trick that gallery installers actually use
Here is the core of what changed Everything for me. When creating a gallery wall, pre-planning where the frames go saves you the headache of continuously rearranging pieces on the wall and creating dozens of holes. A commonly used and effective method is to work with craft or butcher paper. Trace each frame on the paper and cut out a template. Then measure from the top edge of the frame to the hook or string on the back, and make the same measurement on the paper, marking it with a pencil. That pencil dot on your paper template is where the nail goes, not the top of the frame outline, but the precise hanging point.
Tape the templates to the wall with painter’s tape first to see how the arrangement feels, before creating a single hole. It is always worth making sure you love it before you commit. Move them around freely. Stand back. Live with the arrangement for a day if you’re not certain. Painter’s tape leaves no mark on plaster or paint, so you lose nothing by taking your time.
Once you are happy, gently hammer the nail right through the paper template at your marked point, then remove the paper and hang each frame. This gives you a precise layout with no extra holes. The paper tears away cleanly and the nail sits exactly where it needs to be. I have used this method on every move since, and the difference is frankly embarrassing compared to my old approach.
The toothpaste method: for single frames and tight spaces
If you are only hanging one or two frames and the paper template feels like overkill, there is a delightfully low-tech alternative that works beautifully. Squeeze a small dot of white toothpaste onto the hanging hardware, for a sawtooth hook, place it right in the centre of the hook where the nail will sit. Then pick up the frame, position it exactly where you want it on the wall, and press gently so the toothpaste transfers onto the wall. The toothpaste mark now shows you exactly where the nail needs to go. Install the nail or screw, then wipe off the excess toothpaste with a clean cloth.
For frames with a hanging wire rather than a fixed hook, the trick needs a small adjustment. Always account for the “wire drop”, the difference between the wire’s highest point and its position when supporting the weight of the frame. Pull the wire taut before measuring, as a slack wire will sit lower once the frame is bearing its own weight. Getting this wrong is one of the most common reasons a frame ends up higher or lower than expected even when your measurement seemed right.
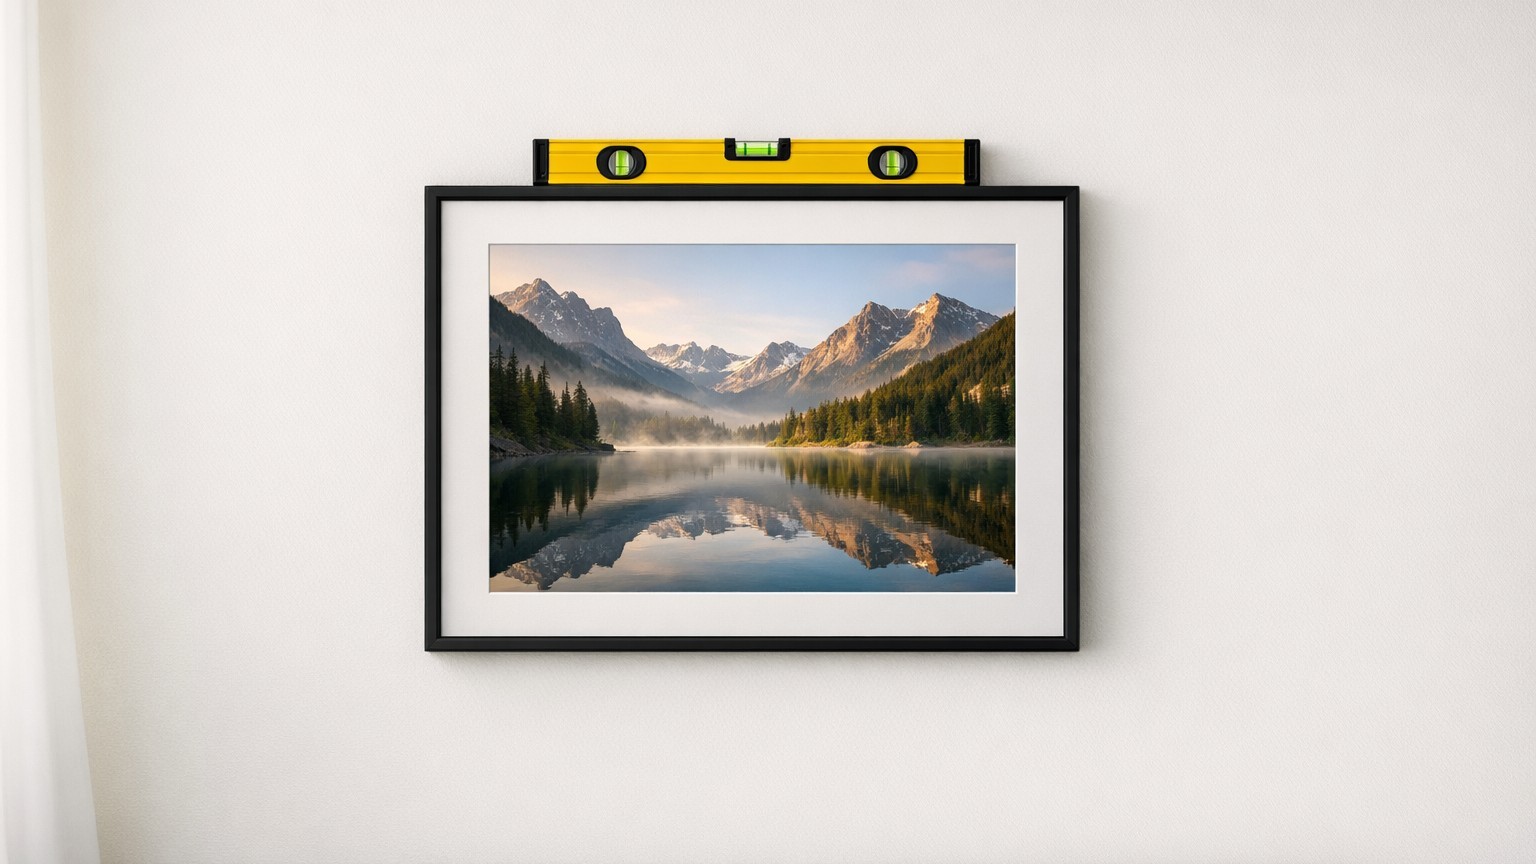
Levelling is where many people then fall short. Before pressing the frame against the wall to transfer the toothpaste marks, place a small spirit level on top of the frame. Your phone can serve the same purpose, most modern smartphones have a built-in levelling function, or you can download a free app in seconds. A laser level is particularly helpful for aligning a series of photos, giving you a perfectly straight line without having to mark up the walls at all.
The hardware questions nobody warns you about
For large or heavy artwork, always use two hangers at the top of the frame. This distributes the weight evenly across the wall and prevents the frame from tipping or falling over time. Using a single hook makes it extremely difficult to keep artwork perfectly straight; two hooks keep it from tilting. For very heavy pieces, use wall anchors or screws that go directly into the wall studs, the vertical wooden beams behind your plasterboard that offer the most support.
British walls present an extra consideration. Much of our housing stock has plaster over brick rather than the American-style drywall that most online tutorials assume. Plaster can be brittle, so use caution. Pre-drilling a small pilot hole can help avoid cracks, and wall anchors are wise for anything heavier than a Lightweight frame. A thin masonry nail will often do the job for lighter prints, but if you hear a hollow sound when you tap the wall, you have plasterboard rather than solid plaster, and anchors become important much sooner.
One small detail that rarely gets mentioned: once Everything is up and straight, a few small pieces of sticky tack on the back corners of each frame will guarantee they stay put rather than slowly rotating over time as people walk past or doors slam. It is the kind of finishing move that takes thirty seconds and makes the whole arrangement look cared for, months down the line.
There is a satisfying irony in the fact that the professional approach is actually less work than the amateur one. Measuring twice, using a paper template, and marking precisely before touching a hammer means fewer nails, cleaner walls, and no Polyfilla in sight. The gallery installer who inadvertently changed my domestic life would probably find none of this worth remarking on. For him, it was simply Tuesday.
Sources : tribecaprintworks.com | jjonesdesignco.com