Salt is one of the most widely shared tips for killing weeds between paving slabs, and it genuinely works, the weeds shrivel and die within days. The problem is what happens below the surface, out of sight, over the months and years that follow. Three springs of faithful application, and the sand beneath the slabs had turned to soft, unstable mush. That is not an exaggeration, and it is not bad luck. It is chemistry.
Key takeaways
- Salt dissolves in rainwater and washes away the binding properties of jointing sand, destabilizing the entire paving structure
- Repeated freeze-thaw cycles amplify salt damage by drawing moisture into blocks that cracks them from within
- Three years of spring salt application can render bedding sand completely incapable of supporting the weight of your slabs
How salt gets beneath your slabs and what it does there
Paving relies on a precise structure to stay level and stable. The slabs themselves sit on a compacted sand bed, and the joints between them are filled with kiln-dried sand or a polymeric jointing compound. That jointing material is what locks everything together, prevents movement, and stops water from undermining the base layer. Pour salt into those joints and it does not stay put. When salt dissolves in rainwater and seeps into the joints, it breaks down the binding properties of the sand and gradually washes it away.
The trouble compounds with each season. Salt can cause plenty of damage, more so when diluted in water. A salt solution is electrically charged, causing the salt particles to penetrate different materials deeper. Year after year, that salty water carries sodium ions deeper and deeper into the bed below your slabs. High levels of sodium can destroy the aggregate structure of fine- and medium-textured soils. This decreases porosity and prevents the material from holding sufficient air and water. The sand loses its compact, granular structure and begins to behave more like wet clay, unable to support the weight of the slabs above it properly. That is the mush. That is exactly the mush.
There is a secondary damage you can see with your own eyes. Efflorescence is the white, chalky residue that appears on the surface of paving when dissolved salts are drawn upward through the material and left behind as the moisture evaporates. A bit of efflorescence happens naturally on new block paving and fades on its own. But repeatedly adding salt to the joints introduces far more sodium than the paving would normally encounter. The white staining that results can be stubborn to remove and makes the paving look worse than the weeds did in the first place.
The freeze-thaw cycle makes everything worse
In a British climate, with our reliably damp winters and unpredictable frosts, salted joints face an additional battering. Water expands by roughly nine percent when it turns to ice, and when that expansion happens inside the pores of a concrete block, it cracks the surface from within. One frost probably won’t cause visible damage, but repeated freeze-thaw cycles over a winter will gradually spall and pit the faces of the blocks. Salt does not help here, it accelerates the problem by drawing more moisture into the structure and lowering the freezing point of the water trapped inside. Rock salt can damage concrete pavers, as it is made up of moisture that absorbs into pavers and can refreeze at a later point. As winter progresses, the moisture from the salt will continue to freeze, melt and refreeze with each temperature change.
When salt dissolves in rainwater and seeps into the joints, it breaks down the binding properties of the sand and gradually washes it away. Over time, the blocks start to shift, rock, and settle unevenly, and once the joints are compromised, more water gets in and the damage accelerates. This is the real cost of annual salting: a progressive, self-reinforcing cycle of structural deterioration that is tedious and expensive to reverse.
The damage is not confined to the paving itself, either. Because salt dissolves in the rain, it can travel into surrounding soil. If your block paving runs alongside a lawn, flower bed, or hedge, the salt runoff can damage or kill plants well beyond the area you were treating. Grass along the edges of a salted driveway often yellows and dies back in patches, and it’s not always obvious that salt was the cause because the damage can take weeks to show.
What to do instead
The good news is that there are proper solutions, and most of them are no more expensive than a bag of table salt. For an immediate weed problem, boiling water poured directly onto the growth is strikingly effective, it destroys the plant cells on contact, costs nothing, and harms neither your jointing sand nor the slabs. Hand-weeding after rain, when the joints are soft, remains one of the most thorough approaches for persistent deep-rooted offenders like dandelions. Pulling weeds by hand or using a block paving knife is still one of the most effective methods. The key is getting the whole root, because weeds like dandelions and creeping buttercup will regrow from any fragment left behind.
For longer-term prevention, the jointing material itself is the answer. Joints that are full of compacted kiln-dried sand or polymeric jointing compound leave no space for seeds to settle. Polymeric sand is particularly effective because it hardens when wet, creating a semi-rigid joint that resists weed growth, insect intrusion, and washout from heavy rain. Polymeric sand contains binding agents that activate with water. Once wet and dried, it forms a semi-solid joint that flexes with movement. It is more expensive than plain kiln-dried sand upfront, but polymeric sand typically lasts three to five years before requiring renewal, and quality installation extends this lifespan significantly.
If your joints have eroded or been washed out over the years, re-sanding them is one of the best things you can do for your paving. Applying a block paving sealant after cleaning and re-sanding adds another layer of protection. A good sealant fills the surface pores of the blocks, making them less hospitable to moss and algae, and it binds the jointing sand in place so it doesn’t wash out as quickly.
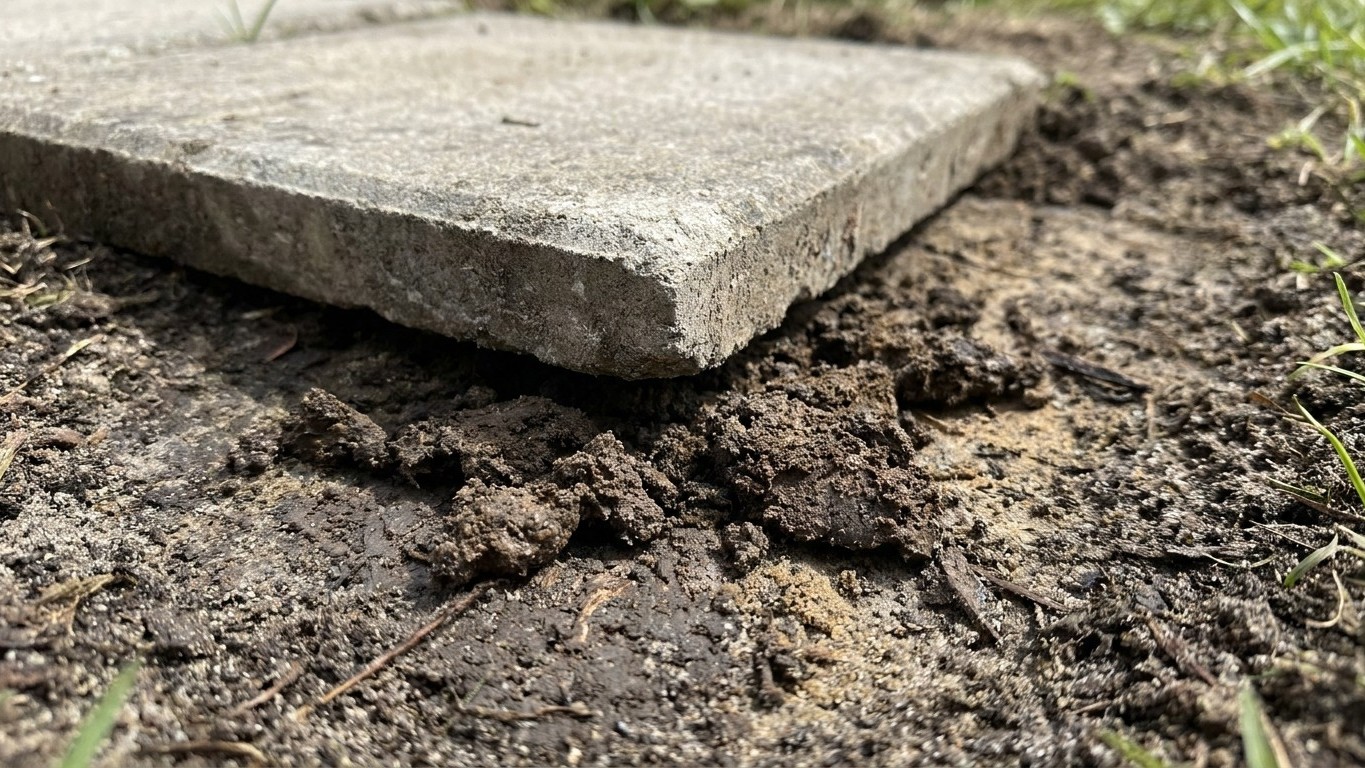
If you have been salting for several years and suspect your sand bed has suffered, lift a slab in a corner somewhere and check. Healthy bedding sand should be firm and granular. If it compresses like damp putty under your finger, the bed needs replacing. Scoop out the degraded material, tamp down a fresh layer of sharp sand, relay the slab, and refill the joints with polymeric sand or a weed-inhibiting kiln-dried blend. Keep the joints topped up with sand, sweep the surface often, and don’t let organic matter settle, that is the whole maintenance strategy, and it costs almost nothing to follow.
One detail worth knowing before you start lifting slabs: the soft, sodium-damaged sand beneath your paving should not be dug into a nearby flower bed as a soil improver. Sodium chloride does not simply vanish after application; it persists in the soil, potentially poisoning the ground for years. This can harm nearby desirable plants, damage essential soil ecosystems, and contaminate local waterways through rain runoff. Bag it for general waste disposal instead, and start fresh with clean sharp sand.
Sources : ggmlandscaping.co.uk | idealhome.co.uk