
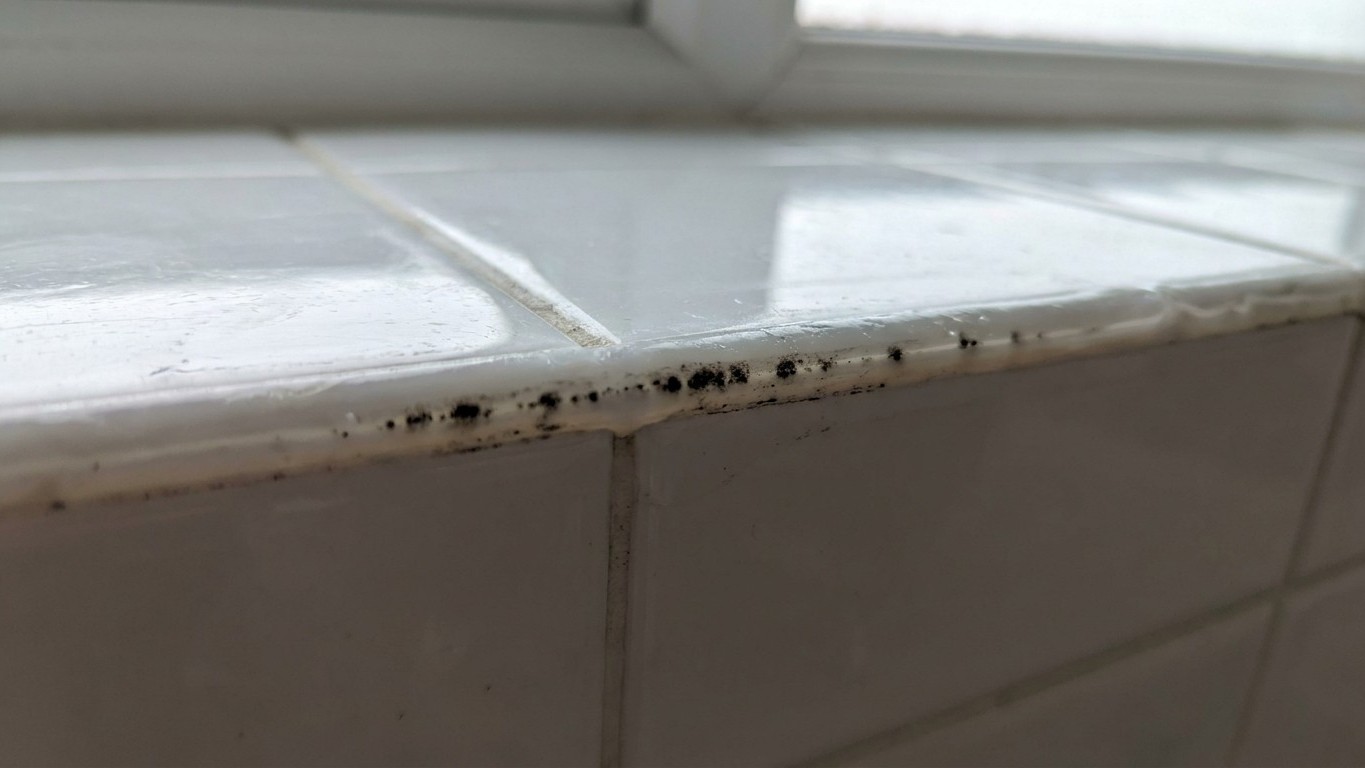
Mould growing through a brand-new bead of silicone isn’t bad luck. It’s physics. Silicone sealant is waterproof on its own, but painting a fresh strip over an existing mouldy one does absolutely nothing to solve the problem underneath, because the fungus was never actually living on the surface of the old sealant in the first place.
Silicone sealant is waterproof, so mould doesn’t actually grow on the surface of the product itself. Mould needs a damp surface on which to develop, and this simply isn’t possible on the sealant itself. If you discover patches of mould, it will have grown through from the surface behind the adhesive. So when you squeeze a new bead over the old grey-black line around the bath, you’re sealing the mould colony inside, along with all the moisture that fed it, rather than getting rid of it. Give it a few weeks in the damp fug of a well-used bathroom and those spores simply work their way back through the new silicone, following exactly the same route they used the first time.
Key takeaways
- A silicone shortcut that seems clever becomes a nightmare when black spots reappear weeks later
- Mould isn’t growing on the sealant itself—so what’s actually happening behind the scenes?
- One bathroom maintenance mistake most people make that guarantees the mould will return
Why the “quick fix” never actually works
There are a couple of reasons water gets behind sealant in the first place, and understanding them explains why papering over the problem is such a false economy. A good quality seal is the first step to preventing mould growth, and one way water reaches the area behind the sealant is if the sealant itself breaks, which can occur if the adhesive is old or low in quality, since older sealant can crack or lose its grip. Once that grip has gone, there’s a hidden gap between the silicone and the tile or bath edge, and that gap stays damp long after the surface looks dry.
Grout doesn’t help matters either. Most grout is porous to some extent, so it retains moisture, and permanent moisture allows mould to grow. Add a poorly ventilated bathroom into the mix and you’ve got a perfect little ecosystem for black mould behind the tiles, one that a thin skin of new silicone simply can’t dry out or starve. Silicone sealants deteriorate over time and become more susceptible to mould infestation as the barrier they once provided against moisture weakens, making it easier for spores to find a place to grow. Layering fresh sealant on top doesn’t restore that barrier. It just hides the crack for a while.
What you should have done instead
The proper job starts with taking the old bead out completely, not covering it. Score along both edges with a sharp blade or a dedicated sealant removal tool, then peel the strip away and scrape off any residue left clinging to the tile and bath surface. Any leftover silicone, soap scum or grease will stop the new bead bonding properly, and a poor bond is exactly how you end up back here again. Preparing the area before applying the silicone is one of the most critical steps, as it needs to be clean, dry, and free of bacteria, with all grime, grease and other residues removed from the surface.
If there’s still staining on the tile or bath edge once the old sealant is out, a paste of bicarbonate of soda and white vinegar left to sit for a few minutes and worked over gently with an old toothbrush will usually lift it, though you’ll want to rinse and dry the area completely afterwards. Some manufacturers caution that vinegar, bicarbonate or bleach solutions may not kill every spore lurking in porous silicone, so a specialist bathroom mould and mildew remover can be worth the extra couple of pounds if the staining is stubborn. Either way, the surface needs to be bone dry before you pick up the sealant gun, because trapping even a little moisture behind the new bead sets the whole sorry cycle off again.
Making the new seal actually last
Choosing a mould-resistant sanitary silicone rather than the cheapest tube on the shelf earns its keep here. Using subpar silicone sealants can lead to mould issues, as cheaper options may not have the same level of resistance to moisture and mould, while investing in a high-quality silicone sealant can go a long way in preventing mould growth. Look for one marketed specifically for bathrooms or wet rooms, ideally with an anti-fungal additive built in.
None of that matters much, though, if the room stays a steam bath after every shower. The best way to prevent excess moisture build-up is to ventilate the area properly with an extractor fan, or open your windows after a shower or bath, which will reduce the risk of the problem occurring. A quick wipe-down of the sealant with a dry towel after bathing takes twenty seconds and does more long-term good than any amount of scrubbing later. It’s also worth checking that your bath or shower tray hasn’t started rocking slightly, since movement can damage the seal, creating gaps that let water and mould get in behind the adhesive. Give it a firm push before you reseal; if it shifts, secure it properly first, otherwise you’ll be back here in a year regardless of how good the silicone is.
One thing that catches people out: most sealants need a full day to cure before they meet water, and running the shower too soon afterwards can compromise that bond before it’s even had a chance to set. It’s essential to read and follow the product’s drying or curing time instructions, since most silicone sealants require 24 hours to cure, and this waiting period allows the adhesive to dry and cure fully, effectively preventing mould growth. Tape a little note to the mirror reminding whoever showers first in the house, because nothing undoes a Sunday afternoon’s careful work quite like an impatient teenager and a hot shower on Monday morning.
Sources : bathroommarquee.co.uk | correctcaulking.com.au