Masking tape and a freshly painted wall should be a match made in heaven. You press it down carefully, paint neatly up to the edge, leave it all to dry properly, because you’ve heard that’s the right thing to do, and then peel back the tape to reveal that crisp, clean line you’ve been picturing. Instead, you get a ragged, uneven tear that pulls chunks of fresh paint clean off the wall. The finish is ruined, and the tape is already in the bin. So what went wrong?
The cruel irony is that waiting for the paint to dry completely is actually the problem. Most people assume that fully cured paint is more stable and therefore safer to peel away from. In practice, the opposite tends to be true. As emulsion or gloss paint dries, it forms a film that bonds not just to the surface but to the tape itself, essentially gluing the two together at a molecular level. Pull the tape away once that bond has fully set, and the paint doesn’t simply release, it tears along the line of least resistance, which is rarely where you want it to.
Key takeaways
- Fully dried paint bonds dangerously with masking tape—but there’s a narrow window where it releases cleanly
- The angle and technique of removal matter just as much as the timing—and most people do it wrong
- Professional decorators have simple tricks that transform disasters into invisible repairs
The timing that nobody tells you about
The sweet spot for removing masking tape is when the paint is still slightly tacky, not wet enough to smear if you barely graze it, but not so dry that it’s formed a hard, unyielding skin. This is typically around 20 to 40 minutes after your final coat, though it varies depending on the paint type, room temperature, and humidity. In a warm, well-ventilated room, emulsion can reach that ideal removal point faster than you’d expect. In a cold, damp spare bedroom in November, you may have a longer window.
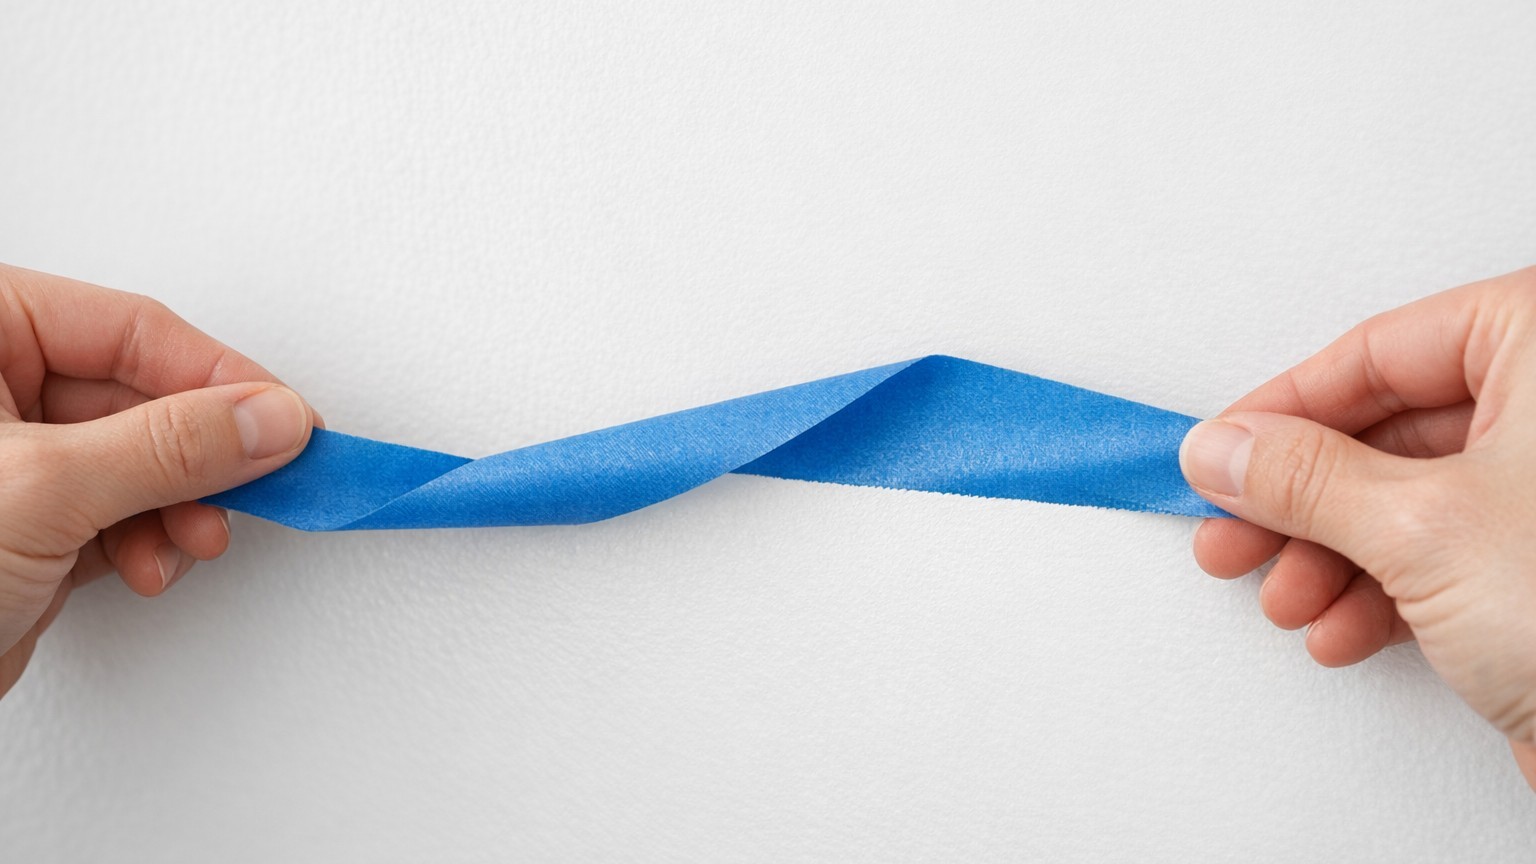
The angle of removal matters just as much as the timing. Pulling tape straight back (at 180 degrees, directly over itself) rather than at a sharp outward angle reduces the stress placed on the painted edge significantly. Think of it like peeling a plaster off your skin slowly at a low angle rather than yanking it upward, the logic is similar. Hold the tape close to the surface and pull it back steadily, keeping tension consistent rather than jerking it in sections.
When you’ve already made the mistake
If you’re reading this after the damage is done, don’t despair. A torn edge is entirely fixable, and it needn’t mean repainting the entire wall. For small tears and lifted sections, a fine artist’s brush and a steady hand are your best friends. Dip the brush into your original paint, then feather the colour back into the torn area using light, overlapping strokes rather than a single heavy stroke that will leave a visible ridge. Let it dry fully before assessing whether a second pass is needed.
For larger areas where the tape has lifted a significant strip of paint, the repair gets a touch more involved. Sand the damaged area very gently with fine-grit sandpaper (240 grit works well) to smooth down any rough edges and raised flakes, then wipe away the dust with a barely damp cloth. Apply a thin coat of your paint to the affected patch, allow it to dry, and if there’s a visible difference in sheen or coverage, lightly sand again and apply a second coat. The goal is to blend the repair into the surrounding surface so the eye doesn’t catch a line.
One trick that professional decorators use: before sanding, try scoring along the tape line with a sharp craft knife before you attempt to remove it. If you’ve already pulled the tape and caused damage, this advice is retrospective, but file it away for next time. Running a blade lightly along the edge of the tape before peeling breaks the paint film at a controlled point rather than letting it tear randomly.
Choosing the right tape in the first place
Not all masking tape behaves the same way, and this is where a small investment genuinely pays off. The standard buff-coloured tape sold in packs of three for very little money is designed for light masking work, not for protecting painted edges. Low-tack or “delicate surface” masking tapes are specifically formulated to bond less aggressively, which means they release more cleanly even if you’ve left them on a little too long. They typically cost more per roll, but given the amount of time a repair job takes, the arithmetic makes sense.
Humidity plays a subtler role than most people realise. Paint applied in a room with high moisture content takes longer to cure, but the tape adhesive can also behave differently in damp conditions, sometimes gripping harder to the underlying surface. Running a dehumidifier or simply opening windows to ventilate while you paint isn’t just about drying speed, it affects the whole chemistry of how the materials interact.
There’s one more factor worth keeping in mind for anyone tackling woodwork or skirting boards rather than walls. Gloss and satin paints are considerably more brittle once cured than emulsion, which means the torn-edge problem is even more pronounced on doors, window frames, and architraves. On these surfaces, the scoring trick isn’t optional, it’s the difference between a clean result and a repair job. A score with a fresh craft knife blade, followed by tape removal at a very shallow angle, is the only reliable method when working with hard-drying paints on wood.
One detail that often surprises people: the temperature of the room at the time of removal affects tape adhesion independently of paint dryness. Cold adhesive grips more aggressively than warm adhesive, so removing tape in a chilly room means you’re working against a tighter bond. Warming the tape gently with a hairdryer on a low setting for a few seconds before peeling can soften the adhesive just enough to make removal cleaner, a trick that works particularly well on glass or tile where the risk of tearing isn’t about the paint, but about the surface underneath.