The moment I moved a heavy oil painting and finally saw the wall behind it, my heart sank a little. A constellation of old nail holes, some with hairline cracks radiating outward, others with faint rust stains bleeding into the plaster. Years of redecorating decisions, captured in damage I’d simply been hiding. That was the day I started taking picture rails seriously.
Key takeaways
- A single moved painting revealed years of hidden nail damage—but there’s a proven solution
- Picture rails have existed for 600 years, were perfected by Victorians, then mysteriously vanished in the 20th century
- Modern gallery systems let you rearrange art freely, support up to 60 pounds, and require just one installation
A solution that predates the problem
Picture rails originated as a type of wall moulding in the 15th century, designed specifically to hang tapestries and other heavy textiles onto walls without damaging the plaster. The Victorians, who had a particular mania for filling every inch of wall space with portraits, mirrors and paintings, refined the idea into something elegant. The Victorian era was closely associated with the picture rail, as during this period ceilings were generally higher and picture hanging was very much in fashion. It was designed to allow homeowners to hang artwork, photographs, and other decorative items without putting nails directly into the plaster walls or wallpaper, which was popular and expensive at the time.
Then, somewhere in the mid-twentieth century, we collectively forgot all about it. It wasn’t until after the 1920s that the standard became pictures nailed directly into the wall. We traded a centuries-old system of care for the convenience of a hammer and a nail, and our walls have been paying the price ever since.
There is a certain charm to picture rails, but this practical design feature that once adorned Victorian homes is rarely found in modern British properties. Picture rails and other decorative wall mouldings are, however, becoming increasingly on-trend, finding their way back into the British home for both functional and aesthetic purposes. If you’ve ever stripped wallpaper before a redecoration and discovered a gruesome patchwork of filled holes in various states of repair, you’ll understand exactly why the revival is overdue.
What the gallery system actually does
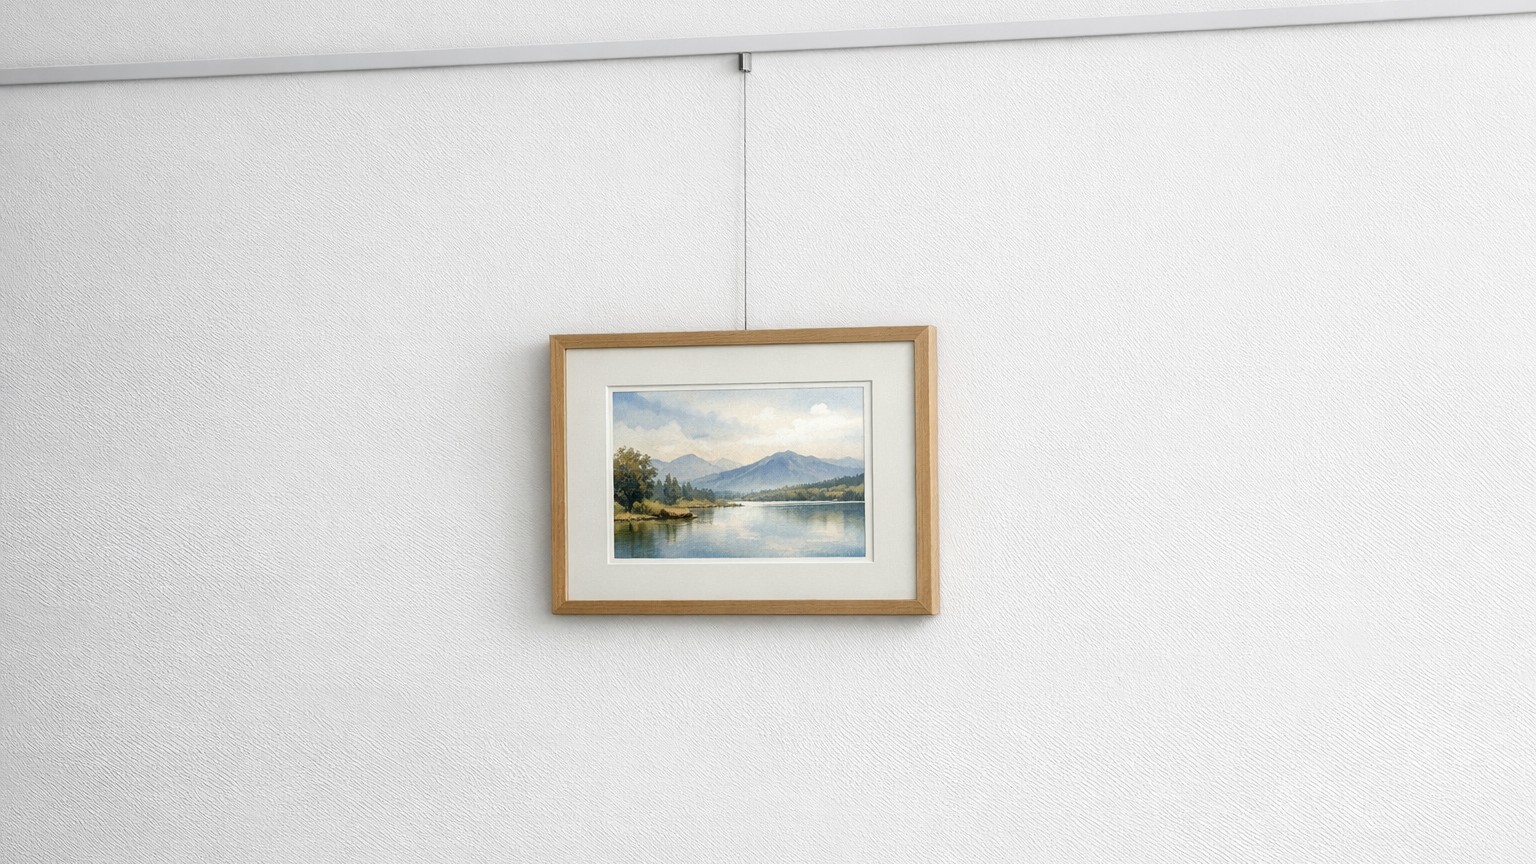
Gallery systems use a discreet picture rail installed near the ceiling, combined with high-strength steel or clear perlon cables and professional picture hooks. This allows artwork to be positioned at any height and moved horizontally along the rail without tools. The whole thing works rather like the hanging systems you see in proper art galleries and museums, which is precisely where the name comes from.
With a traditional picture rail system, you can get easy access to rearrange your artwork without causing any damage. The art is not affixed to the walls but instead is hanging from removable cables or wires. This might sound almost too simple, but the practical difference in day-to-day living is considerable. Fancy moving that watercolour three inches to the left? No pencil marks, no new holes, no filler. Just slide the hook along the cable and you’re done.
These systems can be mounted on any type of wall, can be sanded and painted in your colour of choice, and provide the flexibility to hang pictures without ever having to damage your walls. Some modern versions even come with integrated picture lighting. That last detail struck me as rather clever, the sort of thing you’d find in a National Trust property, available now for a normal sitting room in Sunderland or Swansea.
Weight, too, is less of a worry than you might think. Most picture cords support around 60 pounds individually. That covers the vast majority of framed prints, canvases and even substantial mirrors without any anxiety about the fixings pulling free in the night.
Repairing what the nails left behind
Before you can enjoy pristine walls, there’s the small matter of the damage already done. Small nail holes are genuinely straightforward to deal with yourself. Fill the nail hole with a high-quality wood filler or quick-setting joint compound. Ensure the filler is even and flush with the surrounding plaster, then allow it to dry before sanding the area lightly. Once sanded smooth, a coat of paint, ideally matched carefully to your existing wall colour, and the evidence largely disappears.
Larger holes require a little more patience. Using high-quality supplies such as quick-drying patch plaster, PVA glue, and the right tools will make the process smoother and more efficient. Whether filling cracks or patching holes, apply plaster in layers, smoothing each one as you go. Allow adequate drying time between layers for the best results. The temptation to rush this stage, slapping on one thick dollop and hoping for the best, is strong, but always ends in a slightly raised, uneven patch that catches the light in an unflattering way. Thin layers, patience, and light sanding between each one is the only reliable approach.
You can fill small holes from screws or nails with decorators caulk, though this method is not recommended for holes larger than half a centimetre. For those bigger repairs, proper plaster or a specialist repair product is worth the extra effort.
Getting the rail fitted, and keeping things looking smart
Fitting a picture rail is a half-day job for someone reasonably comfortable with a drill and a spirit level. The picture rail profile features a lip so that a picture hook will fit and hang securely from it. The rail itself goes up with a modest number of screws, far fewer than the cumulative tally of nails you’d otherwise be driving in over a decade of redecorating. Once it’s fixed, that’s effectively your last interaction with the wall surface.
Picture rails help with styling your space because you can use them when decorating your walls, but like the Victorians, you can also choose railings with designs carved into them so they’re decorative by themselves. They can also create the illusion of a higher ceiling. Painting or wallpapering up to the picture rail, while using a light colour above it, lends intimacy to lofty rooms with high ceilings. This is a genuinely useful trick for anyone in an older property with rooms that feel slightly cold and cavernous.
One thing worth knowing: old houses with low ceilings would not have originally had picture rails, as a picture rail requires a ceiling to be reasonably tall. In a modern new-build with standard 2.4-metre ceilings, a traditional-profile rail can feel a touch cramped. In those cases, a flat wall-mounted track system installed near the top of the wall achieves the same practical result with a cleaner, more contemporary look.
The real surprise, looking back, is just how long it took me to question the habit of reaching for the hammer. The nail was always a workaround, a substitute for a system our grandparents’ grandparents already had. Overall, picture rail systems tend to be more cost-effective than other hanging options once you factor in the filler, the paint, the time spent patching, and the value of walls that stay genuinely intact. The Victorians, for all their excesses, got this particular detail exactly right.
Sources : gallerysystem.com | medium.com