Pilot holes are one of those woodworking steps that seem almost insultingly simple, you drill a small hole before driving a screw, the wood doesn’t split, job done. Except the sizing of that hole matters enormously, and most of us get it slightly wrong for years before understanding why the timber is talking back to us.
The common advice is to match your pilot hole to the screw’s shank diameter. Drill a hole as wide as the smooth, unthreaded part of the shank, drive the screw home, and the threads will grip the surrounding wood beautifully. Tidy logic. The problem is that this advice, applied without nuance, ignores what wood actually does over time, particularly in the British climate, where timber expands and contracts with seasonal humidity shifts more than most of us appreciate.
Key takeaways
- A pilot hole the exact width of the screw shank removes the wood fiber compression that keeps joints tight through seasonal moisture shifts
- The critical difference between shank diameter and thread root diameter determines how much grip you actually achieve
- Softwoods need undersized pilot holes (70-75% of shank), while hardwoods need full-width holes to prevent splitting
What a perfectly sized pilot hole actually does to wood grain
When you drill a pilot hole equal in diameter to the screw’s full shank, you’re removing the wood fibres that would otherwise compress slightly as the screw enters. Those fibres, compressed inward, create a kind of elastic grip around the shank, a gentle, constant squeeze that keeps the fastening firm even as the wood moves. Drill the hole too wide and that compression disappears entirely. The screw sits in the hole like a pencil in a mug: present, but not truly held.
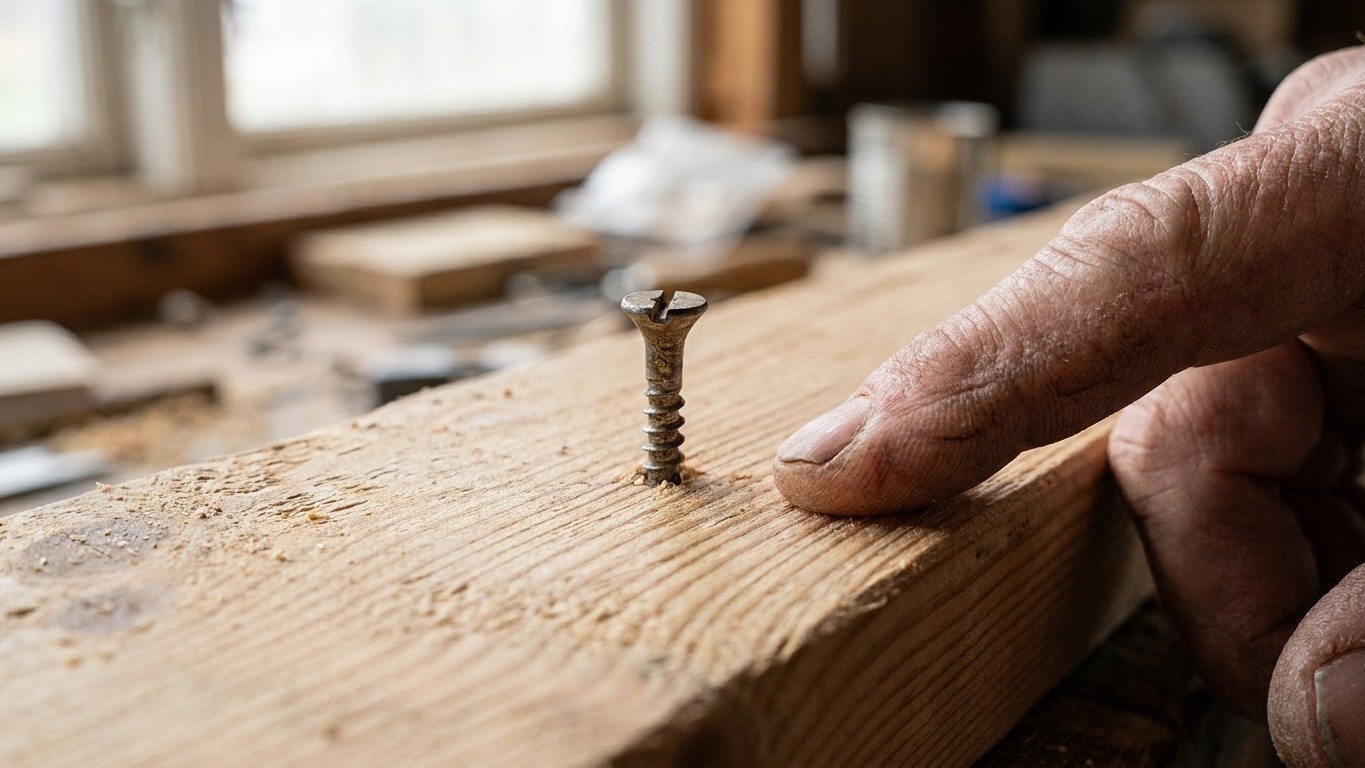
Three weeks after driving screws into a pine shelf with textbook-width pilot holes, running a finger along the grain reveals something instructive: the wood around each screw head has risen very slightly, and there’s a faint, almost imperceptible looseness when you press the joint. The timber has done its usual thing, absorbed a bit of atmospheric moisture, swelled a fraction, then dried back — and because the screw had no compressive grip to maintain during that cycle, the joint has relaxed. Not failed. Relaxed. The difference matters because a relaxed joint is one that will eventually fail.
Hardwoods and softwoods behave quite differently here. In oak or ash, drilling at full shank diameter is often correct because these dense timbers resist compression and will split if the hole is too tight. In pine, spruce, or any of the softer construction timbers so common in British homes and sheds, the recommended pilot hole is typically about 70 to 75 percent of the shank diameter. That small reduction, we’re usually talking a fraction of a millimetre, allows enough fibre compression to maintain grip through the seasonal movement cycle.
The thread engagement question nobody talks about
There’s a second dimension to pilot hole sizing that rarely gets discussed in brief how-to guides: the distinction between the shank and the root diameter. A wood screw has a smooth shank near the head and a threaded portion below. The thread’s root diameter, the narrowest measurement, taken at the base of the threads, is the figure that actually governs how much wood the threads can bite into.
A pilot hole drilled to the shank diameter will, in most cases, be slightly wider than the thread’s root diameter. That’s intentional. The threads need space to cut cleanly into the wood without the hole being so tight that you’re essentially forcing the screw through solid timber and risking a split. The sweet spot is a hole that clears the root diameter comfortably, leaves some material for the threads to engage, but sits noticeably narrower than the shank. If you don’t have drill bits in tiny fractional increments, the practical shortcut is to hold your chosen bit up to the screw against a light source: the bit should obscure the root section of the thread but allow the thread tips to remain visible on either side. Old carpenter’s trick, still perfectly reliable.
Countersinking is a separate matter but worth mentioning here because it interacts directly with pilot hole success. A proper countersink allows the screw head to sit flush or fractionally below the surface, which prevents the head from acting as a lever and cracking the wood fibres above the hole. Without it, even a correctly sized pilot hole can produce surface damage over time, particularly in softwoods.
Adjusting for timber condition and screw type
Fresh, kiln-dried timber behaves differently from reclaimed wood or timber that’s been sitting in an unheated garage over winter. Reclaimed oak, for instance, tends to be drier and more brittle than fresh-sawn material, it benefits from a pilot hole closer to the full shank diameter to reduce splitting risk, even though the joint may be marginally less tight. Conversely, green or freshly milled softwood is wetter and more compressible, and will grip a slightly undersized hole extremely well once it dries down and the fibres contract around the shank.
Self-tapping screws complicate the picture further. These have threads that run the full length of the shank, so the old shank-diameter rule doesn’t apply at all, the pilot hole for a self-tapper should match only the root diameter of the thread. Using the standard shank-matching approach here produces a hole that’s far too wide, resulting in a screw that turns but never tightens. It’s an easy mistake to make when switching between traditional wood screws and the coarse-threaded screws that dominate modern construction.
One thing worth carrying in your head for any future project: the length of the pilot hole matters as much as the width. A pilot hole that stops halfway through the timber leaves the lower half of the screw fighting solid wood, generating enough torque to strip the head or crack the grain near the exit point. Drill the full depth of the screw’s threaded length, and you give the fastener the best possible chance of behaving itself for decades rather than just seasons. The split you prevent isn’t always the dramatic one that ruins a piece on the day, sometimes it’s the slow, invisible one that arrives three weeks later, just beneath the surface, discovered by a fingertip.