A scrap of timber, an old drill bit, and a wet Sunday afternoon, that’s genuinely all it took to give a blue tit family a home last spring. The nesting box I cobbled together from offcuts lived on the shed wall for three seasons before I understood why one year’s brood thrived while the others barely got started. The hole. That single circular entrance, just 25mm across, turned out to matter more than any other dimension on the entire box.
Key takeaways
- One seemingly small measurement defeated three seasons of nesting attempts before the breakthrough arrived
- A commercial garden centre box isn’t required; scrap wood works equally well if you nail this one detail
- The difference between a solitary sparrow intruder and a thriving tit family comes down to millimetres
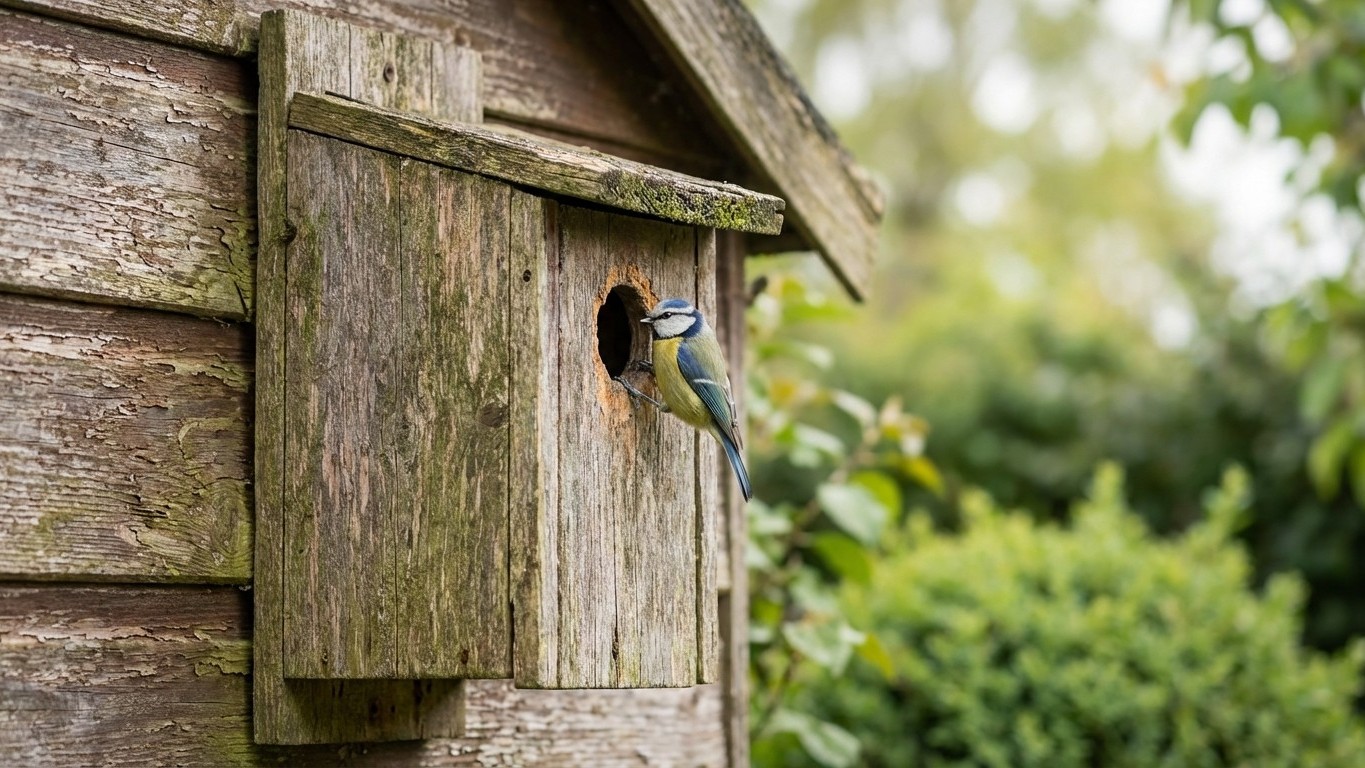
Why the entrance hole is the heart of the whole project
Blue tits and great tits have very specific preferences, and this is one area where “close enough” simply isn’t. A 25mm diameter hole suits blue tits perfectly, small enough to keep starlings and house sparrows from muscling in, but just the right squeeze for a blue tit to pop through with confidence. Nudge that measurement up to 28mm and you’ve opened the door to great tits instead (which is no bad thing if that’s who you’d like). Push it to 32mm or more and you’re essentially running an open-access hostel for every opportunistic bird in the neighbourhood, including the ones that will evict a sitting tit without a second thought.
My first box had a hole I’d drilled freehand at what I reckoned was “about right.” It was 30mm. A house sparrow moved in on day three. Lesson thoroughly learned.
A proper spade bit or a hole saw on a slow drill setting gives you the cleanest edge. Rough, splintery edges around the entrance can injure birds as they pass through repeatedly, so a quick sand with medium-grit paper and then a light pass with fine grit is worth the five extra minutes. No sealant or paint around that hole, birds are sensitive to fumes, and bare, weathered wood is what they’re instinctively drawn to.
Building the box itself: keeping it simple and sturdy
Untreated, rough-sawn timber is your friend here. Smooth planed boards are harder for fledglings to grip on the inside wall below the entrance hole, they need texture to scramble up and out when the time comes. Fence board offcuts, old scaffold planks cut down, even thick pallet wood (check it isn’t marked with the chemical treatment code MB) all do the job beautifully.
The dimensions I’ve settled on after several attempts: a floor of roughly 10cm by 10cm, a front panel about 20cm tall, a back panel a few centimetres taller to allow for the sloped roof, and sides cut to match. The roof needs a slight forward slope so rain runs away from the entrance rather than into it. Overhang the roof by at least 4–5cm at the front. This small detail keeps the interior genuinely dry during a British downpour, which, as we all know, is not an unlikely event.
Ventilation matters too, and it’s often forgotten. A couple of small gaps left at the top of the side panels, or a few drill holes low on the floor for drainage, prevent the box from becoming a damp, stifling little oven in July. The box shouldn’t be airtight; a little airflow makes the difference between a box that gets used year after year and one that gets abandoned after a single season.
Join the panels with exterior-grade screws rather than nails, screws allow you to open the box for the annual autumn clean-out, which genuinely does improve occupation rates the following year. Old nesting material carries parasites that will deter new tenants. A simple hinged or screwed-down roof panel, or one side panel that can be unscrewed, gives you access without dismantling the whole thing.
Where you put it matters as much as how you build it
North to southeast facing is the sweet spot. You want the entrance away from the prevailing south-westerly wind and out of strong afternoon sun. A box baking in direct summer sun from the west can overheat, and a clutch of chicks in an overheated box is a heartbreaking thing. Somewhere between 1.5 and 3 metres off the ground on a wall, fence post, or tree works well for tits. They’re not fussy about the exact height, but they do prefer a clear flight path to the entrance — no branches crossing directly in front.
Tilt the box very slightly forward (just a degree or two) so that any water that does creep in runs toward the drainage holes rather than pooling. Fix it with a galvanised screw or a nail through the back panel, or loop a rubber bicycle inner tube around a branch rather than nailing into a living tree, which will expand and eventually cause damage.
One thing I’d gently push back on is the idea that you need to buy a “proper” nesting box from a garden centre to get results. Commercially made boxes work perfectly well, but so does the slightly wonky one assembled on a kitchen table from bits of old timber, provided those measurements are right. The birds haven’t seen the packaging.
When to put it up and what to expect
January is ideal, birds begin scouting territories well before the February and March nest-building rush. That said, a box put up in October or November gives tits somewhere to roost through the cold months, which builds familiarity with the site. I once put a box up on Christmas Eve as a slightly eccentric festive project, and blue tits were inspecting it before the mince pies were finished.
First-year occupation isn’t guaranteed, and there’s no cause for disappointment if the box sits empty through one spring. Location, local population, and sheer bird preference all play a role. Try moving it slightly the following autumn if you’ve had no interest, even a metre or two can make a difference.
There’s something quietly wonderful about watching a bird disappear into a hole you drilled yourself on a rainy Sunday. And every time I’m tempted to rush a measurement, I remember that sparrow, and reach for the tape measure.