Three coats of ceiling paint, a stiff neck, and still those maddening streaks glaring back at you every time the afternoon sun catches the surface. The culprit, more often than not, is not the paint, not the room, and not some mysterious curse on your house. Many home painters think the problem comes from the paint itself, when the real culprit often sits on the roller handle. A single glance at how you load that roller can explain Everything, and a few small adjustments can turn a frustrating saga into a job done properly, first time.
Key takeaways
- A decorator stopped someone mid-paint job in five seconds—what did they spot that three coats couldn’t fix?
- Why ceilings betray every mistake while walls hide them, and what that means for your technique
- The inverted W pattern professionals use instead of long strokes—and why it changes everything
Why the ceiling never forgives you the way walls do
Walls have corners, furniture, and picture frames to distract the eye. A ceiling has none of that. Ask any decorator: walls usually forgive a few mistakes, ceilings almost never do. The angle of the light and the flat expanse make every defect visible. That is why the same sloppy loading technique that goes unnoticed on a bedroom wall looks catastrophic on a ceiling by the time morning light rakes across it.
Streaks on ceilings, the technical term is “flashing”, are a major issue when painting ceilings with the wrong type of paint, but flashing can also come entirely from how the roller is prepared. Going back and forth over areas that already started to dry makes things worse. The roller disturbs the surface skin, creating shiny patches known as “flashing”. To the naked eye, those patches read as dirty marks, even on brand-new paint. Three coats will never fix a technique problem. You are simply repeating the mistake, just with fresher paint.
What the decorator spotted in five seconds: loading the roller wrong
The single most common error is getting the balance of paint on the roller badly wrong, in both directions. More often than not, roller marks occur when you fail to load your roller with enough paint, or have exhausted the paint in your roller and are trying to cover more area than you should. But the opposite mistake is equally damaging. Gravity can play some tricks on you, especially if you’ve overloaded your roller. Dip too deeply and you end up with a roller that drips, squelches, and deposits thick ridges of paint at every change of direction.
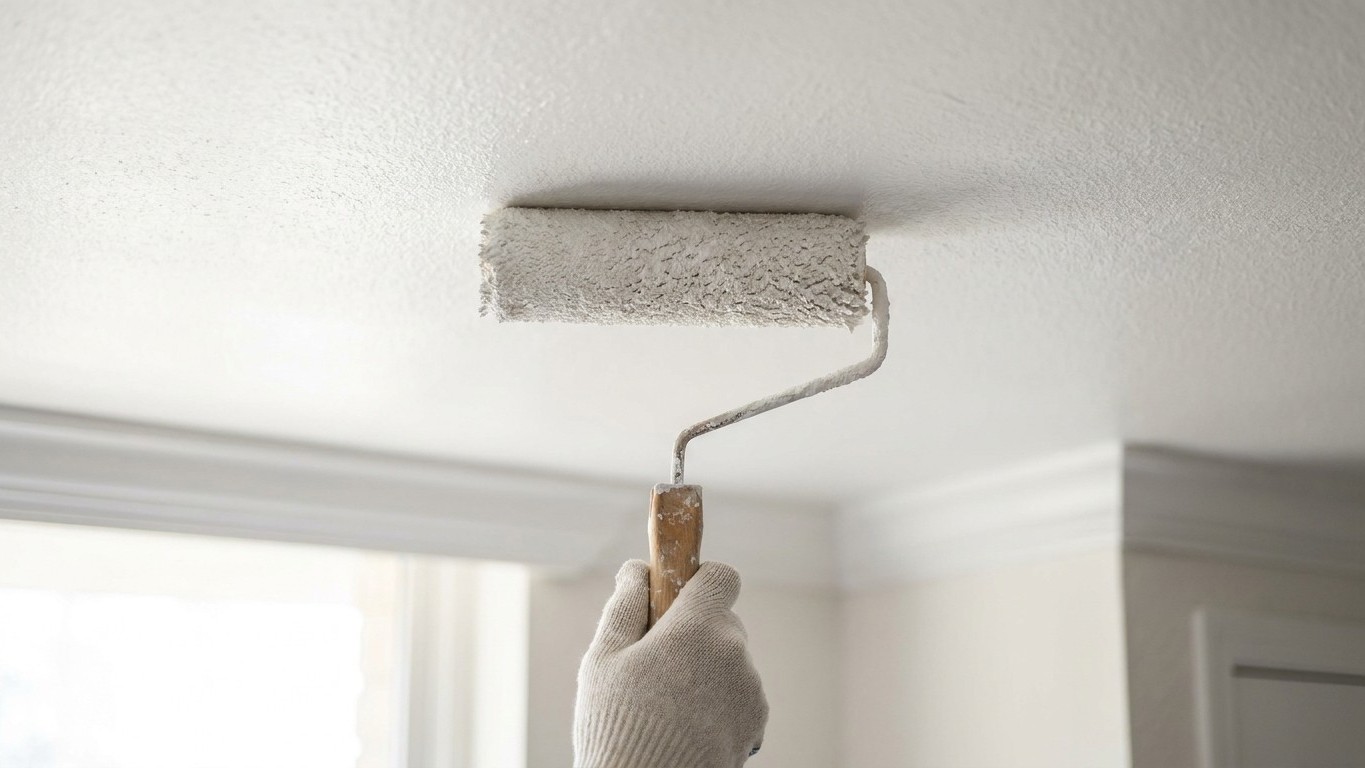
The correct technique is straightforward once you know it. Use a clean 5-gallon bucket with a roller screen for a more even distribution of paint on the roller. Dip the roller slightly against the paint surface in the bucket and then spread the paint along the roller surface with the screen. Do not submerge the roller, because this saturates the roller joints and is almost certain to result in roller marks. The roller should look evenly saturated, not dripping, not patchy, but loaded uniformly from one end of the sleeve to the other. A well-loaded roller lays a uniform film that levels as it dries, hiding roller marks and giving proper hide.
Pressure is the other half of the loading problem. Applying the wrong amount of pressure can cause paint to push out around the edge of the roller, creating a streak. Many people press progressively harder as the roller empties, unconsciously trying to squeeze out a bit more coverage. When you roll in one direction only, the paint piles up at the ends of each pass. You push harder as your arms tire, and the pressure changes from one strip to the next. That uneven pressure is exactly what builds up the ridges you later try to sand away.
The rolling pattern that professionals actually use
Professional decorators rarely roll ceilings in long railway tracks. Instead, many rely on a simple pattern that spreads paint more evenly: an inverted W. The gesture looks almost childish, yet it produces a noticeably calmer finish, especially with flat white. The idea is to distribute paint across a manageable section before smoothing it, rather than dragging a loaded roller in one long streak and hoping for the best.
Here is how to do it properly. Start by loading the roller evenly in the tray. It should look saturated but not dripping. Position yourself under a manageable section, roughly one square metre, and place the roller on the ceiling a little away from the wall. Without lifting the roller, draw a loose inverted W: three diagonal strokes forming a zigzag, but upside down. The pattern does not need to be perfect. What matters is to keep the roller on the surface while you sketch it, so you avoid thick deposits where you stop and start. Once the W stands on the ceiling, roll over it to fill the gaps. Work in short, overlapping passes, first in one direction, then gently across it.
Every time you roll paint on the wall, overlap it on the wet paint. This will help ensure that your edges don’t look so defined. It doesn’t have to be a huge overlap, about 1 inch (2.5 cm) will do just fine. And always start rolling from your largest window. By doing this you will be able to look back over your work and spot any heavy roller marks.
Never stop halfway through a section. Once you’ve started on a wall, it’s important to go over the entire thing to avoid roller marks. Stopping and starting in the middle of a paint job can lead to uneven drying which creates streaking. If you do need a break, wrap the roller tightly in cling film rather than leaving it to stiffen. When you pause for more than ten minutes, wrap the roller in plastic film so it does not dry out. A stiffening roller drags the paint instead of laying it down.
The gear and the paint: small choices, big differences
Technique alone cannot rescue a poor choice of materials. A roller sleeve that is too short in pile length cannot load enough paint for a ceiling. It leaves dry areas and forces you to press harder, which shows in the finish. For most smooth or lightly textured British ceilings, a medium-pile sleeve of around 10–12mm is the right range. Cheap rollers often shed fibres that trap themselves in the paint film. Under a low sun, those micro-defects look like scratches. It is worth spending a little more on a quality sleeve, you will not regret it when the light comes through the window on a bright morning.
Always de-lint a new sleeve before use. Wrap masking tape around the roller cover before using it for the first time, then remove the tape to remove any roller lint. Repeat this process until the roller stops shedding lint.
Paint choice matters enormously too. Ceiling paints have a very low sheen, so light doesn’t bounce off them as much as it does other paints. This leads to less shadowing and flashing. Using a standard wall emulsion, even a good one, on the ceiling is a common and costly mistake. Flat or matte ceiling paint works best because it’s thicker, less reflective, and easier to apply overhead. Specialty ceiling paints are formulated to reduce splatter and hide imperfections. If your ceiling is still looking patchy after multiple coats of ordinary emulsion, the paint formula itself may be working against you.
One last thing worth knowing: let the paint dry after rolling the ceiling, then re-roll it in the perpendicular direction. This produces a cross-hatch pattern that virtually eliminates streaking and lap marks. It adds a little time but saves a great deal of heartache, and means you will not be up a stepladder painting coat number four.
Sources : sujackson.co.uk | faithinferguson.org