
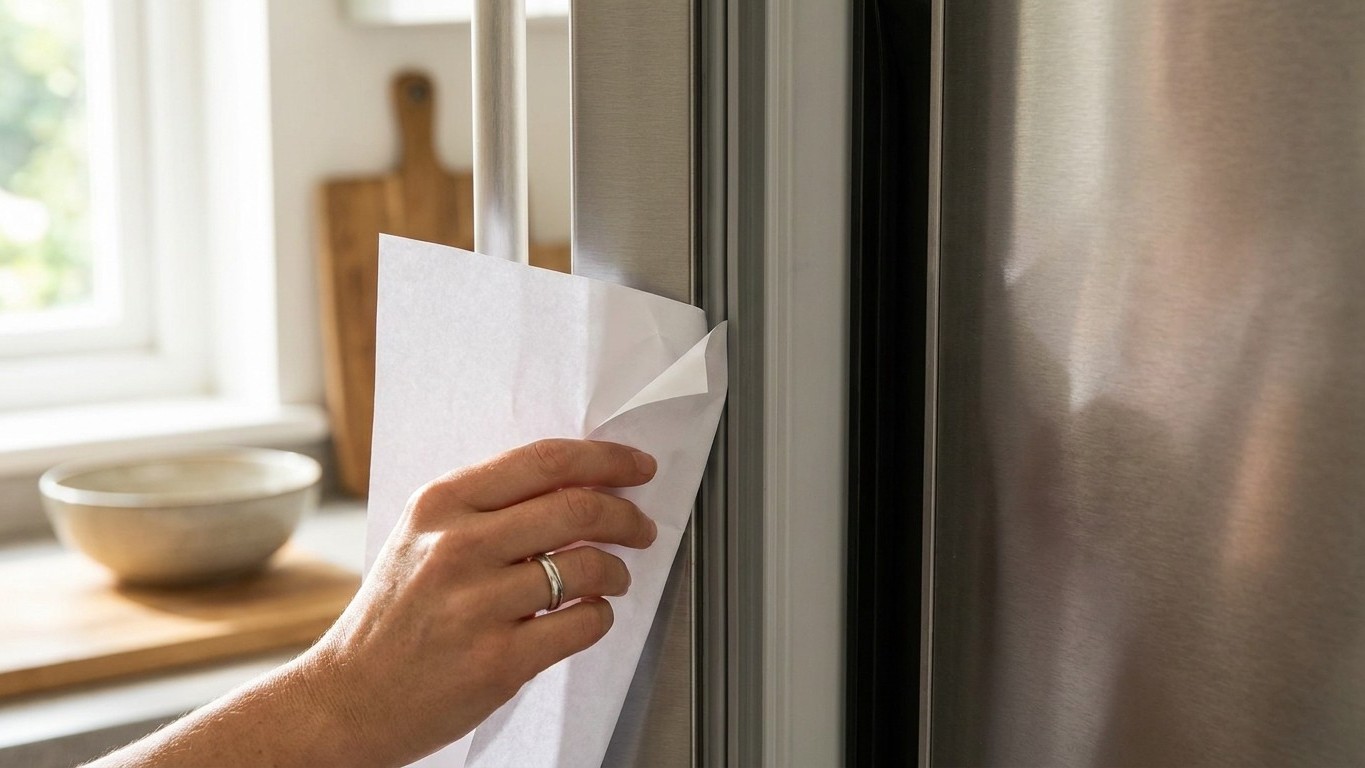
A fridge that never stops humming isn’t necessarily struggling against the July heat. More often than not, the real problem is sitting right under your nose, quite literally, in the seal around the door. There’s a wonderfully simple way to check it, and all you need is a single sheet of ordinary paper.
Close the fridge door onto the paper so that half of it sits inside and half hangs out. Now pull. If the sheet slides out freely, without any resistance, the door seal (the rubber gasket running around the edge) has lost its grip and is letting cold air escape. If it grips firmly and you have to tug, the seal is doing its job. Test this at several points around the door, top, bottom, both sides, because a seal often fails in just one spot rather than all over.
Key takeaways
- One household item can pinpoint the real reason your fridge compressor never stops
- A failing seal costs you money in electricity and puts your appliance at risk
- Most people overlook the simplest fix that takes minutes to try
Why a compressor running non-stop has little to do with the weather
Fridges are designed to work harder in summer, that’s normal. The compressor cycles on more frequently because the gap between room temperature and the target internal temperature (usually around 4°C) is wider. But there’s a difference between a compressor working harder and one that never switches off at all. When cold air constantly leaks out through a damaged seal, the thermostat thinks the fridge hasn’t reached temperature, so it keeps the compressor running almost permanently, chasing air that’s escaping as fast as it’s being cooled.
This isn’t a minor inconvenience. A fridge with a failing seal can use noticeably more electricity, and over a year that adds up on your bill. It also puts extra strain on the compressor itself, the most expensive part to replace, which shortens the appliance’s working life. Heat is often the trigger that exposes a weak seal, not the actual cause of the problem. Rubber gaskets degrade with age regardless of season: they harden, crack, or get squashed out of shape from years of the door being slammed shut or leaned on.
What actually wears out a seal, and how to spot early damage
Grease and food residue are surprisingly common culprits. A smear of jam or a splash of sauce left along the gasket attracts grime, and over months that buildup stops the rubber folding back neatly into place, leaving tiny gaps you’d never notice just by looking. Sunlight matters too: fridges positioned near a window, or in a kitchen that gets properly hot in summer, see their rubber seals age faster, much like windscreen wipers perish quicker on cars left outdoors.
Beyond the paper test, run your fingers slowly along the whole gasket. You’re feeling for stiffness, tiny cracks, or sections that have lost their spring and stay flattened rather than bouncing back. Look, too, for gaps where the rubber has pulled away from the door itself, often near the corners where stress concentrates. None of this requires special skill, just a couple of minutes and a bit of patience.
Cleaning first, replacing only if needed
Before assuming the whole seal needs replacing, try cleaning it properly. Warm water with a small amount of washing-up liquid, applied with a soft cloth, lifts grease and grime out of the folds of the rubber. Get right into the ridges, since that’s where residue hides and prevents a proper seal. Once clean and dried, the gasket sometimes recovers enough flexibility to grip again, especially if it wasn’t actually cracked, just gummed up.
Some people swear by rubbing a thin layer of plain petroleum jelly along the seal afterwards, the idea being that it keeps the rubber supple and helps it slide against the door frame rather than stick and tear. There’s no rigorous study proving this extends gasket life, but it’s cheap, harmless, and consistent with basic rubber care, so there’s little to lose in trying it on a seal that’s stiff but not yet cracked.
If the paper test fails at multiple points even after cleaning, or if you can see actual splits in the rubber, replacement is the sensible route. Gaskets are sold as spare parts by appliance retailers and are usually specific to the fridge’s make and model, so it’s worth checking your appliance’s model number (often on a sticker inside the fridge or on the back) before ordering. Fitting one yourself is generally straightforward: the new gasket clips or screws into a channel around the door edge, no soldering or wiring involved.
Small habits that protect the seal for longer
Wiping the gasket clean once a month, as part of a general fridge wipe-down, prevents the kind of grease buildup that ages rubber prematurely. Avoid leaning on the door or using it as a spot to prop things while unpacking shopping, since repeated pressure in one place is exactly what flattens rubber unevenly over time. And if your fridge sits in direct sun through a kitchen window, even a simple blind or curtain drawn during the hottest part of the afternoon reduces the thermal stress on both the seal and the appliance’s motor.
The paper test costs nothing and takes less time than boiling a kettle. Run it today, especially if your fridge has been working overtime this summer, and you might find the fix isn’t a new appliance at all, just a seal that needed a clean or a straightforward swap. Given that a full fridge-freezer replacement runs into hundreds of pounds, a two-minute check with a sheet of A4 is about as good value as household maintenance gets.