
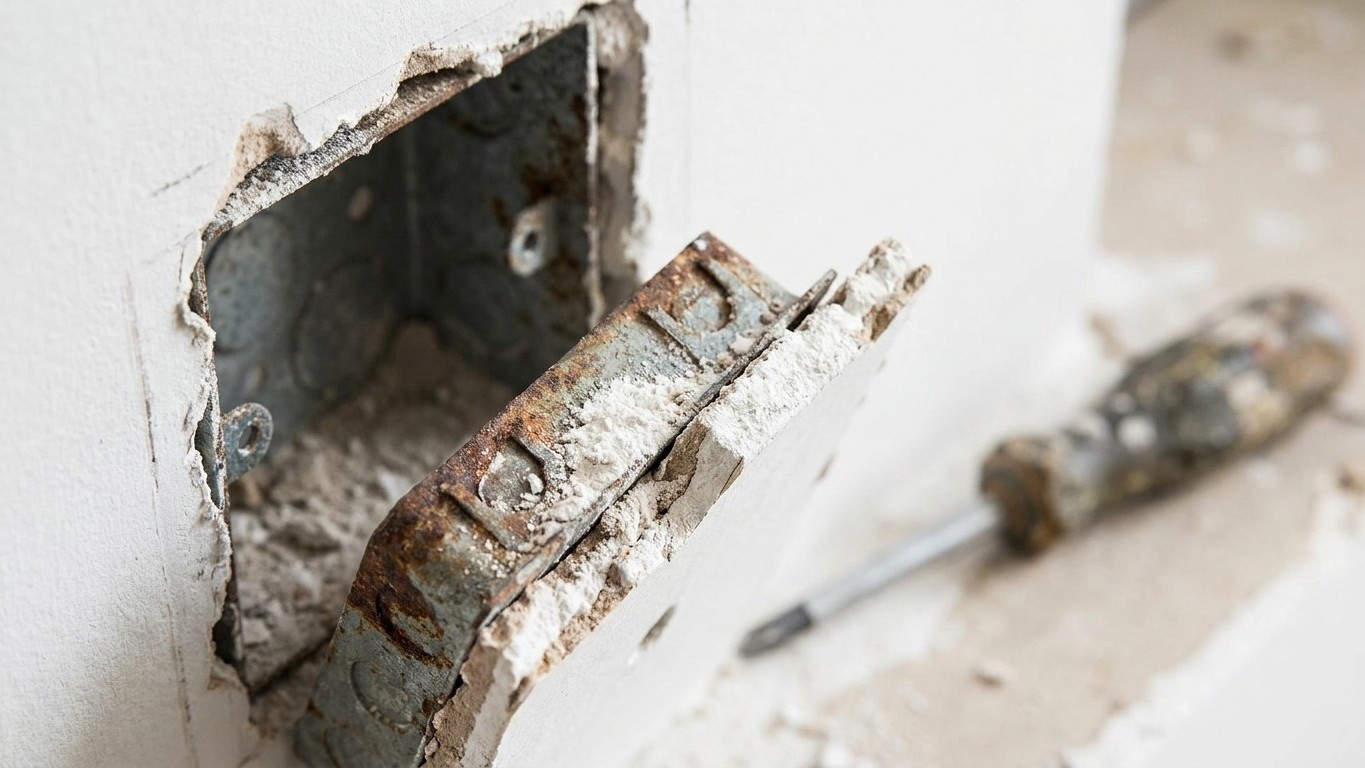
Every few weeks, for the best part of two years, I’d notice the same wobble. The socket plate in my hallway would work loose, so I’d fetch the screwdriver, give both screws a firm quarter turn, and think nothing more of it. Then one day I finally pulled the whole box out of the wall to see what was going on, and what I found made my stomach drop: the two little metal lugs that hold the plate in place had chewed a soft, crumbling crater into the plasterboard, and there was barely anything left for a screw to grip.
If you’ve never looked behind a socket plate before, the mechanism is deceptively simple. A plastic or metal back box sits in a hole cut into the plasterboard, and inside it, two adjustable lugs slide forward when you tighten the screws, clamping the box tight against the board from behind. It works beautifully when the board is sound. Mine wasn’t, not any more.
Key takeaways
- A loose socket plate seems like a simple screw-tightening job—but what if the wall itself is the real problem?
- Every time you crank those screws tighter, you might be accelerating hidden damage that’s already underway
- The cheap replacement part that could have saved months of frustration costs less than a chocolate bar
Why tightening the screws was making things worse, not better
Here’s the uncomfortable truth I’ve since learned from tradespeople and forum threads full of people with the exact same problem: over-tightened faceplate screws crush the gypsum core and split the paper face of the plasterboard. Every time I “fixed” my wobbly plate by cranking the screws tighter, I was grinding away a little more of the very material the lugs needed to bite into. It’s a bit like trying to firm up a wobbly table leg by hammering the screw in harder when the wood underneath has already gone soft. You’re not solving the problem. You’re accelerating it.
The other half of the story is the flex itself. Loose back box lugs let the plate rock and grind the opening wider, which is precisely what happened to me. Each tiny movement, every time someone pulled a plug out a bit too briskly, or the vacuum cleaner clipped the skirting board, was enough to work the hole a fraction larger. Two years of that, repeated dozens of times, adds up to a surprising amount of damage from something that looks so small.
Plasterboard itself isn’t terribly forgiving once its paper skin is compromised. Poor initial cut-outs leave weak, ragged edges, and once that edge starts to go, ordinary knocks and bumps make matters worse fast. Knocks from hoovers, furniture, and suitcases compound the damage, and if your socket happens to sit on a colder external wall, there’s a second enemy at work too, because moisture softens board fibres near cold external walls. My hallway socket, as it happens, backs onto an outside wall. I doubt that helped.
What I actually found when the box came out
The damage wasn’t dramatic to look at from the front. A hairline crack here, a slightly proud edge there, nothing that screamed “problem” until I removed the plate properly. Underneath, the picture was different. Deep fissures, flaking edges and a wobbly faceplate point to crushed plasterboard around the metal back box, and mine ticked every box on that list. The gypsum around the cut-out had essentially turned to powder in places, offering the lugs nothing solid to clamp against no matter how hard I twisted the screwdriver.
Before you go poking around your own sockets, a word of proper caution: this is a job that involves being near live wiring, so kill power at the consumer unit and verify dead at the socket with a voltage tester before any work near live conductors. And if you spot anything beyond crumbling board, don’t push your luck. If you spot sooty marks, melted plastic or a smell of singeing, stop and call a qualified electrician, because that points to a wiring fault rather than a cosmetic one, and no amount of filler fixes that.
The fix that actually holds, and what it costs
The good news is that this particular problem, board that’s simply crumbled around a loose box, is genuinely one of the cheaper electrical repairs going. A straightforward replacement box is astonishingly inexpensive; one tradesperson on an online forum reckoned I’d just replace the box, they are about 40p, which rather puts the whole saga into perspective. Two years of fiddling with a screwdriver, over a part that costs less than a chocolate bar.
For a plasterboard wall specifically, the sensible upgrade is a proper dry-lining back box, sometimes called an adjustable or grip-fix box, which spreads its hold across a wider area of board using wing-like clips rather than relying on two small lugs alone. As one home improvement discussion put it plainly, you should use dry lining back boxes, else you’re securing the faceplate just into the plasterboard, which is exactly the weakness that did for mine. If the existing hole has grown too large for a snug fit, repair clips or an adjustable box designed for oversized cut-outs can rescue the situation without you needing to patch and re-skim the whole wall.
Where the board really has gone to crumbs, patching properly beats papering over cracks every time. If the board disintegrates when pressed, plan a patch rather than a smear of filler. That means cutting back to firm material, backing the hole with a scrap of board or timber batten, and building the surface up in thin coats rather than one thick blob that will only crack again. It’s fiddly, fair enough, but nowhere near as fiddly as what I put myself through.
My screwdriver-and-shrug approach cost me nothing in cash but plenty in patience, and it left the board in a far worse state than if I’d simply swapped the box the first time it wobbled. The lesson I keep coming back to is a small one with a big payoff: a wobbly socket plate is the wall asking for a new box, not a tighter screw.
Sources : sofeminine.co.uk | forums.moneysavingexpert.com