
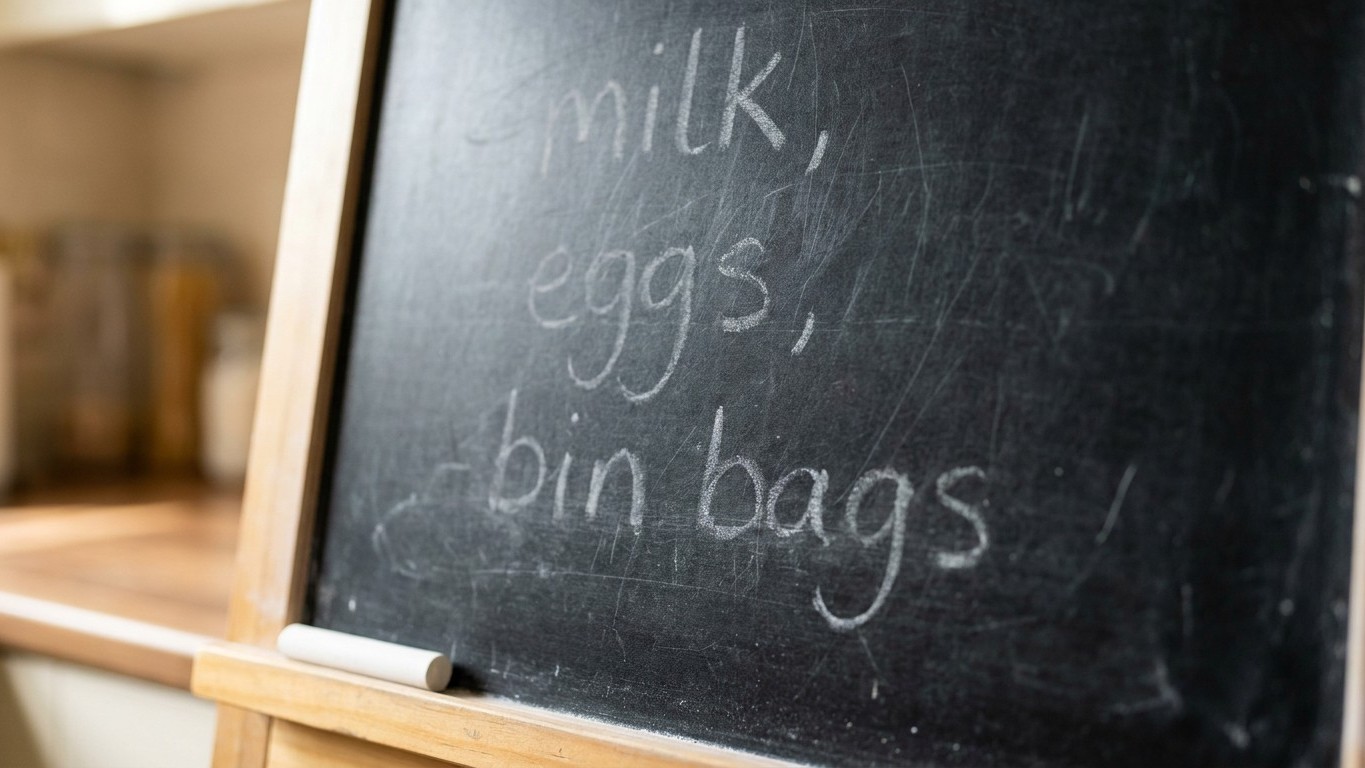
Rubbing a stick of white chalk over the whole surface before writing a single word, then wiping it straight off. That’s the step I’d skipped, and it’s why my lovely new chalkboard cupboard door came out in a two-week-old ghost of every shopping list I’d scrawled on it. The words were gone, technically. But squint at the black paint in the right light and there they were: “milk, eggs, bin bags” hovering like a Victorian séance.
Key takeaways
- Why chalk dust mysteriously clings to fresh chalkboard paint, creating ghostly shadows of old writing
- The one pre-use step buried in chalkboard lore that most people—and paint tins—conveniently overlook
- How to resurrect a ghosted board without starting over, using vinegar and patience
Why the black paint held onto my handwriting
Chalkboard paint isn’t smooth like emulsion, whatever it looks like in the tin. Under a microscope it’s full of tiny pits and pores, and when you write on it fresh, chalk dust works its way down into those gaps rather than sitting neatly on the surface. Chalkboard paint is very porous and therefore when you write on it, some of the chalk remains in the pores of the paint on the board, leaving a ghosting (shadow image) of what you had written. A damp cloth lifts the top layer beautifully. What it can’t do is dig chalk residue out of pores that have never been filled with anything else.
The seasoning process creates a fine layer of dust that settles into the grain of the chalkboard, the fine lines, indentations, and divots that you may not otherwise see, but that are present in both painted and slate chalkboards. My cupboard door had never had that layer. So the first thing I wrote wasn’t just a shopping list, it was permanently claiming every pore in that paint before I’d given it a fair chance.
The step nobody mentions on the tin
Most chalkboard paint tins tell you how many coats to apply and how long to leave between them. Far fewer mention what to do in the days after the final coat dries, and that’s exactly where I fell down. After 3 days, the chalkboard finish is ready to use, and before writing, you should condition the surface by rubbing the side of a piece of chalk over the entire surface and erase it, which will leave a coat of chalk dust that provides the best erasability. It sounds almost too simple to be a “step” at all, which is probably exactly why I glossed over it.
The logic is sound once you think about it properly. By filling the pores with an even layer of dust ahead of time, your words and drawings will rest completely on the surface, and will easily erase when it’s time to start your next project. You’re essentially pre-seasoning a cast iron pan, just with chalk dust instead of oil, and the same rule applies: skip the seasoning and Everything sticks where it shouldn’t.
There is one detail worth being fussy about, and it caught me out again on a second, smaller chalkboard tag I’d painted for the herb tin. Dustless chalk won’t season a chalkboard correctly, so you need to use traditional chalk sticks only. Those tidy little “no mess” chalks sold for children are lovely for keeping the kitchen table clean, but they’re precisely the wrong tool here, because the whole point is generating dust that settles into the paint.
Doing it properly this time
Once I’d worked out where I’d gone wrong, putting it right was genuinely a five-minute job, not the palaver I’d feared. If you’re about to paint a cupboard door, a bit of skirting board, or an old picture frame with chalkboard paint, here’s the order that actually works:
- Apply your coats and leave the full curing time the tin recommends, usually two to four coats with drying time between each
- Wait out the final cure, often a good few days, before you touch it with chalk at all
- Take an ordinary stick of chalk on its side and cover the whole surface, working in one direction and then the other
- Buff the chalk off with a soft, dry cloth rather than a damp one at this stage
- Only then write your first proper list, sign, or doodle
That buffing step matters more than it sounds. A soft, dry rag buffed gently over the chalk helps the dust fill in any nooks and crannies, giving a smooth surface to write on. A wet cloth at this early stage just washes the dust away before it’s had a chance to do its job, which is a mistake I nearly made twice.
Rescuing a board that’s already ghosted
If you’re reading this because your own cupboard door, wall, or old picture frame already has that faint spectral handwriting on it, don’t repaint the whole thing in a huff. Clean the board as thoroughly as possible using a white vinegar and water solution in a fifty-fifty mix with a damp cloth, repeating until the ghost image is as faint as possible. Let it dry properly, then season it as you should have the first time. Some particularly stubborn marks may never vanish completely if they’ve been left a long while, but seasoning after cleaning will prevent any further ghosting going forward, which is really all you can ask of a five-minute job.
My cupboard door is fully seasoned now, and shopping lists come and go without a trace, which was rather the entire point of the exercise. What I hadn’t expected was how much more satisfying it feels to wipe a clean slate rather than a smudgy grey palimpsest of last Tuesday’s tea plans. Turns out the fussy little step you’re tempted to skip is usually the one holding the whole thing together, in kitchens as in most things.
Sources : rustoleumsupport.zendesk.com | erynwhalenonline.com