
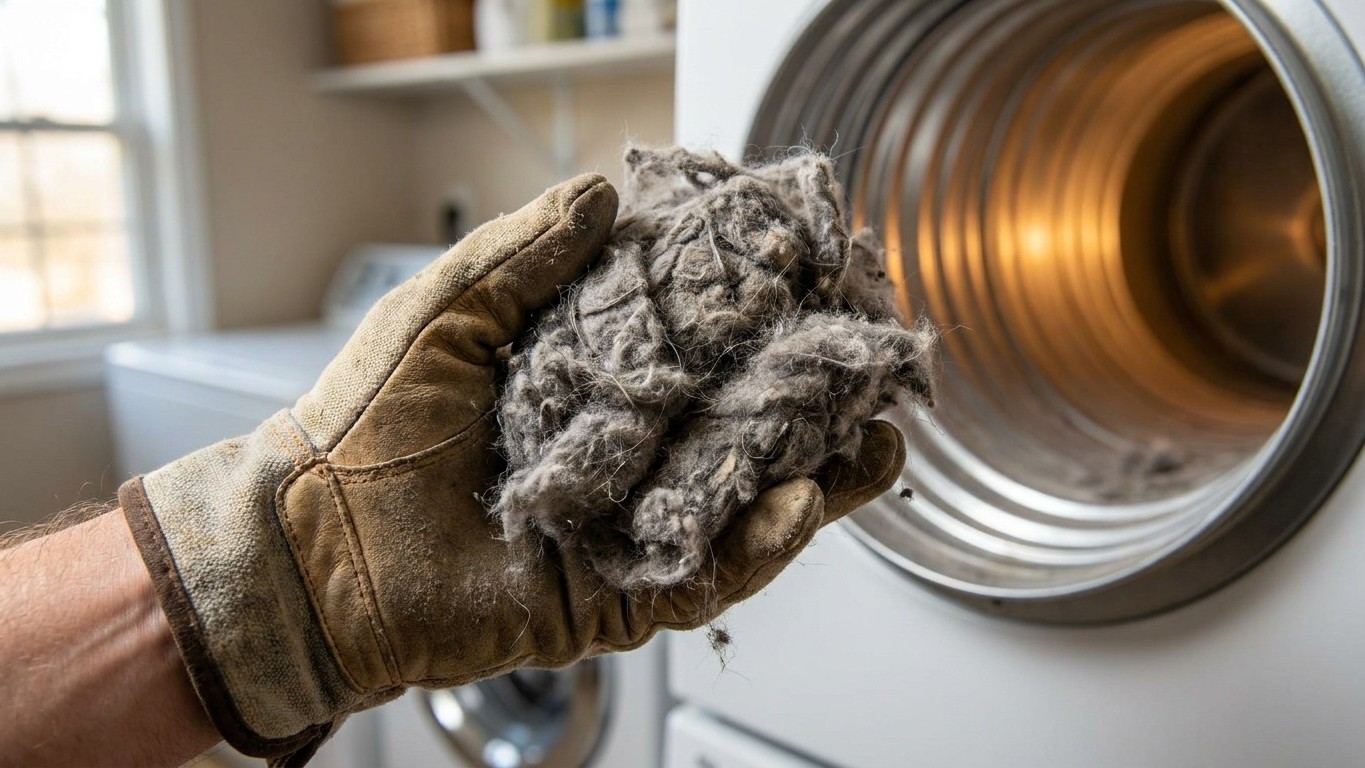
Two years of faithfully clearing that little mesh screen after every single load, and I still ended up staring at a drift of grey fluff thick enough to stuff a cushion. It was tucked behind the access panel at the back of my dryer, in the section most of us never think to check because the lint filter gives such a satisfying, “job done” feeling. That filter, it turns out, only ever tells half the story.
Key takeaways
- The standard lint filter only captures 90-95% of lint; the rest settles silently in places you never check
- Lint accumulation is a documented factor in nearly a third of all dryer fires—and it happens even with a clean filter
- A simple 20-minute twice-yearly maintenance routine could have prevented months of reduced efficiency and hidden fire risk
The Bit Nobody Tells You About the Lint Filter
Here’s the uncomfortable truth: even a perfectly clean lint filter lets some fluff through. A lint filter captures 90% to 95% of the lint produced during each dry cycle, which sounds impressive until you do the maths on hundreds of loads a year. That remaining five or ten per cent doesn’t vanish. It drifts past the trap, settles in the drum housing, creeps behind the panel, and works its way into the ductwork leading outside. Mine had been doing this quietly for two years while I congratulated myself on good habits.
Fabric softener and dryer sheets don’t help matters either, despite feeling like they should. Empty the lint screen after every load, wash it monthly with warm water and mild dish soap to remove fabric softener residue, because that waxy film builds up on the mesh and, once airborne, on the ductwork walls too, giving loose fibres something sticky to cling to. I’d never once washed mine, only brushed it. Small oversight, big consequence.
Why This Isn’t Just an Untidy Cupboard
What I found wasn’t dangerous purely because it looked alarming, though it did. Lint is astonishingly flammable stuff, densely packed dust and fibre sitting inches from a heating element. A safety report from a maritime industry body describes a near-miss inspection where further investigation revealed more accumulated lint within the dryer’s outlet exhaust pipe, and when the end of the outlet pipe was removed to check the inside, it was found that it was approximately 85% blocked by lint. Crucially, that machine’s lint filter had been in place the whole time, which the report noted meant it hadn’t always been in use, or had been used incorrectly. It’s a sobering reminder that the trap alone is not a guarantee of safety.
Nationally, the figures back this up. Household fires caused by domestic appliances remain a significant concern across England, and according to the latest fire statistics published by the Home Office in 2024, nearly 10,000 fires (9,643) each year are linked to kitchen appliances alone, with tumble dryers a recurring culprit among them. Separately, research into causation puts a precise figure on neglect as a factor: “Failure to clean” was cited in 33% of dryer fires, while spontaneous combustion of the clothing load during dryer use contributed to 26% of the blazes. That first statistic is the one that stung. I’d cleaned religiously, just the wrong bit.
There’s a practical cost too, long before you get anywhere near fire risk. A clogged path forces the machine to work harder for longer. A clogged vent restricts airflow, forcing the dryer to run longer and hotter, which raises utility costs, strains the heating element and motor, and shortens the appliance’s lifespan. Looking back, my “quick” dryer had quietly stopped being quick at all somewhere around month eighteen. I’d just adjusted my expectations instead of investigating.
Getting Behind the Panel Properly
The good news: sorting it costs almost nothing beyond a bit of elbow grease and, ideally, a torch. Start by unplugging the machine and gently pulling it away from the wall. If yours is gas-powered, the safety guidance is worth repeating: turn off the gas valve (if you have a gas dryer) and unplug the dryer for safety, remembering a parallel valve means it’s on and a perpendicular valve means it’s off. Locate the flexible hose connecting the machine to the wall duct, loosen the clamps, and disconnect it at both ends so you can see straight through.
From there, a long, flexible dryer vent brush (the kind that looks faintly like an oversized bottle brush, sold cheaply in most hardware shops) does the heavy lifting. Feed it into the hose and the wall duct, twisting and pulling to dislodge compacted fluff, then follow up with a vacuum nozzle to collect the debris rather than just relocating it to your floor. It’s genuinely satisfying work, in a slightly grim way.
If your duct run is long, has several bends, or exits through a roof rather than a nearby wall, don’t be too proud to call in a Professional once a year, particularly if you’ve a large family working the machine daily. As one appliance specialist put it plainly, cleaning frequency should scale with use: clean it more often, every six months or so, if you do a lot of laundry, have a large family. Watch, too, for the tell-tale signs that something’s amiss between cleans, namely clothes needing an extra cycle to dry, the machine or laundry room feeling unusually warm, or a faint burning smell during a cycle. Any one of those three is your dryer politely asking for help.
Worth mentioning as well: the type of ducting fitted behind your machine Matters More Than most of us realise. Cheap, flexible foil or plastic hose is less expensive than semi-rigid or rigid pipe, but also hard to clean without damaging the material, harder to strap up across a line of floor joists, and generally prone to catching lint in every fold. If yours is due a replacement anyway, rigid metal duct is the better long-term investment, fewer creases for fluff to hide in, and considerably easier to brush through next time.
A Habit Worth Adding to the Calendar
My new routine now sits alongside the daily filter-clearing rather than replacing it: twice a year, out comes the vent brush, off comes the panel, and I check the full length of hose and duct while I’m at it. It takes perhaps twenty minutes and has already shaved noticeable time off my drying cycles. The lint filter was never lying to me, exactly, it just never had the whole picture to share. That’s a job for the bit behind the panel, and now, mercifully, it’s one I actually remember to do.
Sources : aol.com | thediyplaybook.com