Sodium percarbonate, also sold as oxygen bleach or “oxi” powder, has been sitting in kitchen cupboards and laundry rooms across the country for years, quietly doing far more than its reputation suggests. Applied as a paste to tired tile joints and left to work undisturbed for 20 to 30 minutes, it can lift away years of discolouration without a single punishing scrub session. No kneeling until your knees protest. No chemical headache. Just patience and a kitchen ingredient that costs a fraction of those flashy specialist bottles.
Key takeaways
- What if the answer to sparkling grout was already in your laundry cupboard?
- Why do specialist grout cleaners cost so much when this ingredient costs a fraction of the price?
- The one mistake that makes grout darker every time you mop—and how to fix it permanently
Why Grout Turns That Depressing Shade of Grey
Cement-based grout is porous. Not slightly porous, not a little bit absorbent, but genuinely sponge-like at the microscopic level. That is the root of every grout problem you’ve ever had. Grout absorbs everything: dirt, soap scum, spills, and moisture. Over time, those particles settle deep inside the lines and turn what was once bright grout into dull grey or even black streaks.
Here is the part that catches most people out. One of the most common causes of discoloured grout is actually dirty mop water. Rather than cleaning the tile, mop water spreads the dirt from the tile surface into the grout. Since the grout sits lowest on the floor, the dirt and grime from the mop water settles right into it. So every well-meaning mop session may have been making things gradually worse. A bit galling, that.
Spills from food, beverages, and cleaning agents can seep into the grout and leave behind stains. Acidic or coloured substances are particularly notorious for causing discolouration. In a British kitchen, that means tea splashes, cooking fats, and even some of those brightly coloured washing-up liquids. Acidic cleaners like vinegar can etch the grout surface, creating even more pores for moisture to enter, so that popular vinegar-and-bicarbonate fizz trick, while satisfying to watch, may actually be working against you in the long run.
The Kitchen Cupboard Ingredient That Does the Heavy Lifting
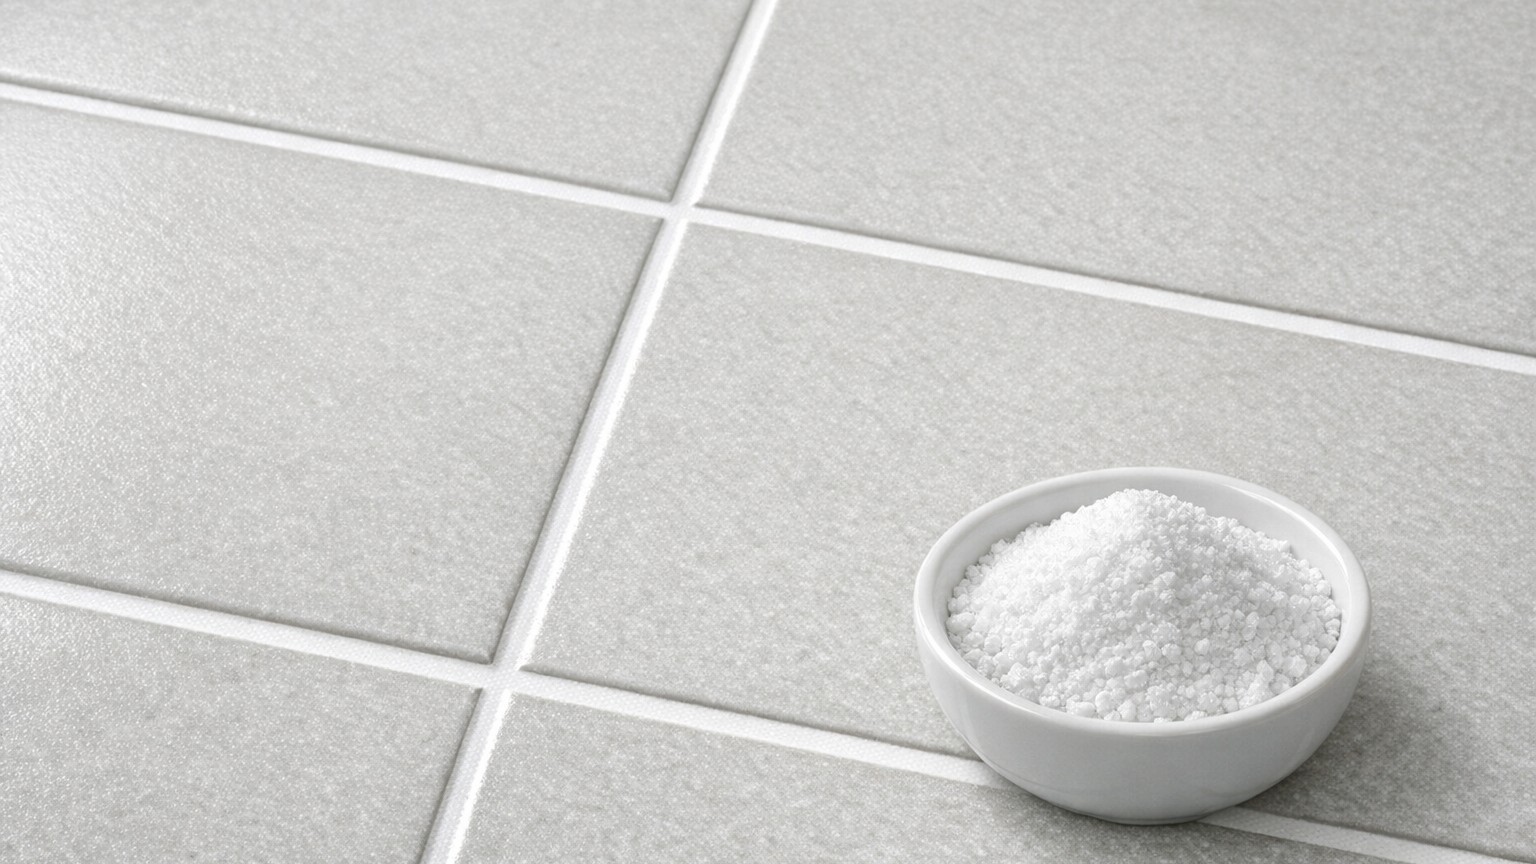
Oxygen bleach is one of the most effective ways to clean grout, especially when the discolouration is coming from built-up grime, soap residue, or light mould. The active ingredient is sodium percarbonate, a white powder you’ll recognise from laundry boosters found in most supermarkets. When sodium percarbonate dissolves in water, it releases oxygen that penetrates the grout’s porous surface and lifts dirt, mould, and stains from the inside out. That is what makes it different from simply scrubbing the surface clean: the action happens inside the grout, not just on top of it.
Unlike chlorine bleach, oxygen bleach uses activated oxygen to lift stains, dissolve organic residue, and kill odour-causing bacteria safely and effectively. This non-toxic cleaner doesn’t emit toxic fumes or leave behind harmful residue, and it’s colour-safe, so it won’t affect your tile. For anyone with children crawling on kitchen floors or a cat who investigates everything, that matters enormously.
One rather pleasing detail: even stubborn spots continue to lighten as the grout dries, giving it a naturally brighter tone by the next day. You clean it in the morning, wander off to do other things, and come back to discover it looks better than you expected. That is the oxygen bleach method in a nutshell.
How to Use It: Step by Step
The method is straightforward and requires nothing you don’t already have at home. Start by sweeping or vacuuming the floor to remove loose debris, this keeps you from simply smearing grime around while you clean and gives the oxygen bleach direct contact with the grout.
Mix oxygen bleach powder with warm water until it forms a thick paste. It should be wet enough to activate, but thick enough to stay on the grout. A rough guide is two tablespoons of powder to just enough water to make a spreadable consistency, similar to toothpaste. Press the paste directly onto the grout using an old toothbrush, spoon, or gloved fingers. Focus on covering the grout rather than the tiles. You’re not scrubbing at this stage.
Now comes the part most of us struggle with: doing nothing. Let it sit for 10 to 15 minutes before doing anything else. This dwell time is what allows the solution to penetrate and break apart stubborn grime. Skipping this step is the reason most people end up scrubbing harder than necessary. When you give the cleaner time to work, most of the dirt lifts away with minimal effort. For heavily discoloured joints, leave it for at least 15 to 30 minutes. For more stubborn areas, people often leave it longer. This is where most of the cleaning happens, not during scrubbing.
There is also a helpful trick for wall tiles where paste tends to slide: cover the treated areas with cling film, which prevents the paste from drying out too quickly, giving it more time to penetrate and break down those stubborn stains. For very neglected grout, leaving it anywhere from six to eight hours, or even overnight for tough jobs, means once the dwell time is up, a thorough rinse with water followed by a simple wipe is often all it takes.
After the dwell time, take an old toothbrush and work lightly along the joints. If it feels like you need to scrub hard, it usually just needs more time. Wipe up any excess powder or grime with a wet cloth and give the whole area a good rinse. If you’re doing floor grout, a quick mop afterwards gives you a clean, finished look.
Keeping It Looking Good (Without Starting All Over Again)
Once the grout is clean and fully dry, allow 24 to 48 hours, sealing it is genuinely worth the effort. Due to the porous nature of grout, sealing after cleaning is advisable, as the sealer creates an invisible shield that protects your grout from water and contaminants that would otherwise seep within and discolour your grout lines. As a general rule, grout should be resealed every one to two years. In high-traffic or moisture-prone areas, more frequent resealing may be necessary.
A quick test tells you when the time has come: drip a few drops of water onto the grout lines. If the water beads up and stays on the surface, your sealant is still effective. If the water absorbs into the grout, it’s time to reseal. Simple, costs nothing, takes ten seconds.
No matter what, grout picks up dirt and oils over time. But if you use this oxygen bleach method every couple of months, each round gets easier because you’re never letting the build-up get ahead of you. A small handful of powder, a bit of warm water, and twenty minutes of patience: that is genuinely all it takes. One more thing worth knowing, many oxygen bleach products are diluted with fillers, which means you’re getting less of the active ingredient and weaker results. If you want it to actually work on grout, look for a product that is 100% sodium percarbonate. Check the ingredients label before you buy, and you’ll spend less and get far better results.
Sources : blog.simplyearth.com | valleyfreshcarpets.com