A single knuckle rap on the wall before you even look at a drill bit can save you an entire afternoon of frustration, a bag of filler, and the quiet shame of watching your curtain pole slide slowly towards the floor. That is the one thing a builder taught me, and it changed the way I approach every hanging job in the house.
Key takeaways
- A single knock on the wall reveals secrets that a drill bit can’t tell you
- Your plugs aren’t failing because they’re cheap—they’re failing because they’re in the wrong material
- One builder’s casual comment changed how an entire house gets fixed
Why your plugs keep falling out (and it’s not the plugs)
Most of us follow the same ritual. Drill a hole. Poke in a plug. Drive the screw home. Stand back, satisfied. Then, three weeks later, the shelf sags and the plug sits on the skirting board looking sheepish. Most weekend DIY disasters start from this same assumption: drill a hole, push in a plug, drive a screw, job done. That shortcut works sometimes, then fails dramatically the day you load the shelf with cookbooks.
The real culprit, almost every single time, is a mismatch between the plug and the wall it was put into. Plaster itself is no good for fixing into. Bricks and blocks are, with the right type of plug. So if your drill stopped in the plaster layer and never reached the masonry behind it, your plug was never gripping anything solid at all. The plug should be in the brick, not in the plaster, so drill extra long, so that this happens, and buy the longer screw to suit.
There is another common trap that catches even sensible people: drilling into the mortar between bricks rather than into the brick itself. Mortar is far softer and crumbles under load. Make sure you go into the brick itself, and not the mortar between the bricks. A bit of patience lining up your mark can make the difference between a fixing that holds for decades and one that gives way the first time a child tugs on a towel rail.
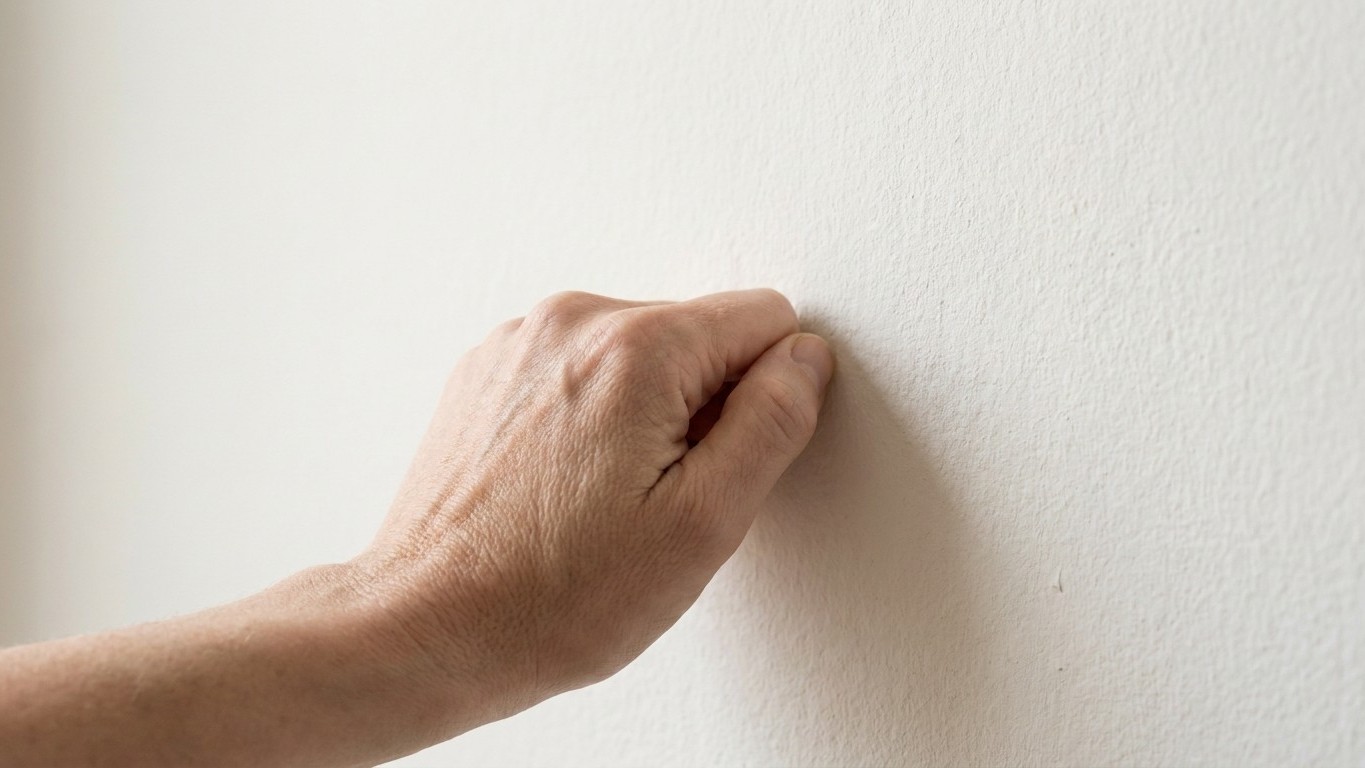
The tap test: what that builder actually did
The builder, who had come round to look at a damp patch, walked straight up to the wall I’d been battling with, knocked it gently with his knuckles in three or four spots, and said simply: “That’s not solid, love. That’s dot and dab.” He was right, of course. And suddenly Everything made sense.
You can identify your wall with a simple tap test. Knock on the surface with your knuckle. A hollow, drum-like sound indicates a plasterboard stud wall. A solid, dull thud suggests you’re dealing with a masonry wall, such as brick or block. That is the whole trick, more or less. Ten seconds of listening before you pick up the drill.
The wall in my hallway was a dot and dab wall, a system that has become very common in UK homes built from the 1970s onwards. Dot and dab walls are used increasingly in modern houses. They comprise a solid wall with plasterboard stuck onto it using “dabs” of adhesive, creating a small void, usually around 10 to 20mm, in the wall which is faced with plasterboard. If your house was built in the UK from the 1970s onwards, all solid walls are likely to be dot-and-dab dry lined. You can tell by knocking on the wall — some areas will sound hollow and some will sound completely solid. The hollow patches are the voids between dabs, and a standard plug pushed into those spots grips nothing whatsoever. The plasterboard is largely unsupported in those spots, which creates the “hollow” sound when you tap. Standard wall plugs do not grip well in the plasterboard, and of course not at all in the air gap.
Stud walls, the lightweight timber-framed partitions common in extensions and newer builds — behave the same way. The solid points run vertically at regular intervals between 300 and 600mm, with short horizontals or “noggins” between each. Plasterboard walls will almost always sound hollow when knocked on. There are fixings designed for stud walls, but they all face the same limitation: the plasterboard itself becomes the limiting factor, rupturing when overloaded. Ideally, if you have a heavy load to fix, you should fix directly to one of the mounting studs behind the plasterboard.
Matching the right fixing to what you’ve actually got
Once you know what your wall is made of, choosing the right fixing becomes much more straightforward. For masonry walls, brick or concrete, use wall plugs with masonry drill bits. For plasterboard walls, use hollow wall anchors or toggle bolts to prevent fixings from pulling out.
For dot and dab walls, the situation is slightly more nuanced. The solid wall bit is where most people fall down. You tap the wall, think it’s hollow, use a hollow wall fixing, and wonder why it doesn’t work. With dot and dab, you need to treat it like a hollow wall in some situations and like a solid wall in others. If you hit a dab, one of those solid adhesive patches, a standard masonry plug works perfectly well. If you land in a void, you need a hollow wall fixing, or ideally a longer plug that reaches all the way through to the blockwork behind. Dot and dab walls have the benefit of the strength of a solid wall, but long fixings are needed in order to get a secure hold.
The drill bit size matters just as much as the plug type. You need a 6mm drill bit for a 6mm wall plug. The rule is to always match the diameter of the drill bit to the diameter of the wall plug. This creates a snug hole that allows the plug to grip the sides securely once a screw is inserted. Using a bit that’s too large will result in a loose fixing that can easily pull out under load.
If you’re not entirely sure what you’re drilling into, the dust that comes out of the hole tells you. White, chalky dust means plasterboard; red or grey, gritty dust indicates you’ve hit masonry. A tiny pilot hole in an inconspicuous spot, perhaps behind where a bracket will sit anyway, costs nothing and tells you Everything.
When the damage is already done
Perhaps you’re reading this having already wrenched a plug out and left a ragged, crumbly hole behind. Don’t despair, it happens to the best of us. For very porous masonry, some tradespeople inject a small amount of construction adhesive or resin into the cleaned hole before pushing the plug in. Once set, the plug sits inside a hardened shell rather than soft dust. That technique locks the fixing but can make later removal much harder, so it suits permanent installations like boiler brackets or heavy cabinets.
For a lighter repair, say a picture hook that pulled out of a plaster wall, if a plug spins, you can fix it by filling the gap around it. Slide cable ties down the sides of the hole, hammer in your wall plug, then clip off the ends flush with the wall. It sounds unlikely, but it genuinely works. Alternatively, behind plasterboard, a short wooden batten fixed across two studs gives a solid line for screws. On flaky plaster, cutting back to a sound area and filling with a strong repair compound creates a mini “island” of solid material.
One final thing worth knowing: the original wall plug was invented by John Joseph Rawlings in 1911 and marketed under the name Rawlplug. This brand name has since become genericised in the UK, being equally applied to wall plugs from competing manufacturers. Over a century of use, and the single biggest reason they fail is still the same one, someone skipped the tap test.
Sources : idealx.org | bespoakinteriors.co.uk