Those tiny white flecks embedded in a freshly painted wall are not paint bubbles, not dust from the room, and not a sign that your tin was faulty. They are fibres. Loose, short fibres shed directly from the nap of a brand-new roller sleeve, pressed into wet paint and dried there permanently. A decorator friend spotted them on my hallway wall after I’d proudly shown off what I thought was a professional finish, and his explanation stopped me cold. I had never once prepared a new roller before using it, and apparently neither do most people.
Key takeaways
- What those mysterious white specks actually are and why they appear on every freshly painted wall
- The decorator’s secret that takes under two minutes but can save you hours of sanding and repainting
- The storage and cleaning habits that extend roller life and guarantee a smooth finish every time
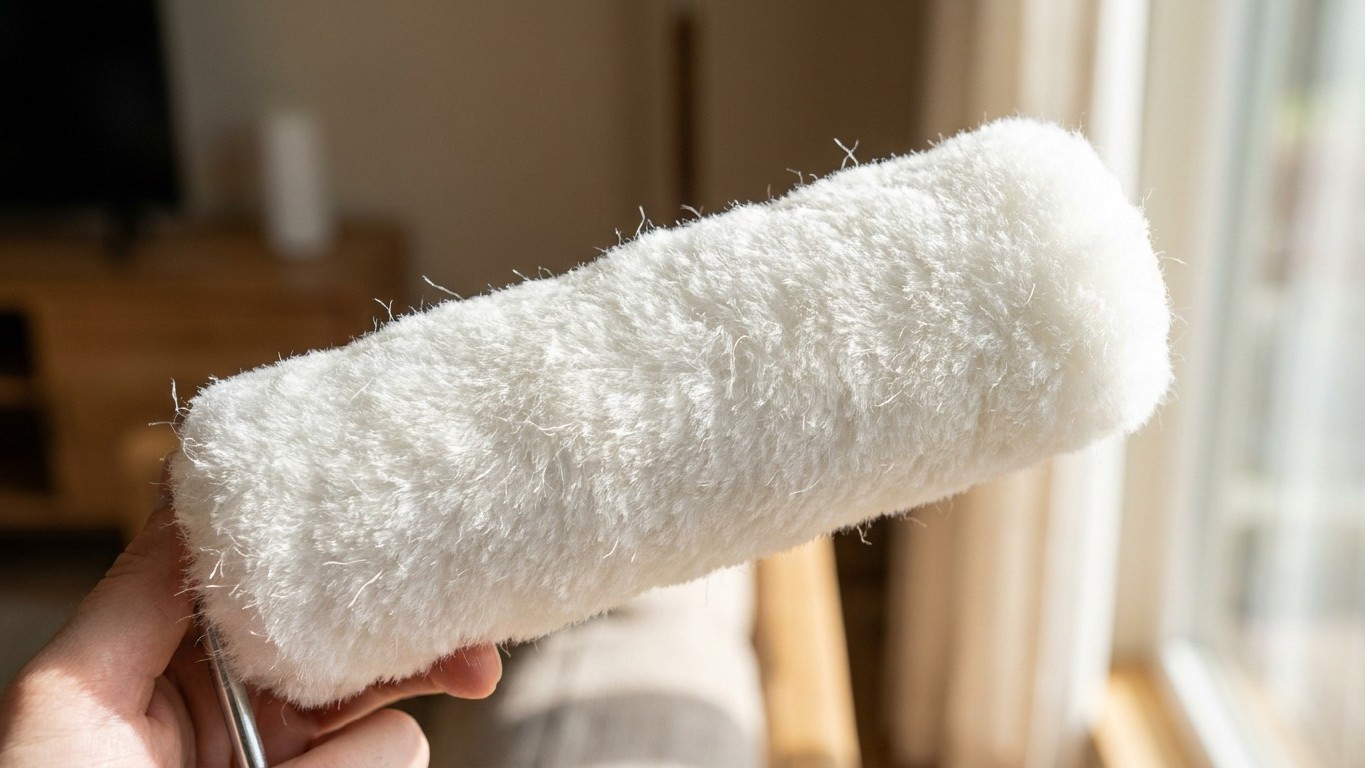
Why new roller sleeves shed in the first place
A roller sleeve, whether short-pile for smooth walls or thick-pile for textured surfaces — is essentially a fabric wrapped around a cardboard or plastic core. The manufacturing process leaves the cut edges of that fabric loose and unfinished, with individual fibres projecting outward and clinging on by very little. On the very first use, the mechanical action of rolling against a wall is enough to work those fibres free, one by one, straight into your topcoat.
Synthetic microfibre sleeves tend to shed less than traditional lambswool or woven-pile versions, but none are truly exempt. The problem is worse with cheap sleeves, where the nap bonding is less consistent, but even a mid-range sleeve from a reputable hardware shop will deposit a surprising number of fibres on a first pass. My decorator told me he had seen entire lounge walls ruined this way, with clients who had to sand back and repaint because they assumed the speckling was a paint defect.
The prep method that takes under two minutes
The fix is almost embarrassingly simple. Before you dip a new sleeve into any paint, wrap it firmly with masking tape, the wider the better, pressing down across the entire nap surface. Then peel it back in one clean strip. You will see the tape lift away covered in loose fibres. Repeat two or three times, rotating the sleeve as you go, until the tape comes away relatively clean. This is the same principle as a lint roller on a jumper, and it works just as well.
A second method, often preferred by professional decorators, is the damp-sleeve technique. Run the new sleeve under a tap until it is thoroughly wet, then squeeze out the excess water firmly by hand. Roll it briskly back and forth on a clean piece of old cardboard or newspaper for a minute or so. The damp nap clings to its own loose fibres and the rolling action teases them out onto the cardboard rather than into your paint. Once done, squeeze out all remaining moisture and allow the sleeve to air dry before use, or pat it dry with a clean cloth if you are working with water-based paint and do not want to dilute it.
Both methods together take no more than two minutes and can spare you hours of sanding or repainting. Given that a decent tin of emulsion costs considerably more than the roller sleeve itself, the time investment is rather obvious.
What to do if the damage is already done
discovering speckled walls after the paint has dried is disheartening, but the situation is salvageable. A fine-grit sanding block, 240-grit works well here, used with a very light hand will knock back the proud fibres without gouging the paint surface. Work in small circular motions and keep the pressure gentle; you are skimming the surface, not sanding through to the plaster. Wipe down with a barely damp cloth afterwards to remove the dust, allow it to dry completely, and apply a fresh topcoat. The result, in most cases, will be indistinguishable from a clean first attempt.
If the wall in question has a sheen finish (silk or satin rather than matt), you need to be especially careful with the sanding stage, because even light abrasion can leave dull patches that catch the light differently to the surrounding area. In that case, some decorators recommend simply applying a second full coat without sanding first, accepting that the fibres will be slightly proud but hoping the new layer softens their outline. It is a compromise, and not one that always works, but on textured or busy-pattern walls it can be adequate.
Roller care habits worth keeping for every job
Beyond the initial prep, how you store and clean roller sleeves makes a genuine difference to the finish you achieve. A sleeve left to dry out mid-job, even briefly, will develop hardened patches that deposit uneven amounts of paint on the next pass. If you are breaking for lunch rather than finishing a room, wrap the loaded sleeve tightly in cling film or a plastic bag, squeezing out the air as best you can. It will stay usable for several hours without cleaning.
At the end of a job, cleaning water-based emulsion from a sleeve under running water while working the nap with your fingers is far more effective than simply rinsing and hoping. The goal is to press the paint out from the base of the fibres, not just rinse the surface. A well-cleaned sleeve, dried properly and stored away from dust, can be reused several times with no loss of quality. Replacing sleeves every single job is, frankly, unnecessary expense.
One small footnote worth knowing: the direction you roll when loading paint onto the sleeve matters more than most people realise. Always load in the same direction as your final application strokes, so the nap lies consistently rather than being compressed at opposing angles. It sounds minor, but on large flat walls in raking light, it is the difference between a finish that looks smooth from across the room and one that has a faint ribbed texture running through it.