There is a very specific moment that decides the fate of any paint job, and it has nothing to do with the brush you choose or how many coats you apply. It happens before you open the tin. The invisible wall flaw that causes fresh paint to blister, bubble, and peel within months is almost always the result of one skipped step during surface preparation, a step that most enthusiastic decorators overlook in their eagerness to get the colour on the walls. Getting it right costs almost nothing extra in money. Only a little more in time.
Key takeaways
- A single invisible layer beneath your walls is sabotaging your paint job before you even open the tin
- The step most people skip accounts for 60% of professional painting labour—and it’s not what you think
- One common glossy surface mistake, ignored by even experienced decorators, leads directly to peeling within months
Why Your Paint Is Failing Before It Even Has a Chance
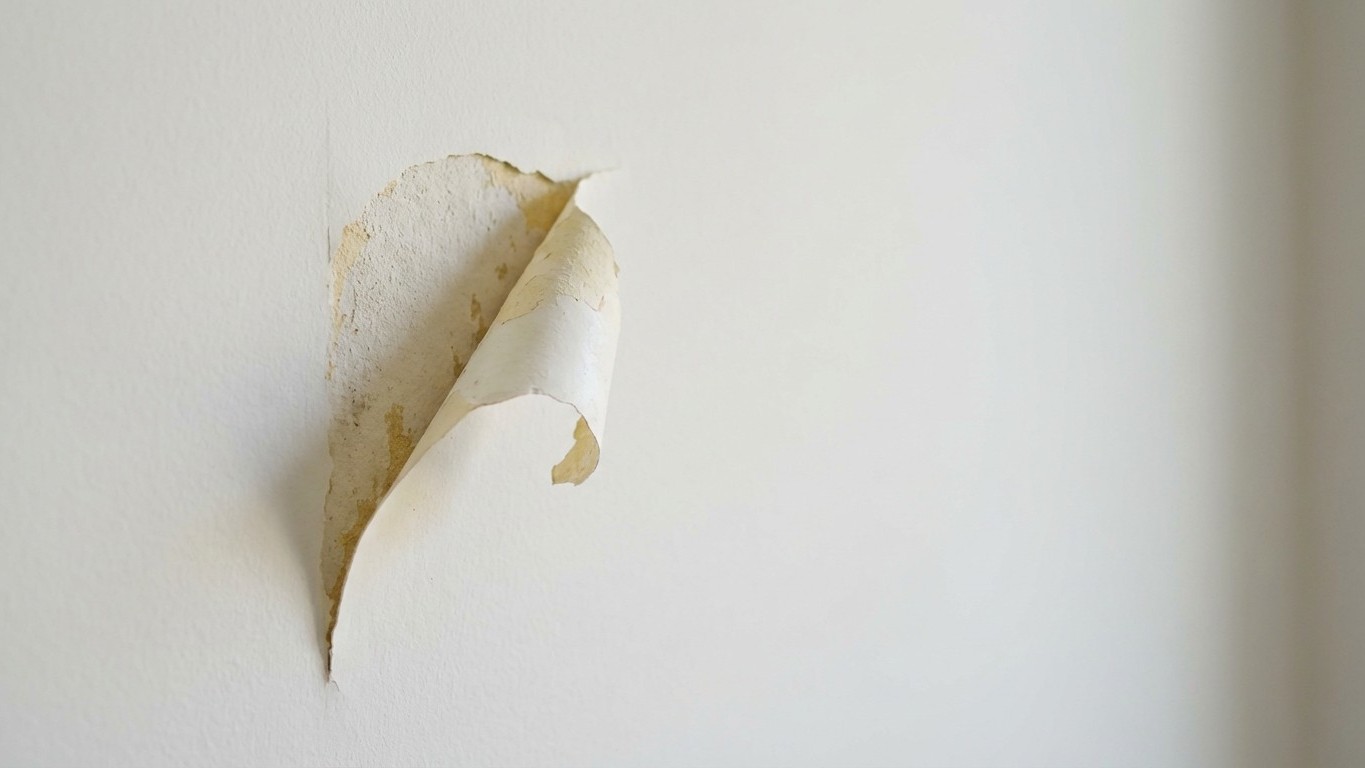
Fresh paint fails for predictable reasons. Peeling edges, patchy sheen, roller lines, and hairline cracks showing through usually do not start with the paint itself. They start with poor prep. This is the truth that the packaging on even the finest tins of emulsion will never quite spell out for you. The paint is innocent. What is guilty is the invisible layer of dust, grease, and contamination sitting on the wall beneath it, a layer you cannot always see but one that the paint can always find.
Paint is not just a colour layer, it is a film that must chemically and mechanically bond to a substrate. If the surface is dirty, wet, chalky, or glossy, the bond fails. Think of it like trying to stick a plaster to a sweaty arm. It holds for a moment. Then, slowly, the edges lift. This is precisely what happens to paint applied over an inadequately cleaned wall, and surface prep accounts for up to 60% of the total labour in a high-quality paint job — and yet it is the most overlooked part.
Dirty walls are one of the most common reasons paint does not adhere properly. Grease, dust, smoke residue, and fingerprints all prevent paint from bonding. In a British home, this is especially worth noting in hallways (where hands constantly brush the walls), above radiators (where dust collects in warm rising air), and of course in kitchens. Kitchens, service yards, and high-touch areas often need more attention because oils and grime interfere with adhesion. A quick glance at the wall may reassure you it looks clean. Run a damp white cloth along it. You will often be surprised.
The Step 90% of People Skip: Proper Cleaning Before the Primer
Here is what most decorators do: they give the wall a cursory wipe, perhaps sand a few rough patches, crack open the paint, and get on with it. Here is what should actually happen first.
Start by cleaning the surface with soap and warm water. Gently remove dirt and other debris by scrubbing the surface in a circular motion. For more stubborn areas, use an abrasive sponge or grease-cutting detergent. Rinse the area with warm water and a rag to remove residue, then allow the surface to dry completely. In British decorating circles, sugar soap has been the go-to product for generations, and it earns its reputation. A sugar soap solution, following the manufacturer’s directions, is a mild detergent made especially for washing walls before painting. Mix it with warm water, work it in with a sponge, rinse thoroughly, and then, crucially, wait.
The waiting part is where people lose patience. Walls must be allowed to dry fully before the next step. Rushing this part causes avoidable failures, especially in humid conditions. A wall can look dry and still hold enough moisture to weaken filler, sealer, or paint. Moisture meters should show a reading below 15% before any paint goes on, and while most of us do not own a moisture meter, leaving at least 24 hours between washing and painting in a well-ventilated room is a sensible rule of thumb.
Once the wall is genuinely clean and dry, attention turns to the surface itself. Anything peeling, flaking, or powdering has to go. This step is where many DIY jobs go wrong. People stop at the visibly peeling spot, but the edges around it may already be weak. A proper prep job checks beyond the obvious defect so the finished wall does not fail around the repair line. Tap the wall lightly in suspicious areas. A hollow sound tells you the old paint has already lifted away from the plaster beneath, even if it is not visibly curling yet.
Filling, Sanding, and the Bit Nobody Talks About: Glossy Surfaces
Fill holes, cracks, and dents with a spackling compound or filler. Smooth it out with a putty knife and let it dry. Sand the patched areas until flush with the wall. Overfilled patches create humps. Underfilled patches sink back and show through after painting. A good patch should disappear after sanding, not announce itself under the final coat. This is where patience genuinely pays off. A second light skim of filler, once the first coat has dried and been sanded back, often gives a far smoother result than trying to fill a hole in one go.
There is one particular trap that catches out even experienced decorators: painting over a glossy finish without any preparation. Existing glossy or semi-gloss paint gets a light sand to give the new paint something to grip. Skipping this on glossy surfaces is a common mistake that leads to peeling. A lightly sanded surface has texture at a microscopic level. Paint flows into those tiny grooves and locks in place. You are not trying to strip the old finish back to bare plaster. Just a pass with fine-grit sandpaper (around 120 grit is perfectly adequate) is enough to break the sheen and give the new coat something to hold onto.
And then there is the paint compatibility issue that quietly ruins more walls than people realise. If your home has older oil-based paint and you paint over it with latex without proper priming, the two types will not bond. Over time, this mismatch causes separation between the layers, which shows up as flaking or chipping. If you are unsure what type of paint is on the wall, rub a small area with methylated spirits on a cloth. If paint comes off, it is water-based. If nothing shifts, it is oil-based, and you will need a specific bonding primer before anything else goes on.
Primer: The Layer That Does the Actual Work
Primer does things paint simply cannot. It seals porous surfaces so paint does not soak in unevenly. It blocks stains from bleeding through your new colour. It creates a consistent base so your topcoat goes on smooth and covers in fewer coats. It helps paint stick to surfaces that would otherwise reject it, like glossy old paint or fresh drywall. Skipping primer to save money is one of those shortcuts that costs more in the end, both in extra tins of topcoat and in a finish that starts lifting six months later.
A tin of primer costs less than a tin of paint. It goes on faster. It saves you money and time on topcoats. The only thing it costs is patience, and that is usually what DIY projects run out of first. Wise words, and ones that echo what generations of decorators have learned the hard way. There is something almost meditative about doing a job properly from the start, knowing that the wall you are standing in front of in five years’ time will still look exactly as you intended it to look today. The colour, after all, is only as good as what lies beneath it.
The question worth sitting with, as you reach for that roller, is a simple one: what is underneath my wall right now, and do I actually know what it is? The answer to that might well be the most important coat of paint you never applied.
Sources : hydetools.com | rwpropainting.com