A wooden ladder pulled from a skip, a quiet Saturday afternoon, and a bathroom that had needed a proper towel rail for months. That was all it took. What started as a slightly impulsive rescue mission ended up producing the most-admired thing in my entire house, and every single person who sees it asks where I bought it.
Key takeaways
- A single afternoon transformed overlooked skip treasure into bathroom storage that guests keep asking about
- Old wooden ladders possess surprising structural advantages that make them almost suspiciously perfect for this job
- The real secret isn’t just the DIY—it’s understanding why one person chose rescue over retail
Why a skip-salvaged ladder is actually perfect for this job
Old wooden ladders have a few qualities that make them almost suspiciously well-suited to bathroom storage. The rungs are already spaced at sensible intervals, the wood tends to be thick and solid (none of that modern hollow nonsense), and the A-frame shape means the whole thing can lean against a wall without a single wall plug. If you have tiles you’ve been quietly dreading Drilling into, a leaning ladder rack is an absolute gift of a solution.
The one I found was an old domestic step ladder, probably five or six rungs high, painted over several times in shades that told a small history of someone’s decorating life. Cream, then a stubborn mint green, then a muddy magnolia on top. Underneath all of that, when I sanded the first rung out of curiosity, was decent pine. It’s worth being realistic here: not every skip ladder will be salvageable. Give it a proper inspection before you get your heart set on it. Look for rungs that are still firmly joined at both ends, wood that hasn’t gone soft or spongy with damp, and no signs of woodworm (those tell-tale little exit holes). A few surface cracks or chips are perfectly fine and will only add character.
The afternoon’s work, step by step
Start with a good sand. I worked through three grits: a coarser paper (around 80 grit) to strip back the old paint and smooth any rough edges, then 120 grit to refine the surface, and Finally 180 grit for the rungs themselves, which your towels will be touching directly. The rungs matter most here. You don’t want snagged fabric or, worse, a splinter in a freshly washed hand. Give the whole ladder a wipe down with a barely damp cloth afterwards and let it dry completely before you do anything else.
Now, the finish. Bathrooms are humid places, so bare wood isn’t really the right choice for a long-term project. I used a clear hard-wax oil, applied in two thin coats with a lint-free cloth, buffing lightly between coats. It brought out the grain beautifully and created enough of a protective layer to handle the steam from a daily shower. If you’d rather have colour, a water-based eggshell paint works well and is more moisture-resistant than standard emulsion. A soft sage green, a chalky off-white, or even a deep forest shade would all look wonderful depending on your bathroom’s palette. Just allow each coat to dry fully, which in a warm room typically means a couple of hours between applications.
Once the finish has cured (I gave it a full 24 hours, though it was touch-dry much faster), lean the ladder against the wall at a slight angle. If the floor is tiled and you’re worried about slipping, small rubber feet, the kind sold for furniture legs, can be pressed onto the base of each stile. They’re inexpensive, nearly invisible, and make the whole thing remarkably stable.
Making it genuinely useful, not just pretty
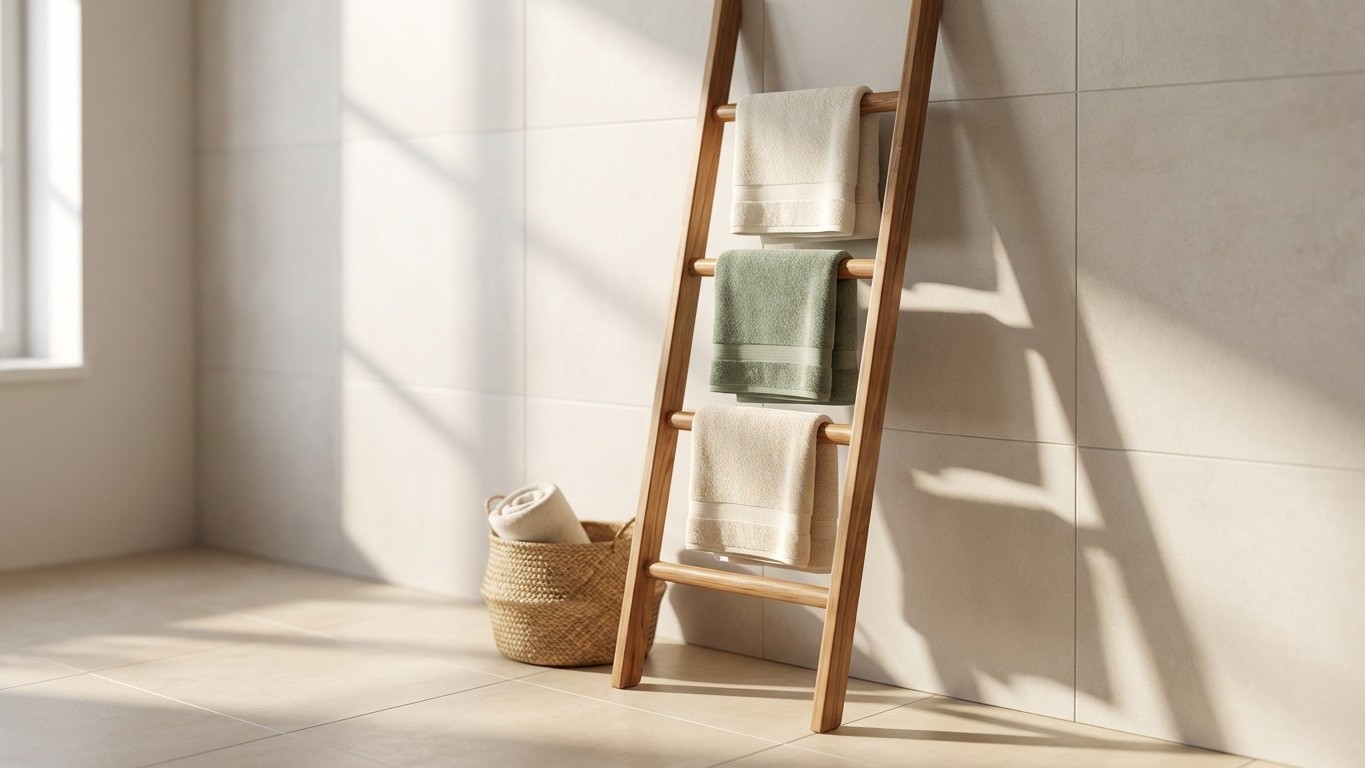
A leaning ladder rack earns its keep in a bathroom when you think a little about how you actually use the space. The lowest rungs are naturally easiest to reach, so those work best for everyday bath towels. Hand towels can sit on the middle rungs, and the higher rungs are ideal for things you reach for less often, a spare guest towel, a dressing gown draped loosely, a eucalyptus bundle if you’re feeling fancy.
Small additions can transform the ladder from storage into something that feels genuinely considered. A few small S-hooks hung from a rung can hold a washbag or a loofah. A basket balanced across two rungs creates a shelf of sorts, useful for rolled hand towels or spare soap. You can even tie a simple length of jute twine between two rungs and use it to hang lightweight items. None of these additions cost much, and most can be found in charity shops or budget homewares sections without any trouble at all.
If you have a slightly longer ladder and a bathroom with a bit more floor space, an A-frame version (where both sides of the ladder open out) will stand independently and gives you storage on both sides. The same finishing process applies, though you might want to add a small chain or piece of rope between the two sides near the top to stop it splaying open further than you’d like.
The part nobody talks about
There’s something quietly satisfying about an object that has already had a long life being put back to use. That old ladder held someone’s weight while they painted their ceilings or cleared their gutters, probably for decades. Giving it a second life in your bathroom costs almost nothing beyond an afternoon and a few supplies, which makes it about as budget-friendly a home improvement as you can get.
The question I Keep Coming Back to is why we reach for flatpack solutions when perfectly made old wood is so often sitting in skips, waiting. A good ladder has joinery that most modern furniture can only dream of. Next time you walk past a skip, it might be worth slowing down.