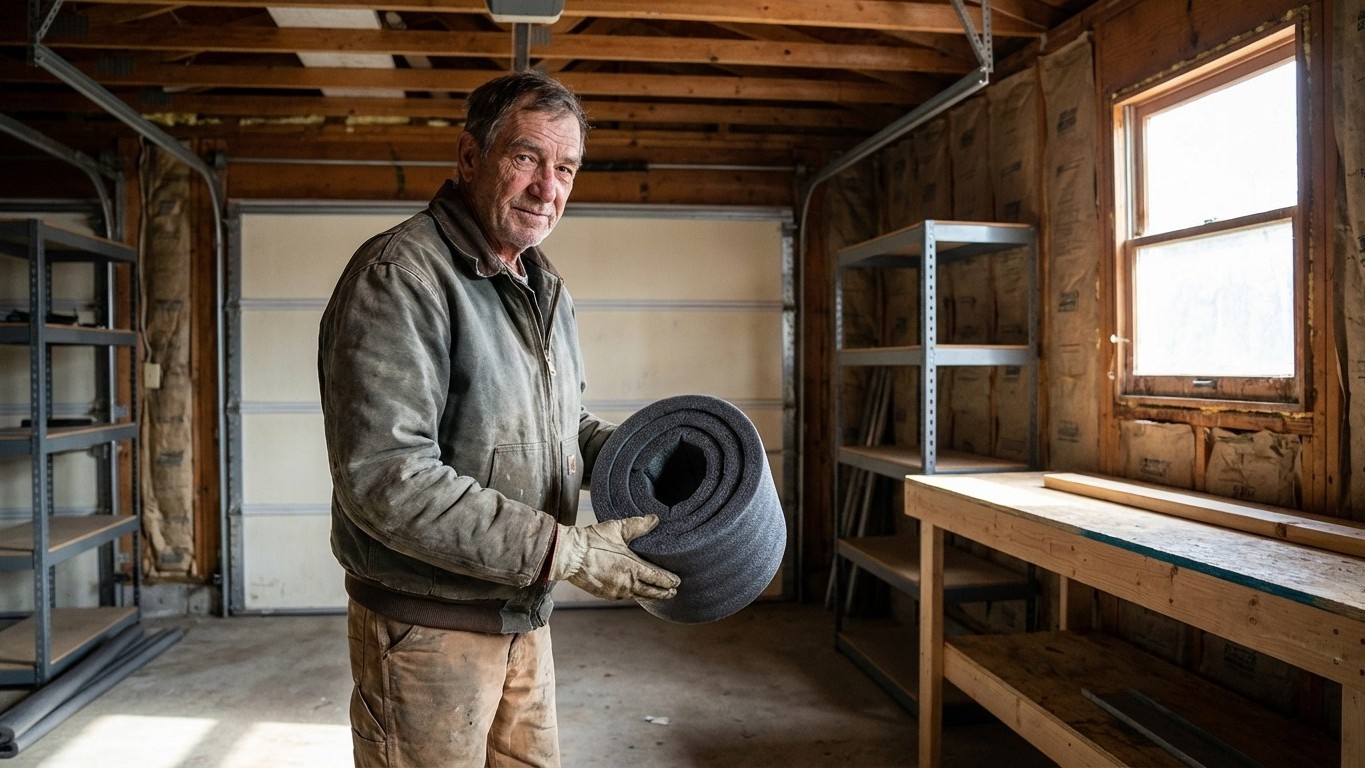
My grandfather once sealed an entire single garage for under £15. A roll of mineral wool between the roof joists, a strip of foam pipe lagging along the bottom of the up-and-over door, and a few offcuts of polystyrene sheet against the back wall. The result wasn’t pretty, but it worked a treat. Fast forward a few decades, and the first quote I received to do something similar came in at just over £400, complete with a clipboard, a confident handshake, and a brochure full of words like “thermal performance optimisation.” The price gap tells you something important: a large part of what you pay for is labour and business overhead, not the materials themselves.
Key takeaways
- A single garage insulation quote jumped from £15 to £400 in a few decades—but materials still cost under £80
- The roof and door are where heat actually escapes; walls come last and may not be necessary
- Foam pipe lagging sealing the door bottom costs pennies but can reduce heat loss by 78%—your grandfather knew this trick decades ago
Why the Gap Between DIY and Professional Feels So Wide
The cost to insulate a garage in the UK typically ranges from £35 to £45 per square metre when using a professional, depending on the type of insulation material, installation complexity, and specific areas being insulated. For a standard single garage of around 15–18 square metres of wall and ceiling space, that arithmetic lands you squarely in the £400–£600 region before anyone has lifted a single board. Labour costs also vary significantly based on location, with urban areas generally commanding higher rates than rural regions.
The thing is, the materials themselves are far cheaper. Fibreglass is one of the most budget-friendly options, costing around £10 per square metre, available in rolls or batts that fit easily between wall studs and ceiling joists. Rigid foam boards, made from polystyrene or polyisocyanurate, cost around £10 to £21.50 per square metre. A modest single garage treated on walls and roof with basic materials needn’t cost much more than £50–£80 in supplies. The rest of that Professional quote is time, van, fuel, public liability insurance, and profit margin. None of those are unreasonable on a tradesperson’s part, but they’re also entirely avoidable if you’re comfortable holding a staple gun.
Where to Start (and What Actually Makes the Difference)
Most garages in the UK consist of breeze blocks, making them notoriously chilly. Heat escapes from every surface: the roof, the walls, the floor, and above all, the enormous metal door. Insulation doesn’t make your garage warm on its own, but it slows down heat loss and protects the building from rapid changes in temperature. Think of it as plugging a colander rather than buying a new bucket.
The roof is the single most important place to start. Heat rises, and if your garage ceiling isn’t insulated, you may as well have the doors open because you’re simply not holding on to your heat. Rigid insulation boards are considered the best choice for garage roof insulation by many DIYers and professionals. They’re easy to cut with a sharp knife, lightweight enough to manoeuvre alone, and can be wedged or pinned between joists in an afternoon. If your roof has exposed timber trusses, apex roofs in garages are built the same way as the roof in your house, and the most common method is to fill the gaps between the roof joists with insulation.
The garage door deserves more attention than it usually gets. Most people look at their bare metal up-and-over door and assume insulating it requires professional intervention. Not so. There are specific materials available for insulating a garage door, and these are all glued to the inside of the door, either self-adhesive or with adhesive pads, making it a simple DIY job. DIY insulation kits are designed to be easy to install by the average person, Without the need to enlist professional help, and installation can typically be completed in under an hour. The thermal improvement is real: a well-fitted door insulation kit can represent a 78% reduction in heat loss through the door.
My Grandfather’s Secret Weapon: the Draught
Here’s where old-fashioned wisdom really earns its keep. Before anyone insulates a single wall panel, the draught must be dealt with. An 18mm gap at the bottom of a garage door can create a temperature difference of almost 2°C compared to the rest of the house, and can be large enough to allow leaves and rain to blow underneath. My grandfather’s solution was lengths of foam pipe lagging, the sort sold cheaply in any DIY shop for protecting water pipes. This material is normally used to insulate water pipes, made from fairly rigid foam, and has the double advantage of being lightweight and not absorbing water. Clipped along the bottom edge of the door, it forms a seal that costs almost nothing.
The Energy Saving Trust estimates draught-proofing doors and windows in a typical UK home saves between £25 and £60 per year on heating bills, with the fixes often costing under £30 total, meaning the payback period can be measured in weeks, not years. For context, over 10 million homes in the UK are paying hundreds more for energy every year due to a lack of proper insulation and other inefficiencies. Sorting the draughts first is the quickest return on any investment of your time and money.
A Sensible Budget Approach, Top to Bottom
So how do you replicate a grandfather’s £15 trick in today’s world, where materials are admittedly pricier than they once were? The principle holds even if the precise figure has shifted. Work in this order, spending as little as possible at each stage before deciding whether the next step is needed:
- Seal the door bottom with foam pipe lagging or a rubber threshold strip (a few pounds from any DIY shop)
- Add self-adhesive foam weatherstrip tape around the door frame to close side gaps
- Insulate the roof first, using mineral wool or rigid foam boards between the joists
- Glue lightweight insulation panels to the inside face of the door
- Address the walls last, only if the roof and door improvements aren’t sufficient
The cheapest way to insulate the roof of your garage when on a budget is to use fibreglass insulation or polystyrene sheets, which are cheap and widely available. A word of caution, though: it’s important to install a vapour control layer to help prevent moisture buildup, especially in a British climate where damp is rarely far away. Fibreglass insulation is one of the most cost-effective options, but it probably isn’t ideal for the UK’s damp climate. If you’re going slightly higher budget, rigid PIR foam boards offer better moisture resistance and a higher thermal Performance per millimetre of thickness.
One thing worth knowing: if insulation adds too much weight to the garage door, it may stress the opener mechanism. Keep door insulation lightweight, which is where the purpose-made foil-backed foam panels genuinely earn their modest cost over, say, sticking heavy plasterboard to the inside of the door.
The comparison between a £15 job and a £400 quote isn’t really about skill or even materials. It’s about who holds the knowledge. Once you understand that the door, the roof, and the draught gaps are the three things actually letting your heat vanish on a January morning, the job stops being intimidating and starts feeling rather satisfying. There’s a certain quiet pleasure in discovering that the wisdom your grandfather carried in his coat pocket was never out of date, it was just waiting for the energy bills to get bad enough to make Everyone else pay attention.