
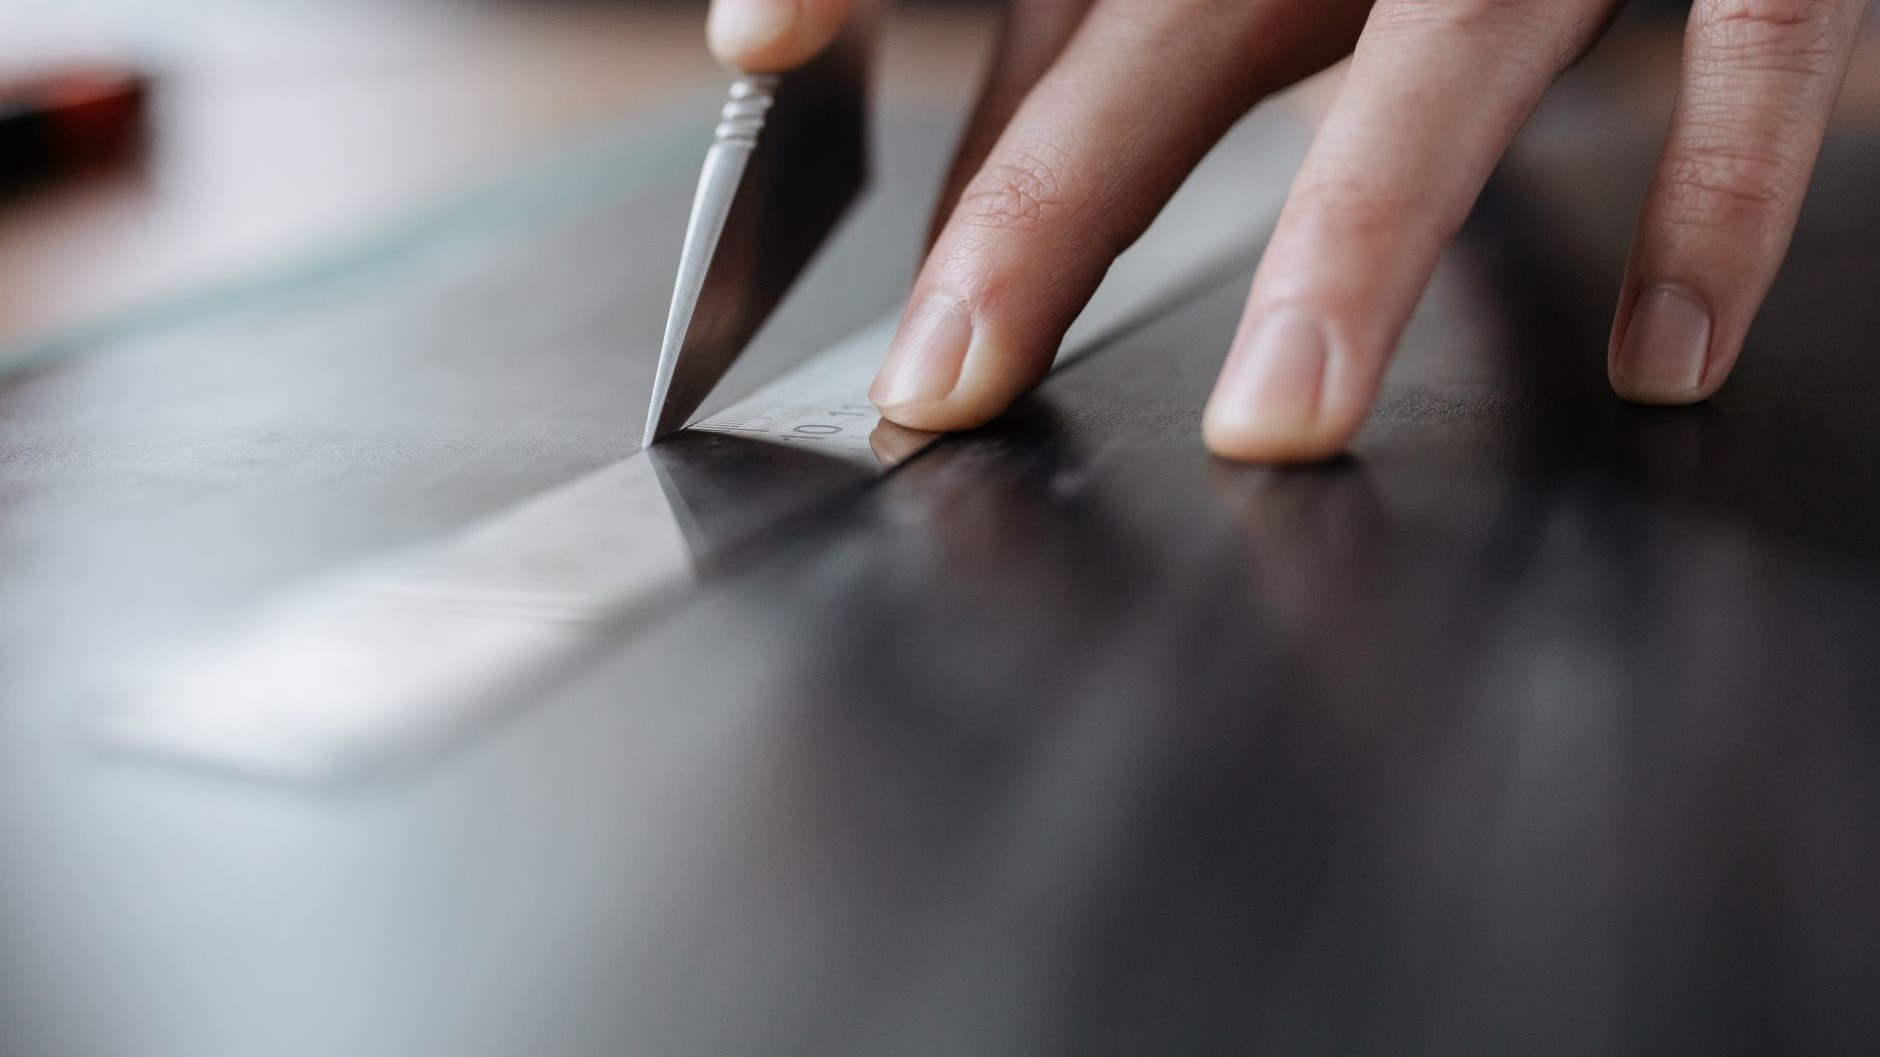
A Stanley knife costing around £3 from any hardware shop is the difference between skirting boards that come away cleanly and a wall that looks like something’s taken bites out of it. The trick is deceptively simple: before any prying, wedging or hammering begins, decorators run the blade along the top edge of the skirting where it meets the wall, cutting through the paint film and caulk that has quietly glued the two together over the years.
It sounds almost too basic to matter. But skip it, and you’ll understand exactly why that wall ends up looking chewed. Old skirting boards are typically bonded by years of layered paint, and if you lever without scoring, that paint film tears a strip of plaster coating or gypsum skim off the wall. The paint doesn’t just sit on the surface, it bridges the gap between timber and plaster like a seal, and once a pry bar starts pulling, that seal takes the plaster with it rather than letting go politely.
Key takeaways
- Professional decorators swear by a single scoring step that costs almost nothing—but skip it and your walls pay the price
- The physics of paint bonds explains why old skirting boards tear chunks from walls, and how one tool prevents it
- The mistakes people make after scoring matter just as much—and patience beats force in every scenario
Why scoring first makes such a difference
The logic here isn’t fussy perfectionism, it’s basic physics. Stanley knife scoring the paint and caulk seal along the top edge and at internal corners is described as the most important step for preventing plaster spalling. Once that bond is severed, a pry bar has something clean to work against rather than a painted joint fighting back.
Newer bathrooms and kitchens add another layer to the problem. If the board has been caulked, which is common in post-2000 kitchens and bathrooms, you need to score through the sealant bead as well. Silicone caulk is flexible and grippy by design, meant to stop draughts and hide gaps, which makes it brilliant at its job and thoroughly unhelpful when you’re trying to separate two surfaces it has bonded together. Running the blade through it first means the sealant snaps cleanly rather than stretching and tearing at the plaster on its way off.
For anyone with a lot of skirting to shift, there’s a faster option worth mentioning. An oscillating multi-tool with a fine-cut blade is much faster here and cuts through both paint and caulk in a single pass. It’s not a £3 fix any more once you’ve bought the tool, but if you’ve already got one in the shed for other jobs, it earns its keep on a full room of skirting.
What comes after the scoring
Cutting the seal is only step one. The next mistake people make is treating the skirting like a strip of wallpaper and yanking the whole length off in one go, which is exactly how plaster ends up in chunks on the floor. Working slowly along the length of the board rather than trying to pull one section away completely spreads the pressure and reduces the chance of snapping the timber. Patience genuinely beats strength here, and it costs nothing.
A wide chisel or bolster does gentler work than a narrow one, and it’s worth knowing why. A wide bolster chisel for levering the board away from the wall is gentler on plaster than a narrow one, because it distributes force over a bigger area rather than concentrating it at a single point. Slide a scrap of timber or a wide filling knife between the wall and whatever you’re levering with, too. Insert a filling knife or wide scraper between the wall and the skirting board and wiggle it gently to create enough space for a pry bar. That little buffer takes the bruising the plaster would otherwise absorb.
Where you start matters as well. Corners and joints tend to be the weakest points in the fixing, so working from there first makes the rest of the board come away with far less drama. Corners, internal or external, are the easiest entry points; tapping a bolster chisel behind the board at a corner, angling the blade towards the wall rather than the board, with a few light hammer taps will start to separate the board.
Knowing what’s fixing the board matters too
Not every skirting board is held on the same way, and guessing wrong wastes effort and risks damage. Older properties tend to rely on nails driven straight into masonry or plaster, while more recent installations often lean on adhesive as well as, or instead of, fixings. Many post-1990 skirting boards are fixed with construction adhesive in addition to, or instead of, nails, and the tell-tale signs are a complete absence of visible nail dimples and a board that flexes but will not lever free with normal chisel pressure. Trying to prise a glued board off with the same gentle taps you’d use on a nailed one just doesn’t work, and forcing it tends to take a layer of plasterboard with it. In that situation, honestly, a bit of surface damage becomes almost unavoidable, and it’s worth budgeting a little filler and patience for the patching up afterwards rather than fighting the adhesive bond and losing.
One last thing worth knowing before you start: if you’re planning to reuse the boards elsewhere, a bit of labelling saves real heartache later. Mark each board’s original wall position with masking tape and pencil as you take it down, because lengths and mitre cuts have an annoying habit of not transferring neatly to a different room. It’s a five-second habit that stops a straightforward reinstall turning into a fiddly game of jigsaw with skirting that almost, but not quite, fits.
Sources : renovationnotes.com | metresdirect.co.uk