
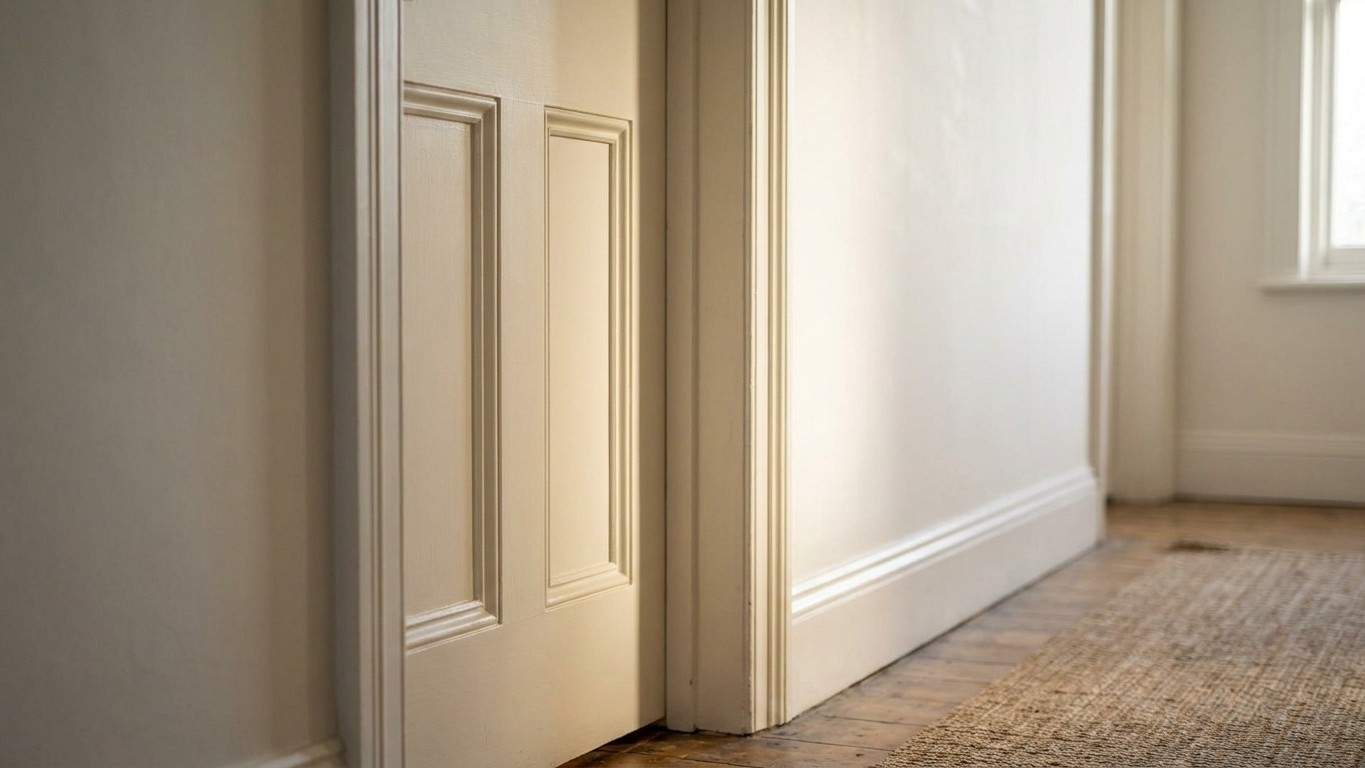
A flat hollow door can look exactly like a proper panelled one for the cost of a few lengths of MDF trim and an afternoon with a mitre saw. The trick isn’t paint, it isn’t a fancy new door slab, it’s simply glueing raised strips onto the existing flush surface so the light catches them and creates the shadow lines your eye reads as solid joinery. Once it’s painted over, even a sharp-eyed visitor struggles to tell the difference between your dressed-up hollow door and a genuine four-panel Victorian original.
I’ve heard from readers who did this in a weekend and had builders come round for something unrelated and compliment them on their “lovely old doors”, not realising they were staring at a 1970s flush door wearing a very convincing disguise.
Key takeaways
- Shadow lines created by raised MDF strips trick your brain into reading flat doors as genuine carpentry
- The adhesive technique is everything—hollow doors have nothing to bite into, so surface prep determines success
- Mitred corners and proper priming are the details that separate ‘wow, new doors!’ from ‘that looks homemade’
Why the Illusion Works So Well
Hollow core doors are basically a cardboard honeycomb sandwiched between two thin skins of hardboard or ply, which is why they sound tinny when you knock on them. What makes the panel trick so effective is that a simple MDF trim can make a flat door look like custom joinery, and mouldings also help hide transitions, uneven edges, or minor imperfections in walls and cabinetry, making the final finish look sharper and far more intentional. Your brain is used to reading raised rectangles bordered by shadow as “proper” carpentry, so once those lines exist, the honesty of what’s underneath stops mattering.
There’s one crucial difference between doing this to a solid door and a hollow one, though. Because a hollow door has almost nothing to bite into, hollow core doors may require solely adhesive, whereas solid doors can accommodate screws or nails. Reach for a hammer and you risk punching straight through the skin into empty space, so this whole project lives or dies on your glue technique.
What You Actually Need Before You Start
Before touching a tube of adhesive, take the door off its hinges or at least whip off the handle and any escutcheons, because you’ll need to remove handles before work and refit them considering the additional thickness of the panelling. Skip this step and you’ll be drilling through freshly stuck MDF later, which never ends well.
Thickness Matters More Than people expect. Go too chunky and the door binds in its frame or looks clumsy; choose thin 6mm to 9mm panelling to avoid making your doors too thick. That’s thin enough to clear most door frames and hinges without any planing, and it’s the dimension most UK timber merchants stock as standard for this exact job. A rough materials list looks something like this:
- Pre-cut or ripped MDF strips, 6-9mm thick, in your chosen widths for stiles and rails
- A strong grab adhesive (not just PVA, which shrinks and can bow thin panels)
- A two-part wood filler for joints, plus decorators’ caulk for edges
- Fine sandpaper (120-150 grit) and a proper MDF-specific primer
Some suppliers now sell these as ready-cut packs specifically for this job, which saves a lot of faffing about with a mitre saw if you’ve never used one before. Whichever route you go, clean the door thoroughly to remove any dust or debris, and sand very lightly to ensure good adhesion, then clean again to remove sanding residue, because MDF glue bonds are only as good as the surface underneath.
Sticking, Filling and Finishing Without It Looking Homemade
Lay your whole pattern out dry first, held with masking tape, before any glue comes near the door. Once you’re happy, work strip by strip: apply a continuous bead of grab adhesive along the back of the moulding so it beds evenly, not in random blobs, then press the moulding firmly onto the door to wet out the adhesive and get full contact along its length. Painter’s tape or light clamping pressure while everything cures stops pieces creeping out of line, and wiping away any excess adhesive squeeze-out straight away saves you a sanding headache further down the line.
Mitred corners are where amateur jobs give themselves away, so don’t skimp here. Use a two-part filler for mitre joints, end grain, and pin holes, as it cures hard and sands back to crisp edges, while ordinary caulk stays reserved for the softer gap where the moulding meets the door edge itself. Once everything’s sanded flush, priming properly is non-negotiable, because raw MDF edges soak up paint like a sponge, flashing through the finish no matter how many coats you add. Two coats of a proper MDF primer sorts that out completely.
For the topcoat, patience beats speed every time. Using fine-finish rollers, mini-rollers, or a sprayer avoids heavy orange peel and obvious brush marks on flatter profiles, and lightly sanding between coats to remove raised fibres and dust nibs makes the mouldings look factory-finished rather than DIY. It’s the step everyone wants to rush, and it’s the exact step that separates “did you get a new door?” from “did you stick some wood on that?”
Getting the Proportions Right
Classic Shaker proportions, one central rectangle with a fairly generous border, tend to fool the eye best on a standard internal door because they mimic the frame-and-panel joinery found in genuine period doors. Go too fussy with multiple small panels and a flat door starts to look exactly like what it is: MDF glued to plywood. Simplicity, oddly, is what convinces people it’s real.
One thing worth remembering before you start ripping strips: this whole job costs a fraction of a replacement solid door, and because you’re adding perhaps a kilogram or two of extra material spread across the entire slab, standard hinges cope with the additional weight without any adjustment needed. It’s one of those rare home improvements where the effort involved is genuinely smaller than the compliment it earns you.
Sources : coohom.com | wallpanelsworld.co.uk