
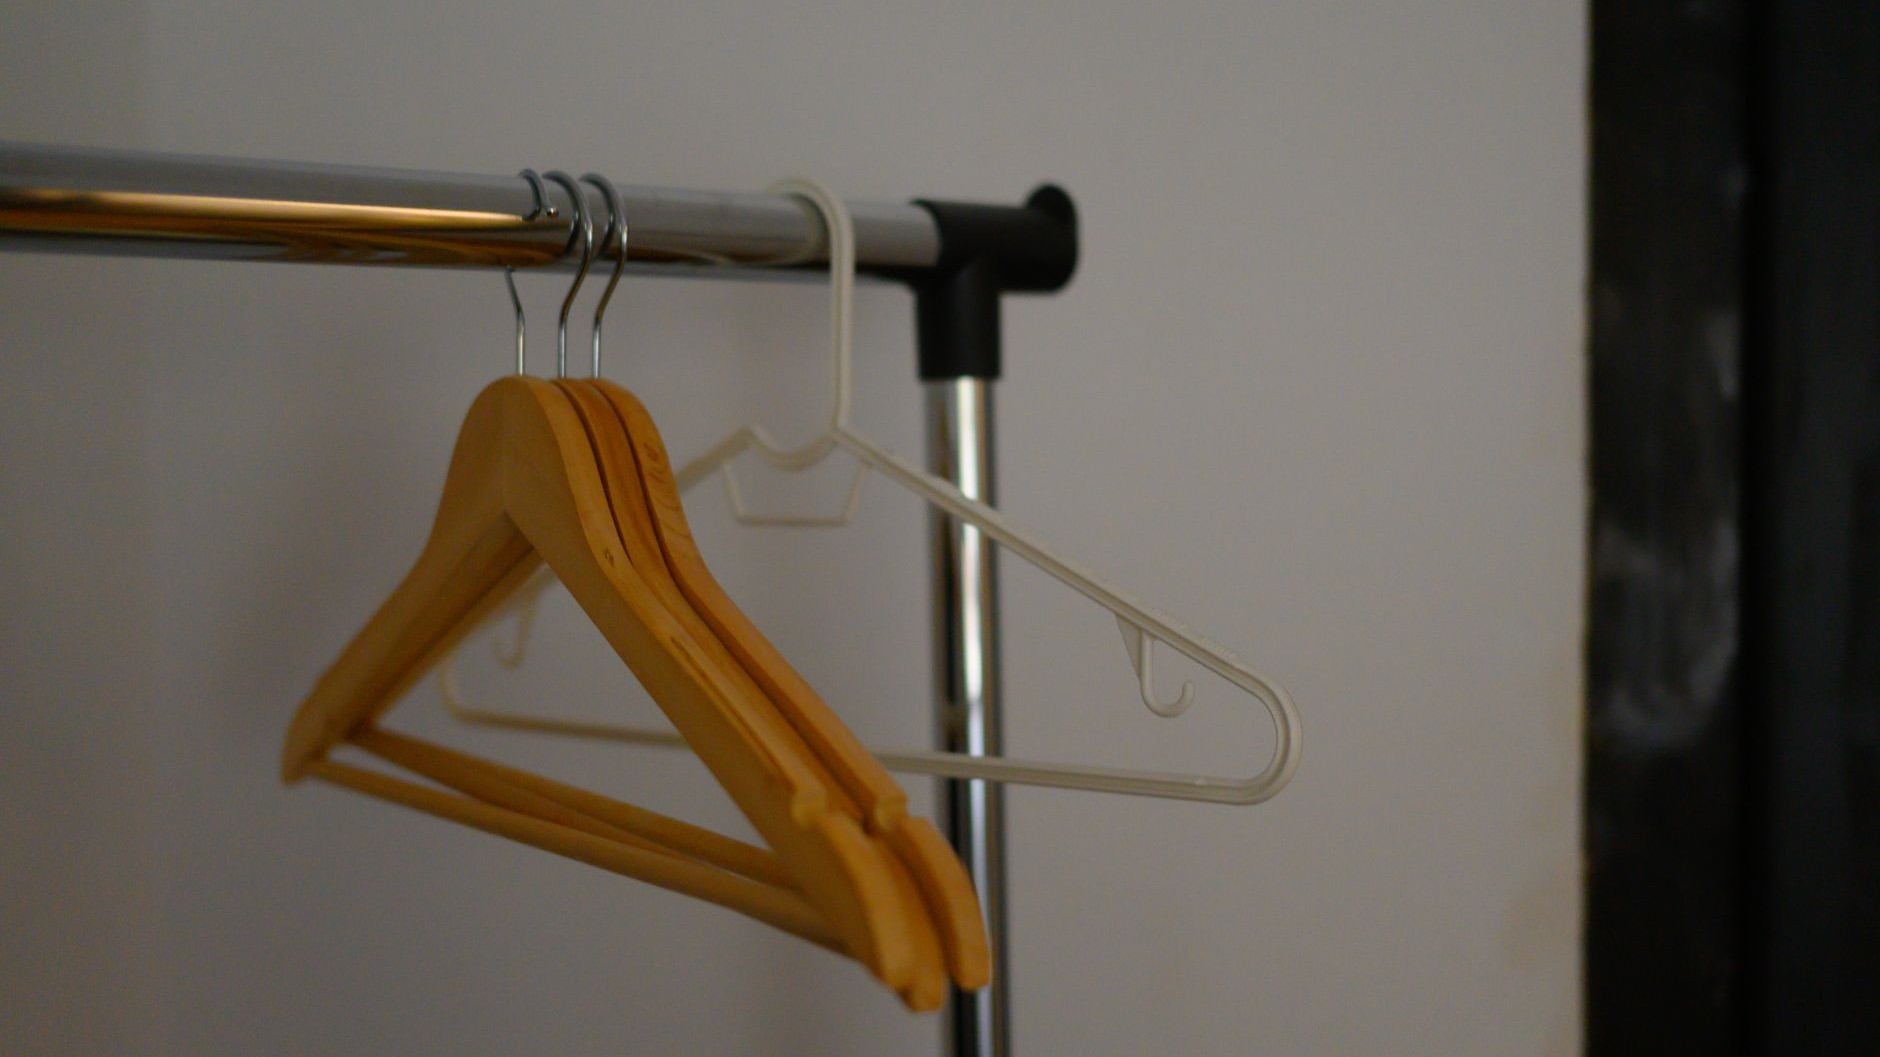
Twenty pounds well spent, or so it seemed. A rail from IKEA, four screws driven straight through white paint into what felt like solid wall, and finally the coats had somewhere to live besides the bottom stair. Six weeks later, at half past seven on an ordinary Tuesday, the whole thing dropped to the floor with a soft thud, taking three coats, a school bag and a good chunk of plaster with it. What I found dangling from those screw holes taught me more about hallway walls than I’d learned in twenty years of homeownership.
Key takeaways
- Most British hallway walls are hollow plasterboard with timber studs hidden inside—and plain screws grip almost nothing
- One mystery screw kept the entire rail attached for six weeks while three others did virtually no work
- The cheapest part of any wall-mounting job isn’t the shelf or rail itself—it’s the fixings that actually hold it up
Why plasterboard eats screws for breakfast
Most internal walls built in Britain since the 1960s aren’t solid brick or block. They’re plasterboard, a layer of gypsum sandwiched between paper, fixed onto a timber or metal frame with a good few inches of empty air behind it. It looks solid enough when you knock a nail in, but a plain screw driven into plasterboard alone is really only gripping a thin skin of chalky material. Plasterboard, or gypsum board, is a plaster-based material designed to be screwed onto a timber or metal stud wall, and plasterboard partition walls are considered hollow surfaces since the plasterboard used to make them is brittle and only measures around 13mm in thickness.
That thinness matters more than most of us realise when we’re stood there with a drill on a Saturday morning, keen to get a job finished before lunch. With hollow wall anchors properly installed, one square metre of single-layer plasterboard can support a weight of 15kg, double plasterboard copes with 25kg per square metre, and triple wallboard can support up to 35kg. A loaded coat rail, especially in a busy family hallway with school bags, umbrellas and three winter coats hanging off it, can easily creep towards that limit or past it, particularly when the weight is concentrated on just two or three screw points rather than spread across the board.
The real culprit in my case wasn’t the weight exactly, it was where I’d put the screws. All four had gone into plasterboard with nothing behind them but air. There’s a world of difference between a fixing that grips gypsum and one that’s driven into solid timber, and I’d assumed my rail was secure simply because it didn’t wobble when I gave it a tug in the shop-fitted glow of a Sunday afternoon.
The screw that was actually doing the work
When the rail came down, one screw held firm while the other three pulled clean out, leaving neat little craters in the plaster. That one screw, it turned out, had gone straight through the plasterboard into a timber stud behind it, purely by luck rather than any planning on my part. If a fixing position happens to align with a timber stud behind the plasterboard, you can screw directly into the stud with a standard wood screw, with no wall plug or anchor needed. A single No. 10 × 75mm screw driven 40mm into a timber stud can hold well over 40kg, far more than any plasterboard fixing. That single stud fixing was, quite literally, the only thing that had kept my rail attached to the wall for as long as it had.
Studs in a typical British stud wall aren’t randomly placed either. UK stud wall building regulations mean that the gap between studs in this country is usually 400mm from the centre of each stud, though 600mm is also a common distance. Knowing this turns guesswork into something closer to detective work. Knocking is one of the best things you can do to check for a stud, lightly tapping across the surface and listening for changes in sound. A hollow, tinny knock means plasterboard and air behind it; a duller, more solid thud means you’ve found your timber. Any plug sockets or light switches built into the wall can serve as a guide, as in most cases, they are attached to one side of the wall stud.
For anyone without the patience for tapping, an electronic stud finder from a DIY shop takes the guesswork away almost entirely, and they’re not expensive as tools go. Failing that, a strong magnet dragged slowly across the wall will often catch on the metal fixings that hold the plasterboard to the timber, giving you a rough clue as to where the frame sits underneath.
Getting it right the second time round
Screwing into a stud isn’t always possible, especially with something like a coat rail where the fixing points are dictated by the design rather than by where the timber happens to be. This is where proper cavity fixings earn their keep, and they’re worth the extra pound or two on top of what you’d spend on ordinary screws. Hollow wall anchors, commonly known as Molly bolts, use a metal sleeve that expands behind the plasterboard when you tighten the bolt, with the expanded metal arms gripping the back of the board, and they’re well-suited for medium to heavy loads including coat racks. Standard masonry plugs, the coloured plastic ones most of us have in a drawer somewhere, are no good here. Standard nylon expansion plugs designed for masonry do not hold reliably in plasterboard because the gypsum core is too soft to resist the expansion force.
The maths on weight is worth doing properly rather than eyeballing it, too. Each hollow wall anchor should be able to support the total weight, so if you’re hanging something that weighs 20kg, you need anchors that can each support 20kg, not several weaker ones that only add up to that figure. With a coat rail, imagine four coats, two school bags and an umbrella all soaking wet after a downpour, and you’ll see why it pays to overestimate rather than under. My advice, learned the hard way, is to combine a stud fixing wherever you can with a proper hollow wall anchor for the remaining points, rather than trusting four identical screws and hoping one of them gets lucky.
My rail is back up now, refitted with two screws into studs I found by tapping my way along the wall like a woodpecker with a torch, and two Molly bolts filling in the gaps. It’s been three months and it hasn’t so much as creaked. The plaster patches from the old holes are still slightly visible if you look closely, a small reminder that the cheapest fix isn’t always the twenty-pound rail itself, it’s the two or three pounds’ worth of proper fixings that actually keep it on the wall.
Sources : rapid.com | toolcompatibility.com