
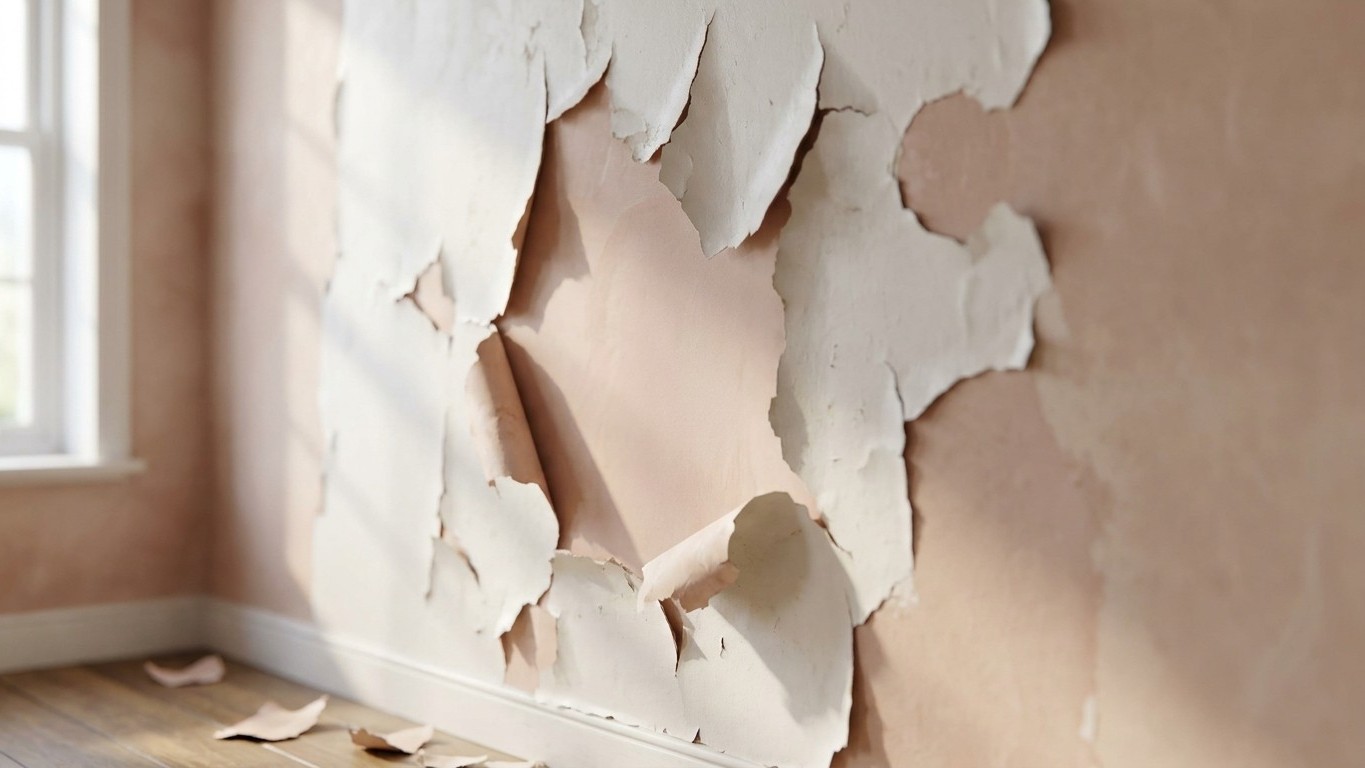
Fresh plaster looks deceptively ready for colour the moment the plasterer packs up his trowels. It’s pale, smooth, and practically begging for a roller. But that smoothness is hiding something: a wall still full of water, with a surface that behaves nothing like the painted plasterboard you’re used to. Slap ordinary emulsion straight onto it and within weeks, sometimes only days, you’ll watch entire sheets lift away, taking your weekend’s work with them.
Key takeaways
- Fresh plaster looks ready but hides continuous moisture release that causes ordinary paint to fail catastrophically
- The drying timeline is deceivingly short—what matters is the invisible ‘curing’ process that takes 7–14 days or longer
- A diluted mist coat (the cheapest paint on the shelf) is the non-negotiable step between bare plaster and your final colour
Why the paint simply won’t stay put
Plaster isn’t a passive backdrop for colour. It’s porous, almost sponge-like, and while it’s drying it releases moisture continuously as part of a chemical reaction between the gypsum and the water used to mix it. Plaster is very unique, when dry it is like a sponge that is very absorbent, so much so that any normal paint applied to fresh plaster will dry too quickly leaving the pigments not adhered to the surface, the end result is peeling and flaking paint every time. That’s the crux of it. Ordinary emulsion, straight from the tin, dries as a film on top of the wall rather than soaking in and gripping.
There’s a second problem, less visible but just as damaging. Painting over damp plaster traps moisture beneath the paint, leading to peeling, flaking, and bubbling, and moisture can also interfere with the bonding process, causing weak adhesion between layers of paint. The wall is effectively trying to breathe out through a coat of paint that won’t let it. Something has to give, and it’s always the paint film, never the plaster. I’ve seen it happen to careful, sensible people, not just impatient DIYers rushing to get the sofa back against the wall.
How long you actually need to wait, and how to tell
Forget the idea that plaster is “dry” once it’s cool and hard to the touch. Quoted drying times usually refer to the ‘setting’ of the plaster; instead, you need to know how long it will take to ‘cure’. Setting is fast. Curing, the bit that matters for paint, is slow. As a rough guide, fresh plaster usually takes 3–5 days to dry, but conditions can affect drying time, and for a full wall of fresh plaster rather than a small patch repair, plaster drying time can increase to around 7–14 days or sometimes longer during colder months. In a chilly, poorly ventilated bathroom in the depths of a British winter, don’t be surprised if it takes even longer than that.
Rather than watching the calendar, watch the wall. You’ll know the plaster is dry when the surface changes from a darker pink or brown tone to an even pale pink colour. Patchiness is your answer key here: darker patches simply mean those spots are still holding onto water and need more time before anything touches them. Resist the urge to poke or press the surface to check, since that can mark or damage a wall that’s otherwise curing nicely. And please, don’t reach for a dehumidifier or blast the radiators to speed things along. Removing moisture too aggressively can stop the curing reaction in its tracks and leave you with hairline cracks instead of peeling paint, which is trading one headache for another. Gentle ventilation, an open window when the weather allows, does far more good than forced heat ever will.
The thin coat that saves you a fortune in redecorating
Once your wall has turned that even, pale colour, there’s still one step you cannot skip, however tempted you are. You cannot paint straight onto fresh plaster – it must be allowed to dry completely before it is painted, and even then, straight from the tub is still the wrong approach. What you need is a mist coat: a water-diluted first layer of paint designed to seal the plaster and prepare it for the final coat. Think of it as a handshake between the wall and the paint, letting the two properly introduce themselves before the topcoat commits to anything.
The exact ratio varies a little by brand, but six parts paint to four parts water is a good rule of thumb, or if your tin gives its own guidance, follow that instead. Mix it in a clean bucket, apply with roller and brush, and don’t be alarmed if it looks thin and translucent going on. That’s exactly right; as mist coat dries it becomes more opaque and a stronger white slowly reveals itself during the drying process. Leave it a full 24 hours, longer if your room is cold or badly ventilated, before your proper topcoat goes anywhere near it. And here’s a tip that’s saved me a headache more than once: skip the PVA, however much your granddad’s generation swore by it. If you paint PVA onto fresh plaster you are sealing the pores and creating a weak layer which is a different chemistry to the paint you’re about to apply on top, which is a roundabout way of setting yourself up for exactly the peeling you’re trying to avoid. A tin of contract matt emulsion for your mist coat costs very little and is often the cheapest paint on the shelf, so there’s no excuse to cut this corner.
If it’s already peeled, don’t panic and don’t strip the lot
Should you be reading this after the damage is done, take heart: it’s rarely as catastrophic as it first looks. Scrape or sand away the loose, flaking paint, wipe the dust off with a cloth, then start again properly with a diluted mist coat over the bare patches before recoating. If only isolated areas are lifting rather than the whole room, you very likely don’t need to strip everything back to bare plaster, just the affected sections. Where paint has adhered solidly and won’t budge under a fingernail, it’s generally safe to leave alone and simply key it lightly with fine sandpaper before your next coat, saving yourself a great deal of unnecessary scraping.
One thing worth remembering next time you’re plastering an older property with damp history: walls repaired after a chemical damp-proof course, built up with sand and cement backing coats before the final skim, take considerably longer to cure than a straightforward skim job, sometimes weeks longer depending on the thickness of the masonry beneath. Patience really is the only tool that costs nothing and works every time.
Sources : forums.moneysavingexpert.com | lopcocontracting.com