Introduction
Vinegar and bicarbonate of soda have become the darlings of eco-friendly cupboards, and I understand why. They are inexpensive, easy to find in the UK, and they can genuinely help with odours, grease, and everyday grime. Still, there is a little mischief in this pairing: the famous fizz looks powerful, yet the chemistry means the “magic” is often shorter-lived than people think. Used with care, it is a handy part of your routine. Used everywhere, all the time, it can waste effort, and occasionally damage surfaces.
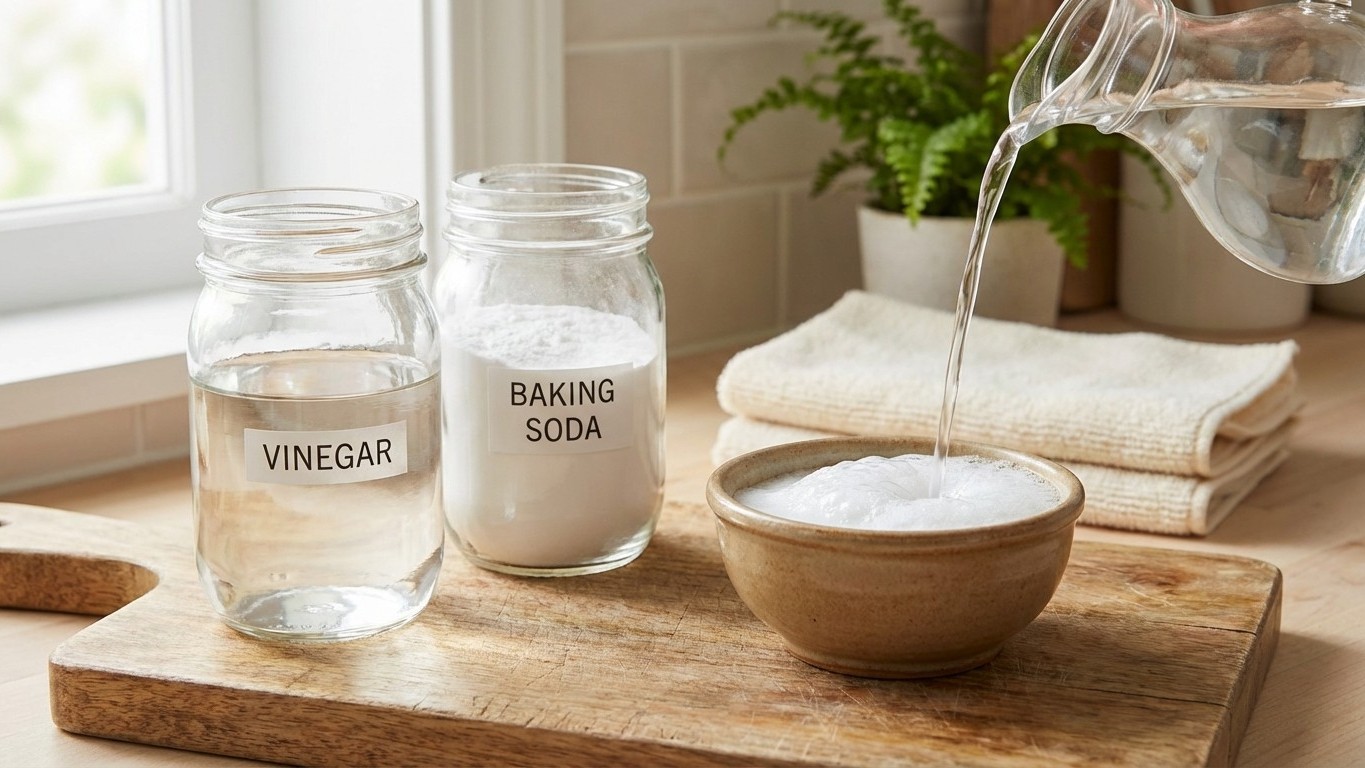
This leaf page focuses on cleaning with vinegar and baking soda hacks that actually earn their keep, with clear dosages, the best order of use, and the moments when you should keep them apart, like cousins at a wedding after one sherry too many.
Why pair vinegar and bicarbonate for cleaning?
Respective properties and what the “synergy” really is (the science of the mix)
White vinegar is a mild acid, mostly acetic acid diluted in water. It helps with mineral deposits (limescale), soap scum, and some odours. Bicarbonate of soda (baking soda) is a mild alkali and a gentle abrasive. It is good for neutralising acidic smells, lifting grime with a bit of “scrub”, and supporting degreasing when used with hot water and elbow grease.
When you combine them, you get an acid-base reaction that produces carbon dioxide gas (the fizz), water, and a dissolved salt (sodium acetate). The bubbles can help physically dislodge loose debris, especially in drains or around awkward crevices. What it does not do is create a stronger cleaner. Chemically, the reaction tends to neutralise both ingredients, so once the fizzing calms down, you are often left with a solution closer to plain water than people expect.
So the “synergy” is mostly mechanical, not chemical: the foam and pressure can help shift gunk, and the two-step use (one after the other) can target different types of dirt. If you want long-lasting cleaning power, it is usually better to use vinegar and bicarbonate separately, in the right order for the job.
Results: what the combo can do (and what it cannot)
- Good at: loosening drain debris, deodorising, helping lift light grime, and supporting cleaning when you use one after the other with proper contact time.
- Useful for: routine freshening of bins, sinks, and some bathroom areas, provided the surface is compatible.
- Not great at: disinfecting to a medical standard, removing heavy baked-on carbon Without soak time or scraping, and cutting thick grease on its own (a soap-based cleaner often does better).
- Not reliable for: killing established bathroom mould inside porous grout. It may improve staining, but “mould cure” claims online are often over-promised. For stubborn mould, you will want a targeted approach and good ventilation habits.
If you are building a full natural routine, it helps to treat this combo as one tool in the kit. The wider “toolbox” is covered in natural cleaning hacks, where you can match the method to the room and the mess.
Effective cleaning hacks with vinegar and bicarbonate
Deodorise and freshen drains (without turning it into a science fair)
This is where the fizz earns its pocket money. The bubbles and pressure can help shift light build-up and carry away lingering smells. It will not fix a serious blockage, but it is a sensible maintenance routine.
Best for: kitchen sink drains (light odour), bathroom basin drains (hair residue), and overflow holes.
- You will need: bicarbonate of soda, white vinegar, a kettle of hot (not boiling) water, and optionally a sink plug.
- Dosage: 4 tablespoons bicarbonate (about 60 g) plus 150 ml white vinegar.
Step-by-step
- Clear standing water from the sink if you can.
- Tip 4 tablespoons of bicarbonate directly into the drain.
- Pour 150 ml white vinegar slowly down the same opening. Expect fizzing.
- Cover the drain with a plug or a folded cloth for 5 to 10 minutes. This encourages the bubbling to work through the pipe rather than escaping upwards.
- Flush with 1 to 2 litres of hot water. If your plumbing is delicate, use hot tap water rather than kettle-hot.
Extra tip: For kitchen drains that smell fatty, bicarbonate plus vinegar may not be enough. A follow-up with hot water and a little washing-up liquid can help, or consider a castile soap approach for grease, see castile soap cleaning hacks for home.
Degrease ovens and hob tops (where “together” often means “one after the other”)
For grease, bicarbonate does the heavy lifting as a gentle abrasive and alkali paste. Vinegar is helpful afterwards to lift residues and reduce odours, but mixing them into one fizzy puddle at the start can shorten the useful working time of the bicarbonate.
Best for: enamel oven interiors (cool), oven door glass, stainless steel hob surrounds (not brushed aluminium), and ceramic hobs.
Step-by-step for an oven (cool and switched off)
- Make a paste: mix 6 tablespoons bicarbonate (about 90 g) with 2 to 3 tablespoons warm water to form a thick spreadable paste.
- Apply the paste to greasy areas, avoiding heating elements, fan openings, and rubber door seals.
- Leave for 30 minutes for light grease, or up to 8 hours for stubborn splatter. Overnight is fine if you can leave the door ajar for airflow.
- Wipe with a damp cloth. Use a plastic scraper for softened grime if needed.
- Finish with vinegar: spray or wipe a solution of 1 part vinegar to 1 part water over the areas where paste residue remains. A light fizz may appear.
- Wipe again with clean water, then dry.
Step-by-step for a hob top
- Dust off crumbs first, otherwise you will make a gritty paste.
- Sprinkle 1 to 2 tablespoons bicarbonate over the surface.
- Spritz lightly with vinegar (do not flood). Let it fizz for 1 to 2 minutes.
- Wipe with a microfibre cloth and finish with a clean damp cloth.
If your main problem is mineral haze around the sink or kettle splashes on tiles, vinegar alone, or lemon-based methods, are often more direct. For limescale-heavy jobs, see cleaning hacks with lemon for limescale.
Spot-treat carpets and textiles (with the right precautions)
Here is where I put on my sensible cardigan. Textiles can be unpredictable: dyes can run, fibres can shrink, and “natural” does not automatically mean gentle. Use a patch test in a hidden spot and work patiently.
Best for: fresh spills, light odours, and small spots on colourfast fabric.
- Dosage (odor lift): 1 tablespoon bicarbonate per 0.25 square metre (roughly an A4-sized area), plus a vinegar spray made at 1 part vinegar to 3 parts water.
Step-by-step
- Blot the spill with paper towel or a clean cloth. Press, do not rub.
- Sprinkle bicarbonate over the damp area. Let it sit 15 to 30 minutes to absorb moisture and odour.
- Vacuum thoroughly.
- For remaining marks, lightly mist the area with the diluted vinegar solution. Do not soak the backing.
- Blot again with a clean cloth, then let it air dry.
When to stop and choose another method: if the stain is oily, a mild soap solution (including castile soap) can outperform vinegar. If the textile is wool, silk, or “dry clean only”, keep vinegar and bicarbonate off it unless you have tested and you are comfortable with the risk.
Clean bathrooms: toilet bowl, taps, and grout lines
Bathrooms are a mix of limescale (acid-friendly) and body oils or soap scum (often better with an alkali or soap). That is why the combo can work, but only when you aim it properly.
Toilet bowl refresh (bicarbonate first, vinegar second)
- Dosage: 1 cup bicarbonate (about 200 g) plus 250 ml vinegar.
- Pour 1 cup bicarbonate into the bowl, focusing on the waterline.
- Add 250 ml vinegar slowly. Let it fizz for 10 minutes.
- Brush the bowl, paying attention under the rim.
- Leave another 10 minutes if needed, then flush.
Note: For heavy limescale, vinegar alone with longer contact time is often more effective than neutralising it with bicarbonate. A longer soak with an acidic solution may be needed, and lemon methods can be pleasant to use, see the limescale link above.
Taps and fixtures (be choosy)
For chrome and many stainless steel fixtures, a vinegar solution helps with limescale spots. Bicarbonate can scratch if you scrub hard, so treat it as a last resort and use a soft cloth.
- Dosage: vinegar solution 1:1 with water for routine limescale spotting.
- Wet a cloth with the vinegar solution and wrap it around the tap for 10 minutes.
- Wipe, then rinse with clean water and dry to prevent new spotting.
- If there is stubborn grime at the base, use a paste of 1 tablespoon bicarbonate with 1 teaspoon water, rub gently with a cotton bud, then rinse well.
Grout and sealant lines (what is realistic)
For surface grime on grout, bicarbonate paste can help. For true mould that has penetrated, the vinegar-bicarbonate combo is not a guaranteed fix. Good airflow, prompt drying after showers, and dealing with leaks matter more than any fizzy trick.
- Dosage: 3 tablespoons bicarbonate (about 45 g) plus 1 tablespoon water for a paste, followed by a light vinegar spritz (1:1 with water).
- Apply the bicarbonate paste along the grout line with an old toothbrush.
- Wait 10 minutes.
- Spritz lightly with diluted vinegar, then scrub gently for 1 to 2 minutes.
- Rinse and dry the area. Leaving it damp invites the problem back.
If your wider cluster includes bathroom mould, keep the expectations honest. Bicarbonate can help with cleaning and deodorising, vinegar can help with some surface issues, but persistent mould often needs a dedicated mould-removal approach and moisture control.
Best practices and recommended dosages
Proportions, order of use, and methods that work in real homes
Most disappointment comes from mixing them in a cup first and hoping the fizz will “become” a stronger cleaner. It becomes neutralised quite quickly. Better results usually come from using one, letting it work, then using the other as a follow-up.
- Use bicarbonate first when you need gentle abrasion, odour absorption, or help with grease. Follow with vinegar to lift residue.
- Use vinegar first when you need to tackle limescale. Rinse, then use bicarbonate if you need a gentle scrub for remaining grime.
- For drains, the classic bicarbonate then vinegar is fine because the mechanical bubbling is the point.
Application tips: foam, dwell time, and rinsing (the unglamorous bits that matter)
- Foam is not the same as cleaning power. Treat fizz as agitation, not as proof of “strength”.
- Give it time. A bicarbonate paste needs 20 to 30 minutes to soften grime. Vinegar on limescale often needs 10 to 20 minutes, sometimes longer for thick deposits.
- Rinse well on any food-prep surface. Even natural residues can leave a taste or dull finish.
- Dry taps and shower screens after cleaning. This is budget-friendly prevention, you use less product over time.
- Ventilate the room. Vinegar smell fades, but it lingers longer in a steamy bathroom.
If you want a broader natural cleaning routine beyond this pairing, the hub page natural cleaning hacks can help you choose between acids, mild alkalis, and soap-based cleaners depending on the mess.
When and why to avoid mixing vinegar and bicarbonate
Chemical limits: reaction and neutralisation
The big limitation is simple: vinegar (acid) and bicarbonate (base) largely cancel each other out. The initial fizz can lift loose dirt, but after that, you often lose the acidic limescale-busting power of vinegar and the alkaline degreasing support of bicarbonate. If the goal is mineral removal, keep vinegar “as vinegar” for as long as possible. If the goal is grease and grime, keep bicarbonate in paste form for long enough to work.
Surfaces and uses to avoid (or treat with great caution)
- Natural stone such as marble, limestone, travertine, and many terrazzo surfaces: vinegar can etch and dull, and bicarbonate can scratch if scrubbed. Use a pH-neutral cleaner designed for stone, or plain warm water with a soft cloth for routine wiping.
- Sealed wood and hardwood floors: vinegar can dull some finishes over time and excess water is the bigger enemy. Use a barely damp cloth and a suitable wood-floor cleaner.
- Cast iron and some unsealed metals: vinegar encourages rusting if left. Rinse and dry immediately.
- Aluminium: acids can discolour it. If you are not sure, test a hidden spot and keep contact time short.
- Delicate textiles (wool, silk, “do not wash” fabrics): vinegar can affect dyes, bicarbonate can leave a stubborn residue. Patch test or choose a fabric-appropriate method.
- Electronic devices and screens: keep both away from seams and ports. Use a slightly damp microfibre cloth, nothing more ambitious.
Risks, common myths, and better alternatives
- Myth: the fizz disinfects. The bubbling is carbon dioxide, not a disinfectant. For hygiene-critical areas, hot water, proper soap-based cleaning, and appropriate disinfecting products are more reliable.
- Myth: more vinegar means better cleaning. Stronger acid can increase risk to surfaces and noses. Often, contact time beats concentration.
- Risk: irritations and splashes. Vinegar can sting eyes and sensitive skin. Wear washing-up gloves if your hands are prone to dryness, and avoid leaning over a foaming drain.
When grease is the main enemy, a soap-based cleaner is often the sensible choice. Castile soap solutions are popular for that reason, and you will find practical recipes on castile soap cleaning hacks for home. When limescale is the problem, lemon-based approaches can be pleasant and effective in many cases, see cleaning hacks with lemon for limescale.
FAQ: clearing up common ideas about vinegar + bicarbonate
Is it dangerous to mix vinegar and bicarbonate for cleaning?
For typical household amounts, it is generally not dangerous in the sense of creating toxic fumes. The reaction produces carbon dioxide gas, which is why it foams. The main practical risks are splashing, pressure if you seal it in a closed container, and irritation if vinegar gets in eyes or on broken skin. Never cap or bottle the mixture tightly while it is reacting. Let it fizz in an open bowl or use it directly on the surface.
What are the genuinely effective uses of vinegar + bicarbonate at home?
The best “together” uses are the ones that benefit from bubbling and agitation, such as refreshing smelly drains, lifting light grime in crevices, and helping dislodge residue after a bicarbonate paste treatment. For ovens and grout, the most effective method is usually a two-step approach rather than a pre-mixed potion.
Should I use them together or separately for better results?
Separately wins for many jobs. Use vinegar alone for limescale and mineral film, and use bicarbonate alone (often as a paste) for gentle scrubbing, deodorising, and assisting with grease. Use them one after the other when you want both effects in sequence, or together in drains where bubbling is the point.
Which surfaces should I avoid with the vinegar + bicarbonate combo?
Avoid natural stone, be cautious on wood finishes, and take care with aluminium and delicate textiles. When in doubt, patch test and keep contact time short, then rinse and dry. If a surface is precious, treat it like a good wool coat: gentle, minimal moisture, and no experiments five minutes before guests arrive.
Practical cheat sheet: the best hacks and the mistakes to dodge
Most useful hacks (quick list)
- Drain refresh: 4 tbsp bicarbonate plus 150 ml vinegar, cover 5 to 10 minutes, flush with hot water.
- Oven degrease: bicarbonate paste first, wait 30 minutes to overnight, wipe, then vinegar wipe to remove residue.
- Toilet bowl: 1 cup bicarbonate plus 250 ml vinegar, wait 10 minutes, brush, flush.
- Grout surface grime: bicarbonate paste, wait 10 minutes, light vinegar spritz, gentle scrub, rinse and dry.
Common errors (and what to do instead)
- Mixing in a glass first: apply in layers instead so each ingredient gets proper working time.
- Using on marble or limestone: switch to a stone-safe pH-neutral cleaner and a soft cloth.
- Expecting mould miracles: clean what you can see, then focus on ventilation, drying, and fixing moisture sources.
- Scrubbing hard with bicarbonate on shiny fixtures: use a soft cloth, minimal pressure, and rinse well.
If you would like, keep this page bookmarked and pair it with the wider guide to cleaning with vinegar and baking soda hacks so you can choose the right ingredient for the right mess. A tidy home is rarely about stronger products, it is about kinder methods used consistently. Now, which little nuisance in your house would you like to make easier next, the kitchen grease, the bathroom limescale, or that mysteriously smelly sink that always waits until Sunday evening?