
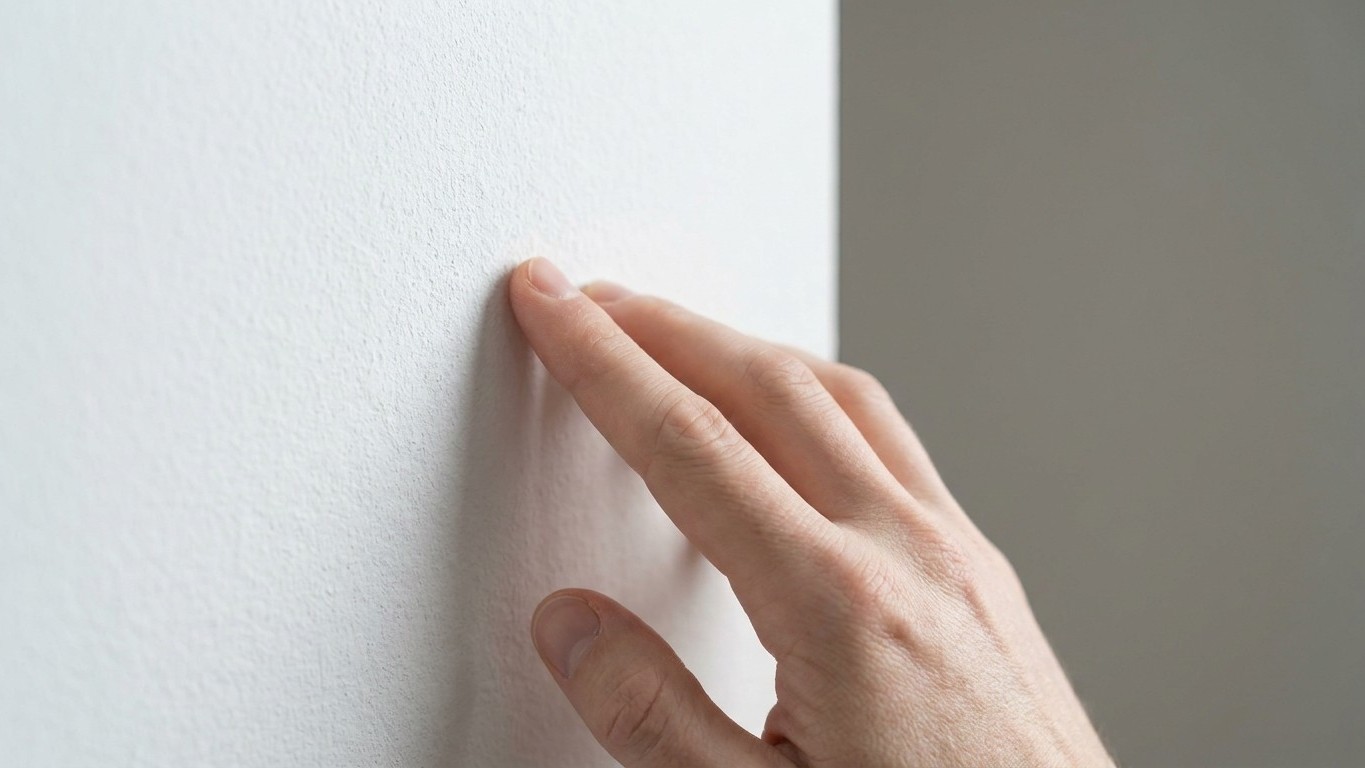
Screw an anti-tip strap straight into plasterboard on its own, and you’ve fixed your wardrobe to precisely nothing sturdy. Plasterboard crumbles under sustained pull, no matter how tightly you drive that screw in. What actually keeps a top-heavy wardrobe from crashing forward onto a child, a cat, or your own foot is the timber or metal stud sitting behind that thin skin of plaster, and finding it takes about a second with your knuckles before you touch a drill.
Key takeaways
- Why plasterboard alone fails catastrophically under the sideways pull of a leaning wardrobe
- The simple knock test your grandmother knew that modern tools still can’t replace
- What the statistics reveal about the silent household hazard hiding in every bedroom
Why the Screw Needs Something Solid to Bite Into
Standard plasterboard is essentially compressed gypsum sandwiched between paper. It’s brilliant for smooth walls and takes a picture hook without complaint, but it has almost no resistance to the sideways, wrenching force a leaning wardrobe puts on a fixing point. The strap might hold for weeks, even months, until one determined toddler uses the bottom drawer as a climbing frame and the whole assembly rips clean out of the wall, plasterboard dust and all.
Behind that plasterboard sits the actual skeleton of your wall: timber studs (or sometimes metal ones in newer builds), usually spaced somewhere between 400mm and 600mm apart. That’s your target. A cheap stud finder from a hardware shop will do the job accurately, but grandmothers have been managing without one for generations using the knock test: knock along the wall with your knuckles, and the hollow sound between studs changes to a slightly lower, denser sound over a stud. It won’t give you laser precision, but it’s a genuinely useful first pass, and it’s a useful confirmation even if it shouldn’t be your only method. Follow it up by moving a couple of inches either side to bracket the exact centre of the timber before you mark your spot.
If you’re using an electronic finder, the same double-check applies. Run it horizontally along the wall at the height where the strap will attach, move slowly and mark the position where the finder signals a stud, then confirm by moving two inches in each direction so the signal disappears and reappears, bracketing the stud location. Mark the edges and the centre, not just a rough guess, because a screw driven even 15mm off centre can miss the timber entirely and land you right back in soft plasterboard.
The Numbers That Make This Worth Ten Minutes of Your Time
This isn’t fussing for the sake of it. Furniture and TV tip-overs are one of those quietly devastating household hazards that rarely make headlines until it happens to someone you know. American data, gathered over nearly two decades by the Consumer Product Safety Commission, found that between 2000 and 2018 there were 459 reported tip-over-related deaths involving children 17 years old and younger, and 93 percent of those child-specific incidents involved children five years old and younger. More than half the time, the child was crushed by the weight of the television, furniture, or appliance, and tragically the majority of fatal injuries to children were to the head.
The injuries that don’t make the news are far more common than the deaths. An estimated average of 11,000 children are treated in hospital emergency rooms every year for tip-over related injuries, which puts real weight behind that ten minutes you’ll spend finding a stud. Bedrooms, unsurprisingly, are where most of these incidents happen, since that’s where wardrobes, chests of drawers and dressers tend to live within easy climbing reach of small hands.
Getting the Fixing Right, Not Just the Strap
A single strap into a single stud is better than nothing, but it’s not the whole story. Wider wardrobes benefit from two anchor points spread across the width, which stops the piece rotating around one pivot even if it does lean. If your wardrobe sits between two studs with nothing solid in the middle, a horizontal timber batten screwed into both studs and then anchored to gives you a much more reliable fixing surface than trying to hit a single stud dead centre with a narrow strap bracket.
Metal fittings win over plastic every time. Plastic brackets can turn brittle with age, particularly in a loft conversion bedroom that gets properly warm in summer and properly cold in winter, and a brittle bracket under load is a bracket that snaps rather than bends. If you inherited plastic anti-tip hardware with a flatpack wardrobe, it’s worth the few extra pounds to swap for a metal L-bracket instead.
Don’t assume that once it’s fixed, it’s fixed forever. Timber shrinks slightly as it dries out over the years, plasterboard compresses under sustained tension, and screw threads wear. A quick wobble test every six months, giving the top of the wardrobe a firm push to see if there’s any give, catches a loosening fixing long before it becomes a genuine hazard. It costs you nothing but thirty seconds, and it’s rather more pleasant than discovering the problem the hard way.
One thing worth remembering if you’re renting or simply dread the idea of a hole in the wrong place: metal detecting stud finders sometimes pick up existing pipework or cabling rather than timber, so if your device gives an odd reading in an unexpected spot near a socket or radiator pipe, trust your knuckles and a second check before you drill. Better ten seconds of doubt now than an afternoon patching plasterboard later.
Sources : prnewswire.com | cpsc.gov