
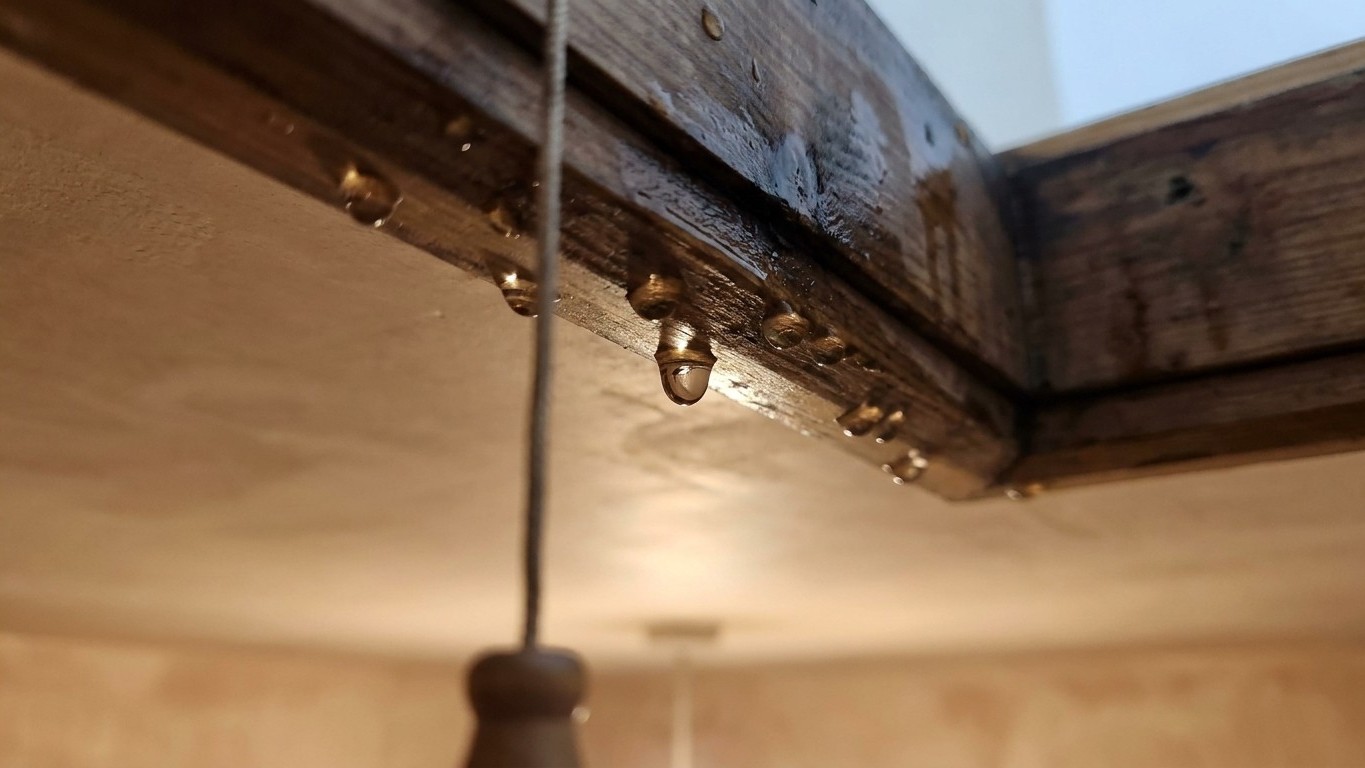
That patch of damp staring back at you isn’t damp at all, not really. It’s condensation, and it’s telling you exactly where your house is haemorrhaging heat. Your loft hatch, that unassuming little panel above the landing, is very often the single worst-insulated square foot in the entire property, and when warm, moisture-laden air from your rooms meets the freezing timber and metalwork up in the loft, it turns straight back into water. That water then drips down onto the one surface directly beneath it: the hatch itself.
Key takeaways
- Your loft hatch is often the single worst-insulated square foot in the entire property
- Warm, moist air rises through your house and condenses on the coldest surface it finds: the hatch itself
- A solution exists for less than £10 and takes just an afternoon to install
Your hatch is a hole in the blanket
Picture your loft insulation as a duvet tucked neatly across the ceiling joists. Now imagine someone’s cut a hatch-sized gap right through the middle of it. That’s essentially what’s happening. While most people focus on insulating critical areas like the loft, walls, and floors, loft hatch insulation is often overlooked, yet this small area is a common point for heat loss, as air can pass from the eaves of your roof into the loft and escape through the hatch. A bare plywood hatch has nowhere near the thermal resistance of the mineral wool surrounding it, so it stays much colder on its loft-facing side than the joists either side of it.
Warm bathroom or kitchen air rises through the house (heat always does), and if that hatch isn’t sealed properly, it carries moisture straight up into the roof void. Warm, moist air can be drawn into a loft space through a loft hatch, and when this air hits cold surfaces, such as the roof timbers, it will condense. The hatch itself, being the thinnest and coldest bit of “ceiling” up there, is often the first thing that moisture lands on and beads up against. Gravity does the rest, and the droplets find their way down onto the frame or the trapdoor face, which is exactly the spot you spotted the “damp”.
I’ve seen this catch out people in brand new houses just as often as those in Victorian terraces, and it isn’t really the builder’s fault. This is actually a design feature and not a fault of the housebuilder, since roofs are designed to let cool air flow in through the sides so that the warm air that rises upwards through your ceiling is collected and got rid of. The trouble starts when that ventilation system, which relies on a reasonably airtight ceiling below it, has a great leaky hole right in the middle where the hatch sits.
Even modern breathable roofs aren’t immune
There’s a persistent myth that a modern breathable roofing membrane sorts this problem out for you. It doesn’t, not on its own. Breathable membrane helps the roof structure as a whole, but it isn’t an extraction system and won’t cope with a constant stream of warm air pouring through a leaky hatch. As one specialist put it plainly, the membrane itself is not a ventilation system, it doesn’t extract moisture, it doesn’t warm itself. New-build lofts, ironically, can be some of the worst affected, because insulation is stuffed into the eaves and the loft hatch leaks, trapping moisture with nowhere sensible to go.
Under current UK building standards, this isn’t meant to happen at all. Under UK Building Regulations Part L, thermal elements including loft hatches should perform to the same level as surrounding areas, meaning in practice that your hatch needs insulation with a comparable U-value and a secure, airtight close with compression or foam gaskets. Most hatches fitted decades ago (and quite a few fitted last year, if I’m honest) fall well short of that.
Sorting it needn’t cost a fortune
The good news is that this is one of the cheapest fixes in the whole house. You don’t need a builder, just an afternoon and a few bits from the hardware shop. Adding draughtproofing to an existing loft hatch is an inexpensive DIY task, typically costing less than £10. Self-adhesive foam or compression strip goes around the frame so the hatch seals shut properly rather than just resting loosely in the opening; on hinged hatches you’ll want a strip on both the frame and the door edge so the two meet and form a proper seal, putting either the compression seal or foam strip on the outside perimeter on top of the hatch and an equivalent strip on the inside of the frame so the two strips meet, creating an airtight barrier.
Once the draughts are dealt with, the next job is beefing up the insulation value of the hatch itself, rather than just the seal around it. Rigid foam board fixed to the loft-facing side works well, and foam boards range from £10 to £21.50 per m2, which for a standard hatch is a genuinely small outlay against the heat you’re currently pouring into the roof space. If you’d rather not fix anything permanently, ready-made insulated hatch covers exist too, though these tend to sit at the pricier end, starting at £39.99 for a pre-made cover.
One word of caution, and it’s one I’d hate for you to skip: don’t get so carried away sealing Everything up that you block the loft’s own ventilation. The gaps at the eaves are there on purpose, letting cool air sweep through the roof space and carry any residual moisture back out again. If insulation is piled up or laid too deep at the edges, it can block eaves ventilation or gable air bricks and this will reduce airflow and cause moisture to build up, which rather defeats the point. The hatch should be sealed tight; the eaves should stay open and breathing. Get that balance right, and that mysterious “damp patch” tends to vanish within a week or two, no plaster repair required.
Sources : carbonzerosolutions.co.uk | homebuilding.co.uk