
Melamine furniture rejects paint because its surface is essentially a thin sheet of hardened plastic resin fused onto chipboard, and plastic has nothing for paint to grip onto.
I’ve heard this complaint from readers for years: “I sanded lightly, gave it two coats of my nicest eggshell, and within a week it was flaking at every corner.” It’s not bad luck, and it’s certainly not bad painting technique in the traditional sense. It’s chemistry.
Key takeaways
- Why standard painting techniques completely fail on melamine (it’s not user error)
- The unexpected difference between melamine and thermofoil that changes everything
- A three-step preparation process that takes hours but saves weeks of regret
Why Melamine Fights Back Against Every Brush Stroke
Melamine is a particle board core with a hardened plastic laminate material on the faces, commonly used in inexpensive kitchen cabinets and furniture, and that slick surface can be tricky to paint. Unlike bare wood, which drinks up paint into its grain and locks it in place, melamine is so smooth that paint has trouble sticking, and it’s also non-absorptive, so the paint does not penetrate the material. Picture trying to stick a plaster onto a wet window pane. The surface simply gives the adhesive nothing to hold onto.
This lack of absorption doesn’t only affect how well paint sticks. Paint can take quite a long time to properly harden on melamine, and while water-based paints generally harden more quickly than oil-based ones, it can still take a good couple of days for the paint to be hard enough to leave heavy objects on without causing a problem, even though it may feel dry to the touch. That’s exactly why so many people think their paint job has “failed” when really they simply moved the piece back into use too soon, while the film was still soft underneath.
There’s a further complication worth knowing about. What looks like melamine on a cabinet front sometimes isn’t. Cabinet doors are generally thermofoil, not melamine, with melamine more commonly used for the cabinet carcasses and the backs of doors, while thermofoil covers the door fronts. Thermofoil behaves rather differently and is more prone to lifting at the edges regardless of how well you prepare it, so it pays to know which material you’re actually dealing with before you commit a weekend to the project.
The Preparation Ritual You Can’t Skip
Grease is the silent saboteur here. Years of hands, cooking steam, or simply household dust leave an invisible film that no amount of primer can push through. Melamine cabinets collect grease, cooking oil, and fingerprints, and paint won’t stick over any of it, so wipe down all surfaces with a degreaser and rinse with a damp cloth. I’d add my own grandmother’s trick here: a capful of washing-up liquid in warm water does a similar job on furniture that’s never seen a kitchen, followed by a good rinse with a clean, damp cloth.
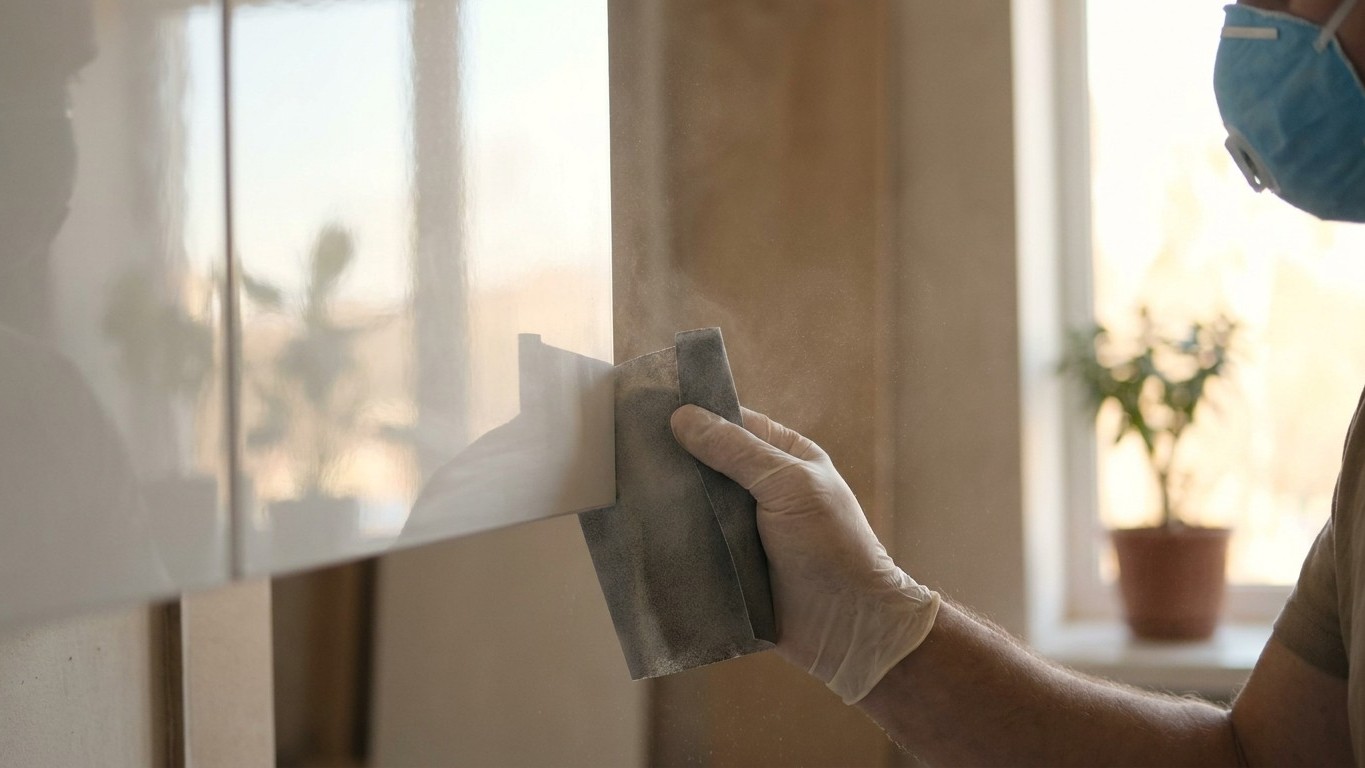
Once everything is degreased and bone dry, it’s time for the step so many impatient DIYers try to skip. Take some 120-grit sandpaper and run it over the surface, not to remove material, but simply to rough things up so that the melamine has something to adhere to. You’re not trying to strip the piece back to bare board, just breaking that glass-like sheen so the primer has microscopic grooves to grab onto. Sand too aggressively, though, and you risk exposing the chipboard beneath, which then absorbs water from the paint and swells like a sponge, creating a bigger problem than the one you started with.
Wear a mask while you do this. There have been reported possible health risks associated with melamine dust, so it’s always best to wear a mask while sanding and work in a well-ventilated area. Once you’ve finished sanding, don’t just blow the dust away and call it done. Give the surface a good cleaning afterwards, because any dust or residue left behind will make the primer and paint less effective. A damp cloth followed by a dry one, or a proper tack cloth if you have one, does the job nicely.
Choosing a Primer That Actually Bonds
This is where standard wall paint and even most furniture paints come unstuck, quite literally. If you skip primer on melamine, the paint has nothing to bond to. It will look fine for a week, then start lifting at the edges and corners. This is the number one reason melamine paint peeling happens in DIY projects. A regular undercoat simply isn’t formulated to cling to plastic.
What you want instead is a bonding primer made specifically for glossy, non-porous surfaces. Use a bonding primer specifically rated for glossy, non-porous, or laminate surfaces; Zinsser Bulls Eye 1-2-3 and Kilz Adhesion Primer are both proven options widely available at hardware stores. Here in Britain, you’ll also find products like Johnstone’s Revive Cupboard Paint or Dulux Trade Quick Dry Satinwood popular for direct-to-laminate projects, though a dedicated primer is still safer. Apply it thinly rather than in one thick, gloopy layer, since two thin primer coats give better coverage than one thick one, which gets uneven and takes far longer to dry.
If you’d rather sidestep sanding altogether, there is a legitimate shortcut. If you want to paint laminate or melamine furniture without using a primer or sanding, you can paint directly with chalk paint or linseed oil paint, both of which are eco-friendly and extremely low in volatile organic compounds. I’ve had good results with chalk paint on an old melamine bookcase myself, though I still gave it a wipe with sugar soap first out of habit. Old habits, and good ones, die hard.
Patience Is the Real Secret Ingredient
Once you’re onto the topcoat, resist the urge to rush. Two to three thin coats, each properly dried, beat one thick coat every time, and a light scuff with fine sandpaper between layers helps each one grip the last. Curing, not just drying, is what determines whether your hard work lasts. Paint drying and paint curing are different processes, and full cure takes two to three weeks. That’s the window where you should be treating your newly painted wardrobe or cabinet gently, no heavy books stacked on top, no dragging drawers shut with a bang.
One last thing worth remembering before you reach for the paintbrush at all: not every melamine piece is worth painting. If the chipboard core beneath has swollen from old water damage or is crumbling at the edges, no primer in the world will save it, and you’re better off patching or replacing that piece rather than fighting a losing battle with the tin.
Sources : advancedpaintinganddrywall.com | gsbpainttools.com