
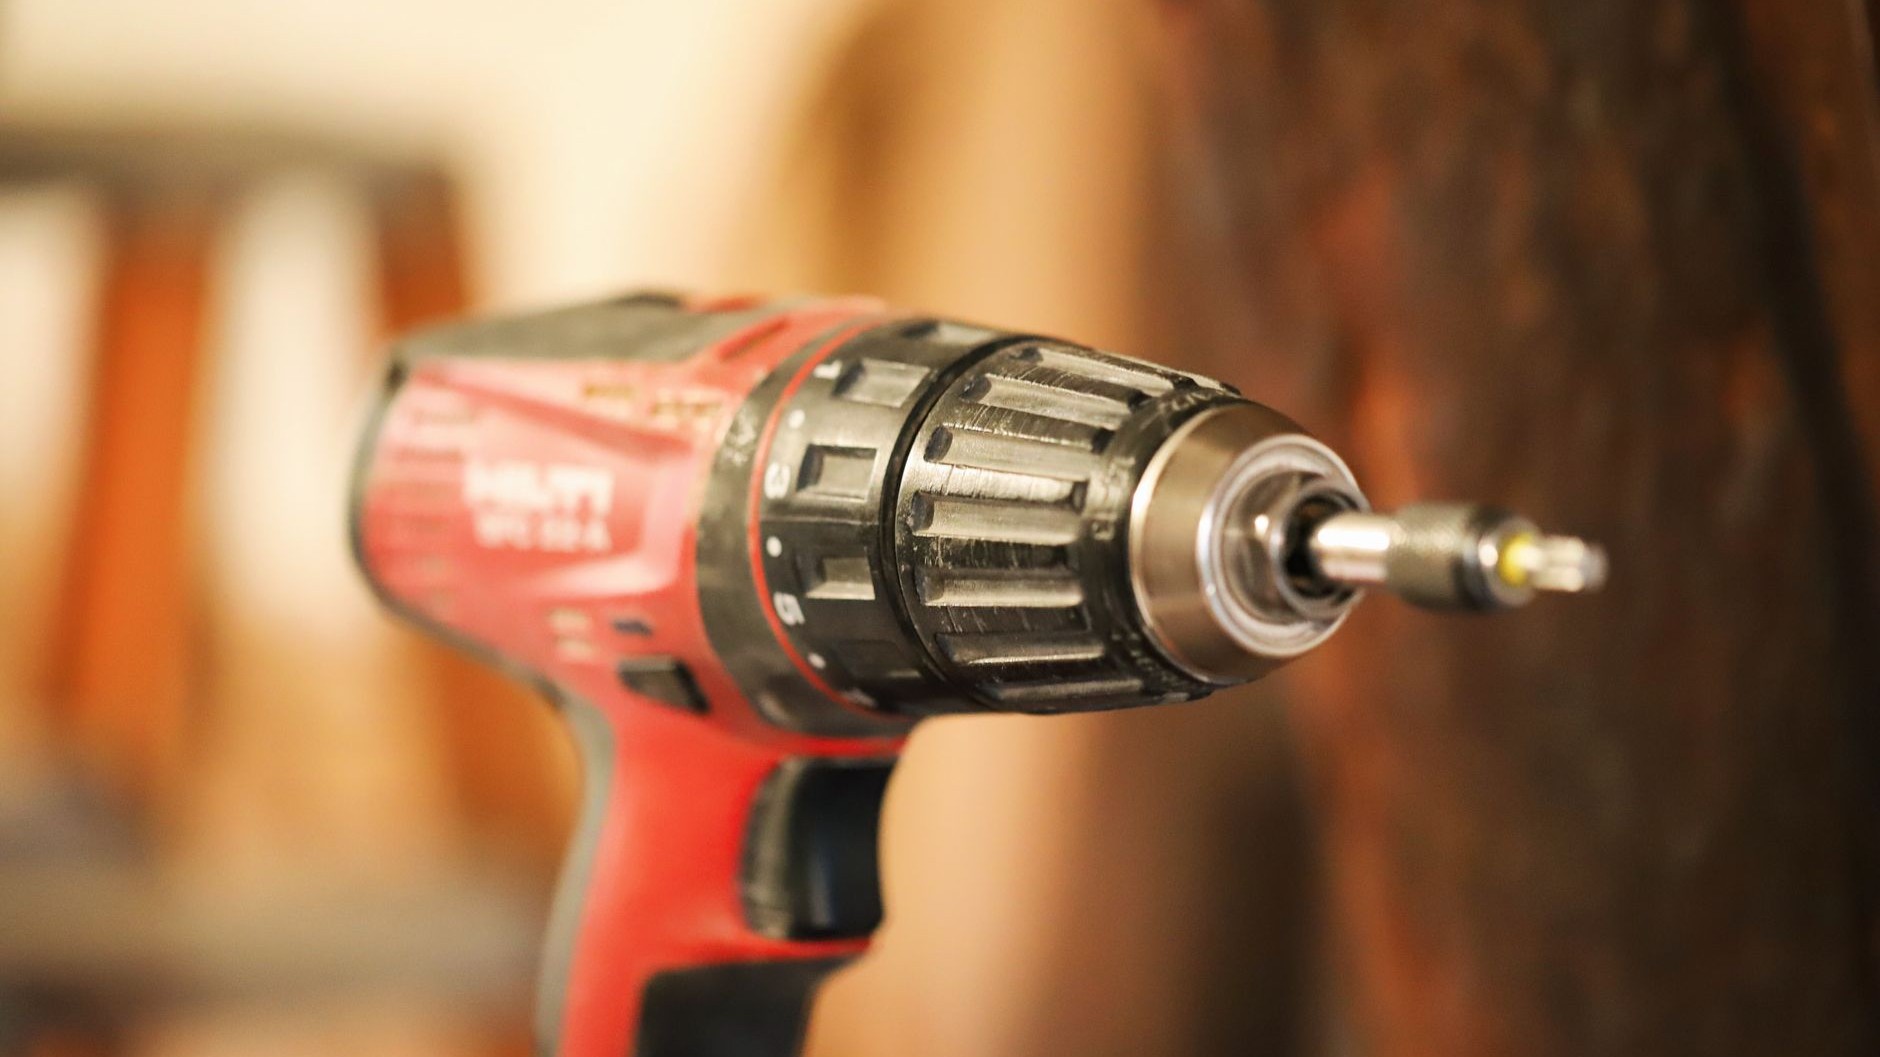
Every screw head on that old bookshelf looks like it’s been chewed by something. Rounded edges, chipped wood around the collar, one or two heads sunk so deep they’ve split the grain. That’s what happens when you treat a cordless drill’s torque dial as decoration rather than a setting worth adjusting. I did it for years, cranking the ring to its highest number because “more power means less effort,” and only noticed the damage once the shelf was assembled and the light caught those mangled screw tops.
The dial you’ve been ignoring sits just behind the chuck, usually numbered from 1 to somewhere around 15 or 20, sometimes with a little drill-bit icon at the top end. That icon marks “drill mode”, where the clutch disengages completely and the motor delivers full, unrestricted torque, exactly what you want for masonry or metal bits, never for driving a screw into pine shelving. Every number below that represents a clutch setting: the mechanism inside the drill that lets the chuck slip once a certain resistance is reached, stopping the screw from being driven further. Set it low, and the clutch clicks and stops turning almost as soon as the screw head meets the wood. Set it high, and you’re back to full drill-mode torque, forcing the screw past the point it should have stopped, chewing through the cross-shaped recess in the screw head as it goes.
Key takeaways
- The mysterious numbered dial behind your chuck isn’t decorative—it’s stopping your drill from doing something it shouldn’t
- Hardwoods like oak will expose every mistake in seconds, while pine hides the damage until it’s too late
- One test on scrap wood costs nothing and reveals the exact setting you actually need
Why pine forgives you but oak won’t
Softwoods like pine, spruce and fir compress under pressure rather than resisting it, so even on a fairly high torque setting the screw tends to just sink in deeper, leaving an ugly dimple but rarely stripping the head outright. Hardwoods behave completely differently. Oak, beech and ash push back. The fibres are denser and less forgiving, so the screw meets real resistance almost immediately, and if your clutch isn’t stopping it there, the driver bit keeps spinning inside a recess that’s already reached its limit. That’s the moment cam-out happens, when the driver bit slips and grinds against the metal of the screw head instead of turning it, rounding off the edges of the recess in seconds.
Screw length and gauge matter just as much as the wood species. A short 25mm screw into softwood needs barely any torque at all, somewhere around setting 3 or 4 on most domestic drills. A longer 75mm screw driving into hardwood, especially if you’re joining two thick pieces, needs considerably more, often towards the upper-middle of the dial. There’s no universal number that works across every job, which is exactly why manufacturers give you fifteen or twenty settings instead of a simple on/off switch.
What cam-out actually does to a screw
In the UK, most screws you’ll buy for woodworking use a Pozidriv head rather than a plain Phillips cross, recognisable by the small secondary set of lines between the main cross. Pozidriv was specifically designed in the 1960s to resist cam-out better than Phillips, which was originally engineered so the driver would slip once a certain torque was reached, protecting delicate assembly work on production lines. That slip is a feature in Phillips screws. In Pozidriv screws it’s meant to be far less likely, which is precisely why the damage surprises so many people. If you can strip a Pozidriv head, your drill was working considerably harder than it needed to.
Once the recess rounds off, you’re left with a screw that spins uselessly no matter what bit you use, often half-driven into wood you can’t easily get pliers onto. The usual fixes, rubber bands over the bit, specialist extractor bits, a wider flathead ground to fit, all work occasionally but rarely as well as simply not stripping the screw in the first place. Around the screw head itself, the timber often shows compression damage too: a slightly crushed, shiny ring where the screw head has been forced past the surface rather than seating neatly against it.
Setting the dial properly without guessing
The trick that actually works, and costs nothing, is testing on an offcut before you touch the real piece. Drive a spare screw into scrap wood of the same type at whatever setting you think is right. If the clutch clicks and stops before the screw is fully seated, nudge the dial up one notch and try again. If the screw sinks below the surface before the clutch engages, or the head starts chewing, drop it down. You’re aiming for the screw sitting flush, driver stopping the instant it does, clutch clicking audibly as it disengages. That click is the sound of the mechanism doing its job, not a fault.
Pilot holes help enormously with hardwoods particularly, reducing the resistance the screw meets and therefore reducing how much torque you need in the first place. A pilot hole roughly two-thirds the diameter of the screw’s shaft, drilled a little shallower than the screw’s length, lets the screw bite into wood that’s already given way slightly, rather than forcing threads through solid, undisturbed fibres. It’s a small extra step that saves considerably more time than freeing a stripped screw afterwards.
According to guidance from the Health and Safety Executive on power tool use, matching tool settings to the material and task is one of the basic principles of safe, effective operation, not just something that protects your workpiece but reduces strain on the tool’s motor and gearbox too, extending its working life. Worth remembering next time that dial tempts you towards the highest number simply because it’s there.