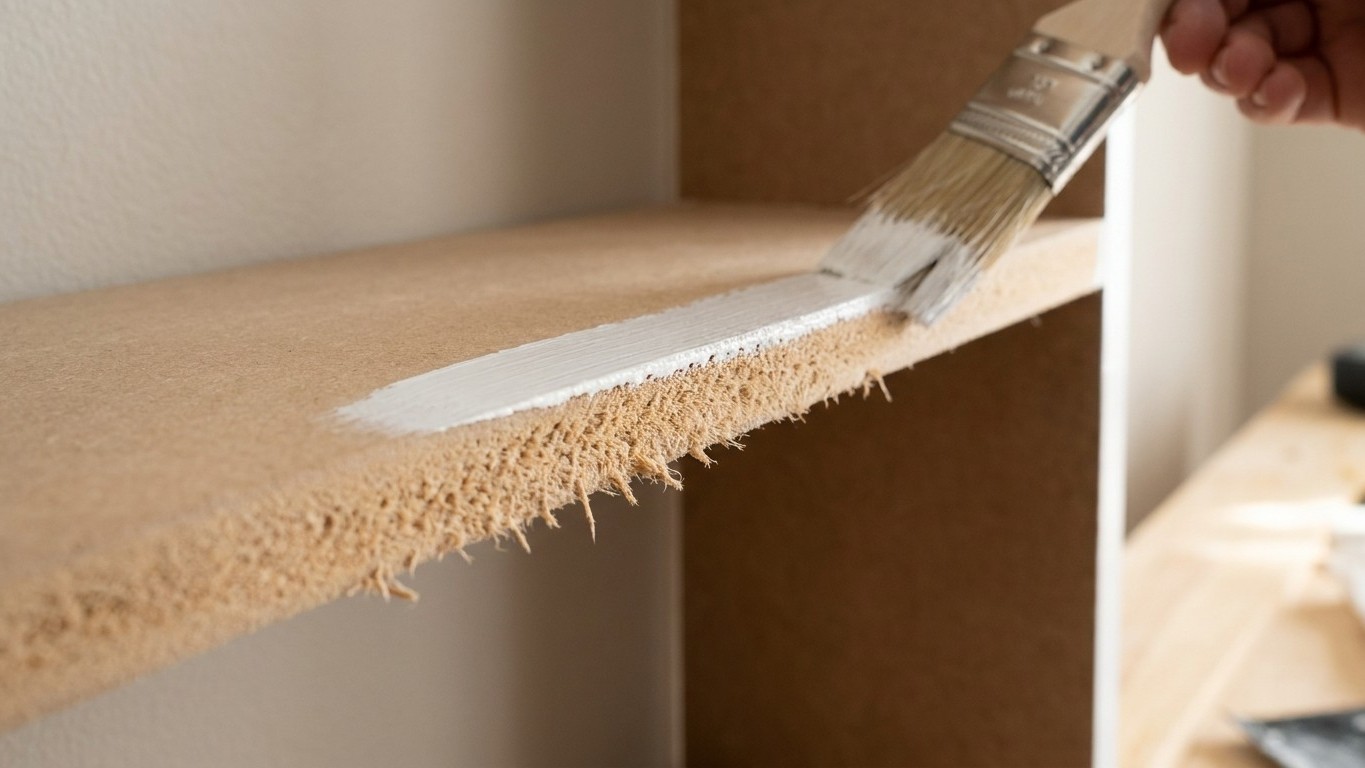
MDF edges are a trap. Smooth on the face, those cut edges drink paint like parched earth drinks rain, and no matter how many coats you layer on, they stay rough, slightly raised, almost fuzzy to the touch. The reason is simple once you know it: MDF is made of compressed wood fibres bound with resin, and the moment you cut through it, those fibres are exposed raw. Paint doesn’t seal them, it swells them.
I made this mistake myself on a set of shelving I was rather proud of. Four coats of satinwood, each one carefully sanded back with 240-grit, and still those edges looked like a cat had been at them. The paint was fine. The technique was fine. What I had skipped, right at the start, was sealing the edges before painting. Without that step, you’re not building up a finish, you’re just repeatedly feeding a sponge.
Key takeaways
- MDF edges are made of exposed wood fibres that absorb paint and swell instead of sealing
- The difference between flat MDF faces and cut edges explains why your technique fails in one spot
- A single pre-painting sealing step—whether PVA glue, primer, or filler—transforms the final result
Why MDF edges behave so differently from the face
The flat face of an MDF sheet is covered in a thin skin of denser material, which is why it takes paint relatively well. The edges are a different story entirely. They’re essentially cross-sections of thousands of tiny wood fibres, all sitting open and upright, ready to absorb anything liquid that touches them. When water-based paint hits those fibres, each one swells slightly, lifting away from the surface. You sand it back, apply another coat, the same thing happens again. It’s a cycle you can’t break with paint alone.
This is worth understanding because it explains why some people spend hours painting MDF and end up with a result that looks, well, underprepared, which it was. The issue isn’t patience or technique. It’s chemistry. Water and exposed wood fibre don’t play nicely together, and most modern emulsions and satinwood paints are water-based.
The sealing step that changes everything
Before any paint touches an MDF edge, those fibres need to be sealed shut. There are a few ways to do this, and the one you choose depends on what you have to hand and how smooth a result you’re after.
The most traditional method is to use a dedicated MDF primer or a high-build primer, applied specifically to the edges first. Let it dry fully, sand back lightly with 240-grit or finer, and repeat once more. Two coats of primer on the edges alone, before you prime the faces, makes an enormous difference. The primer soaks in on the first pass and raises the fibres; once sanded back and re-coated, the surface becomes genuinely smooth.
Some people swear by a thin coat of neat PVA glue brushed onto the edges and allowed to dry completely before any primer goes on. The PVA penetrates the fibres and binds them together, essentially pre-sealing the surface at no real cost. A small pot of PVA goes a very long way on edges, making it one of the most budget-friendly solutions going. Once the PVA is fully dry and hard (give it at least two hours, more in damp weather), you can sand lightly and proceed with your primer.
A third option, particularly popular among joiners finishing fitted furniture, is to skim the edges with a fine surface filler or a specialist MDF edge filler. This fills the open grain entirely, creates a near-solid surface, and sands back to something almost glass-like. It takes more time, but for shelves that will be on permanent display, the result justifies the effort.
Getting the sequence right from the beginning
The order matters enormously, and this is where most DIYers (myself included, that first time) go wrong. The instinct is to treat MDF like timber: prime Everything uniformly, sand, paint. But MDF edges need their own preparation phase before the general priming stage begins.
A sensible sequence looks like this: seal the edges first (PVA or edge primer), allow to dry, sand lightly, then apply a coat of primer to the whole piece including edges, allow to dry, sand back, apply a second coat of primer if needed, sand, and only then begin with your topcoat. It sounds like more work written out like this, but the actual time added is perhaps forty minutes spread across a project. The alternative is spending hours repainting and still ending up with that maddening fuzz.
Temperature and humidity play a role too. MDF in a cold garage takes longer to dry between coats, and painting in damp conditions means the fibres absorb moisture from the air as well as from the paint. If you’re working in winter or in a poorly heated space, give each coat considerably more drying time than the tin suggests. A coat that feels dry to the touch can still be damp enough inside the MDF to cause problems when the next coat goes on.
One thing that catches people out: oil-based primers, while slower to dry and more unpleasant to work with, are significantly better at sealing MDF edges than water-based ones, precisely because they don’t swell the fibres. If you’re working on a piece that really needs to be perfect, a built-in bookcase, a painted kitchen shelf visible at eye level — an oil-based primer on the edges specifically is worth the extra ventilation and the longer drying time. You only need it on the edges; the faces can be done with your usual water-based product. A small can used strategically goes a long way, and the smoother result lasts for years rather than months.