
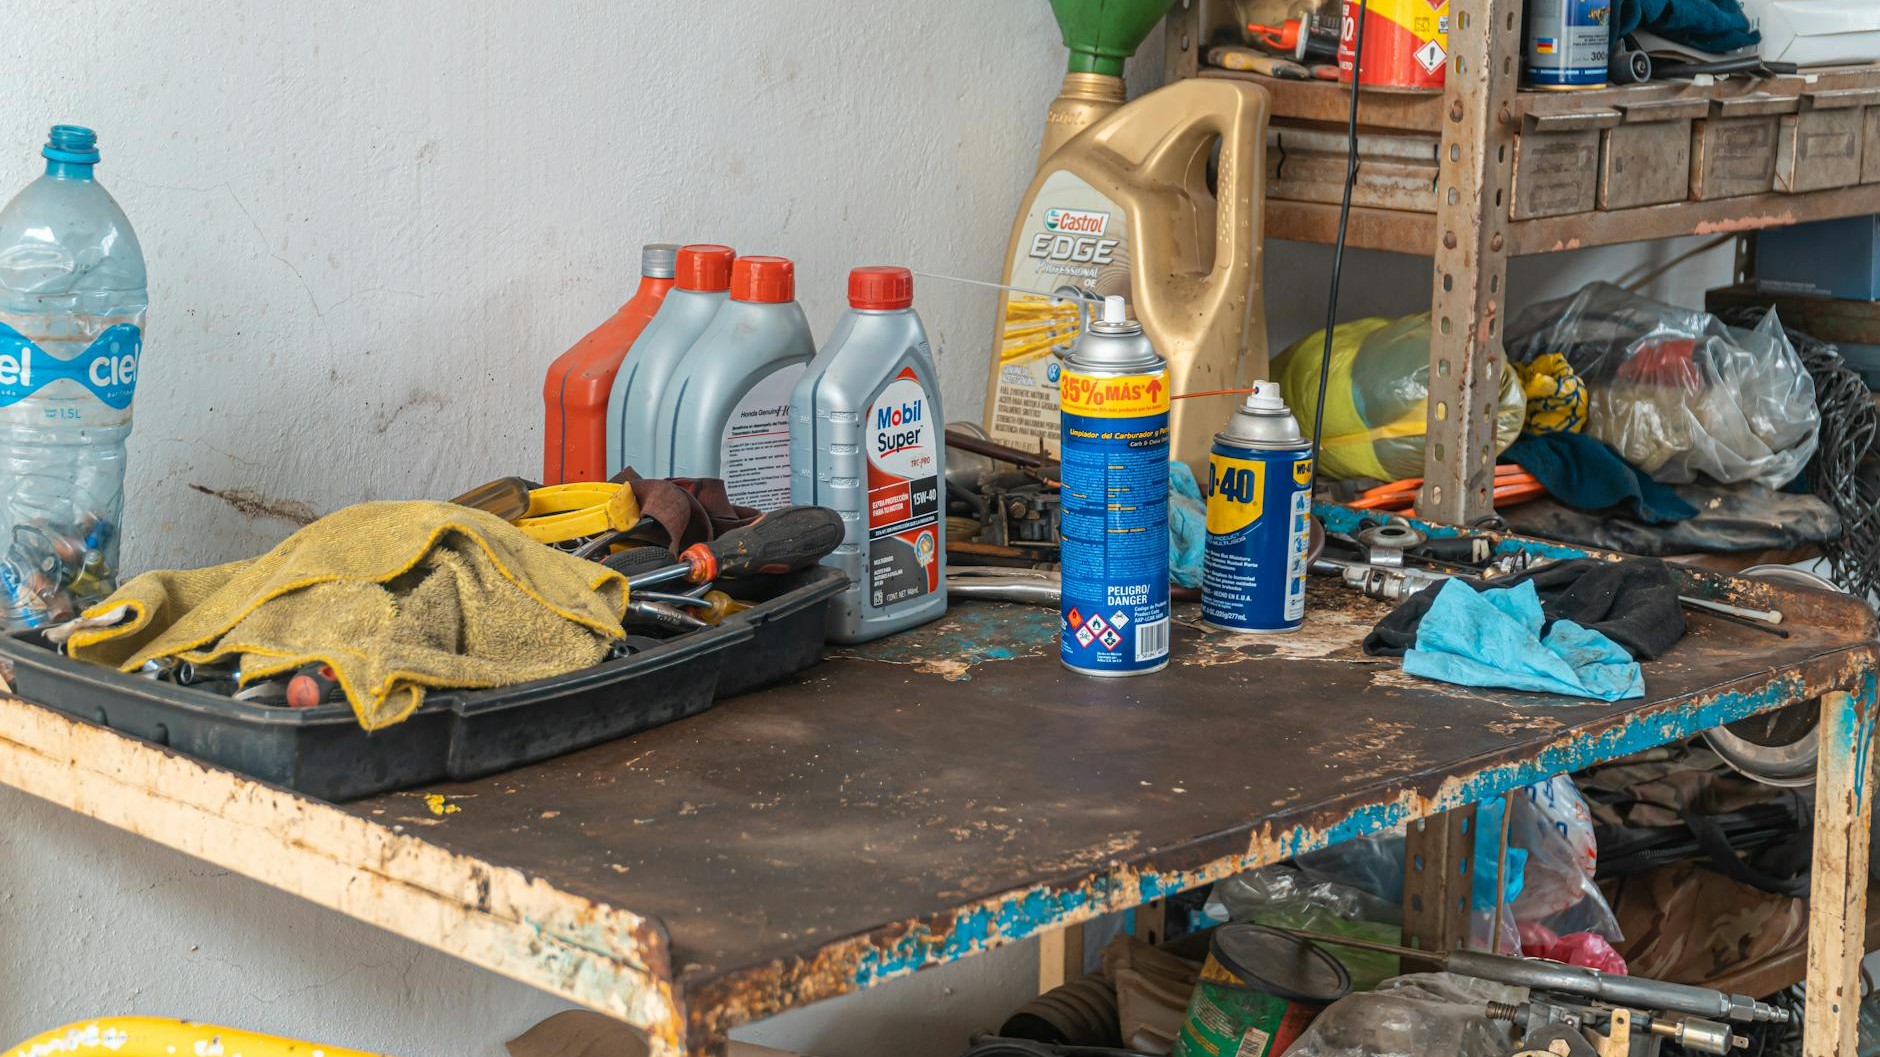
WD-40 is probably the most-reached-for tin in any British household, and for good reason, it silences squeaks almost instantly, costs very little, and lives happily under the kitchen sink for years. The trouble is, it was never designed to lubricate hinges long-term. A repairman once explained this to me in plain terms, and I’ve been doing things differently ever since.
Key takeaways
- Why the product everyone trusts for squeaky hinges is actually making them worse over time
- What a repairman discovered when he examined a sagging door that had been treated with WD-40 for years
- The simple, cheap maintenance routine that keeps hinges working smoothly for decades
What WD-40 actually does (and doesn’t do)
The name itself is a clue: WD stands for Water Displacement. The formula was developed in the 1950s to protect metal from moisture and corrosion, not to provide lasting lubrication. When you spray it on a squeaky hinge, it does work, briefly. The solvent carrier displaces any water and gunk, and the thin oily residue quiets the squeak. But that residue evaporates and breaks down within days or weeks, leaving the metal drier than before and, worse, slightly sticky. Dust, paint particles and debris cling to that residue, forming a gritty paste inside the hinge barrel that accelerates wear.
The squeak returns, you spray again, and the cycle continues. Over several years, that abrasive build-up actually grinds away at the hinge pin and barrel. The fit loosens. The door begins to drop almost imperceptibly at first, then enough that it drags on the carpet or refuses to latch properly. This is the point at which most people assume the hinges need replacing entirely, when in reality, something far simpler was missing from the start.
The repairman’s diagnosis: a dry hinge pin and the wrong fix
The repairman who came to look at my sagging sitting-room door did something I hadn’t expected. He didn’t head straight for the hinge. He asked how long I’d been using WD-40 on it, nodded knowingly, and then tapped the hinge pin out with a nail punch and a small hammer. The pin was dark, gritty, and visibly worn on one side, almost oval in cross-section rather than round. That uneven wear was why the door was sagging: the pin had so much play in the barrel that the door’s weight caused it to hang at a slight angle.
His solution was straightforward. He cleaned the barrel with a cotton rag and a little white spirit, checked whether the barrel itself was still true (it was, just about), and then applied a proper lubricant before fitting a new pin from a matching hinge set. The door hung perfectly again. Total cost of parts: nearly nothing. The lesson, though, was priceless.
What he recommended for ongoing maintenance was a proper grease, specifically, either a white lithium grease or, for lighter interior doors, petroleum jelly (ordinary Vaseline from the chemist). These are thick enough to stay in place inside the hinge barrel, they don’t attract grit the way WD-40 residue does, and they genuinely lubricate metal-on-metal contact rather than simply masking dryness. A very thin smear on the pin before you tap it back into place is all that’s needed, and it can last years without attention.
How to properly maintain door hinges before trouble starts
The good news is that hinge maintenance is a ten-minute job requiring almost nothing from the DIY shop. Start by propping the door open so it’s bearing its own weight on the floor, a folded towel works well for this. Using a hammer and a nail or a hinge-pin punch, tap out each pin from the bottom upward (the head of the pin sits at the top of the barrel on most standard hinges). If a pin has been stuck for years under layers of old lubricant and paint, a few drops of white spirit left to soak for a minute or two will usually free it.
Once the pin is out, wipe it clean and look at it honestly. A healthy pin is round and smooth. If it has a flat or oval section, or if you can see scoring along its length, replace it. New hinge pins are cheap and widely available at ironmongers and hardware shops, often sold individually or in sets. Apply your chosen lubricant sparingly to the pin and to the inside of the barrel, then tap the pin back into place from the top. There’s no need to be heavy-handed; the pin should slide in smoothly once lubricated.
For exterior doors or any hinge exposed to damp, white lithium grease is the better choice as it resists moisture well. For interior doors, petroleum jelly is perfectly adequate and most people already have a pot of it in the bathroom cupboard. Both options cost next to nothing and last considerably longer than repeated doses of WD-40 ever would.
When a sagging door means something more serious
A worn hinge pin is the most common cause of a sagging door, but it isn’t the only one. If cleaning and re-lubricating the hinges doesn’t resolve the drop, the next thing to check is whether the hinge screws are still biting into solid wood. Over time, particularly in older homes where doorframes may be softwood, screw holes can enlarge and the hinge plate begins to pull away slightly from the frame or the door itself. The fix here is surprisingly simple: remove the screw, fill the hole with a wooden toothpick and a dab of wood glue, allow it to dry fully, then drive the screw back in. The toothpick gives the thread something fresh to grip.
One thing worth knowing: the middle hinge on a three-hinge door carries surprisingly little of the door’s weight under normal conditions. Its main job is to prevent the door from bowing or twisting. If that middle hinge is loose or missing a screw, the door can develop a slight warp even when the top and bottom hinges appear perfectly sound, so always check all three, not just the ones at the obvious stress points.