A roll of mirror film, a handful of salvaged mouldings from a skip, and a Saturday afternoon: that was all it took for me to retire the overpriced mirror frames from my shopping list for good. If you’ve ever winced at the price tag on a decorative mirror frame in a furniture shop, only to find the same look recreated for pennies by someone on Pinterest, you’ll understand Exactly why this discovery felt rather like finding a twenty-pound note in an old coat pocket.
Key takeaways
- Architectural mouldings ripped from old houses cost pennies but look like luxury frames worth hundreds
- The ‘expensive’ part of designer frames is just assembly—the wood and shapes have been the same for centuries
- Three simple finishing techniques (sanding, painting, gilding) transform raw salvaged wood into museum-quality pieces
Why salvaged mouldings are the secret the interiors industry would rather you didn’t know
Architectural mouldings, the kind used for picture rails, dado rails, cornicing, and door surrounds — have been produced in essentially the same profiles for centuries. When old houses are renovated, these strips of wood (or plaster-cast resin, in more modern versions) are routinely ripped out and skipped. Reclamation yards sell them for next to nothing. Charity shops occasionally have bundles. Online marketplaces are awash with listings where people practically beg you to come and take the stuff away.
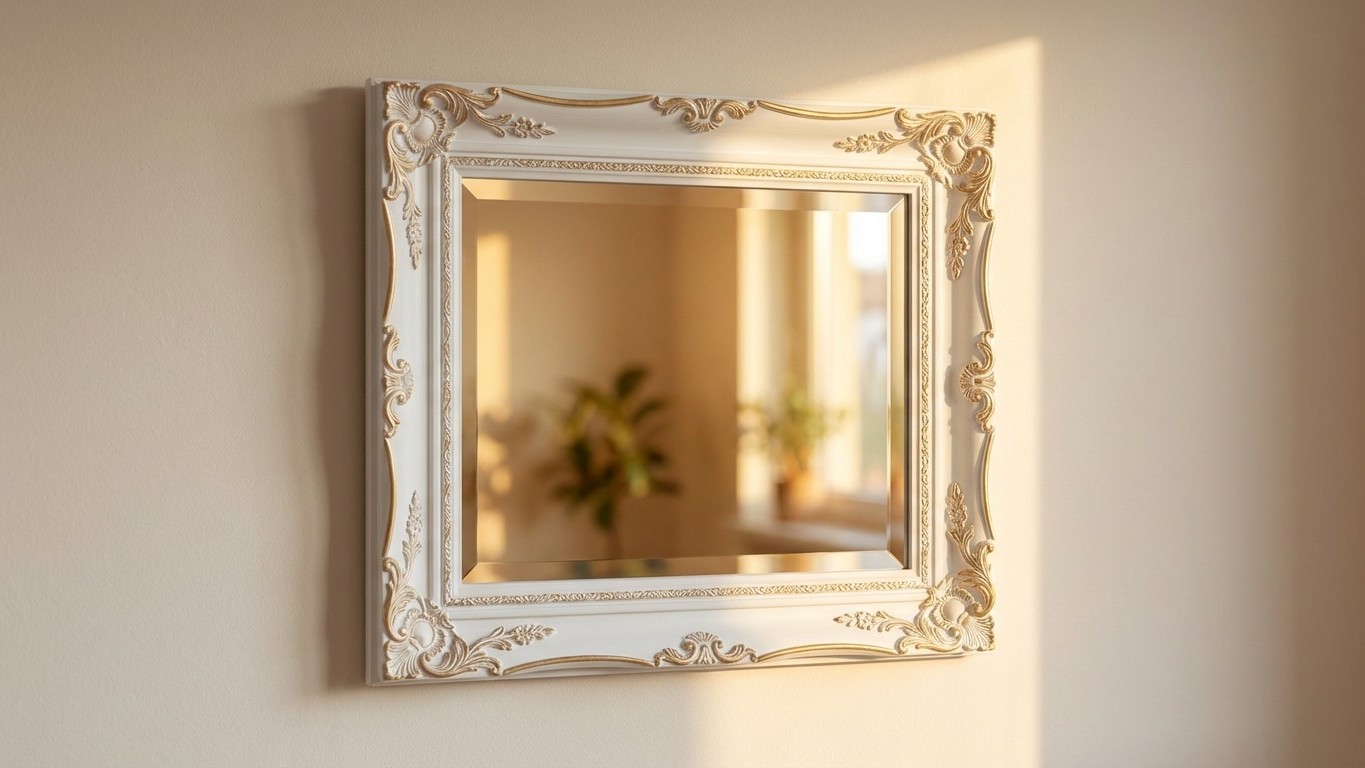
The shapes themselves are the magic. An ogee moulding, with its gentle S-curve, looks extraordinarily elegant when mitred at the corners and painted. A simple ovolo profile, that convex quarter-round, catches light in a way that flatters a mirror beautifully. These are the same profiles you’ll find on frames costing sixty, eighty, even a hundred and twenty pounds in homeware shops. The wood is just wood. The finish is just paint. What you’re paying for, at retail, is almost entirely the labour of someone else assembling it.
Getting started: what you actually need
Before anything else, a moulding must have what framers call a “rebate”, a stepped groove running along its inner edge where the mirror glass (or mirror film applied to glass, or a standard mirror tile) will sit. Many architectural mouldings don’t have this, but it’s easily solved by gluing a thin strip of timber to the back, creating a ledge. Nothing complicated, nothing expensive.
For cutting, a mitre box and a good tenon saw will handle most profiles. A cheap electric mitre saw speeds things up considerably if you’re making several frames, but honestly, I made my first three entirely by hand. The key measurement is this: always cut your moulding so that the inner edge of each piece matches the exact dimensions of your mirror. Measure twice. Cut once. Yes, that advice is as old as woodworking itself, and it remains as relevant as ever.
Joining the corners is where many people feel nervous, but wood glue and a few panel pins or corner clamps are genuinely sufficient for a mirror that will hang on a wall. For extra strength, small L-shaped brackets on the back work perfectly. Leave the glue to cure fully (check the packaging, but most PVA wood glues need a good couple of hours at minimum) before handling the frame further.
The finish that makes all the difference
A raw wood frame looks unfinished, naturally. The transformation happens in the preparation and painting stages, and this is where a little patience pays off enormously. Sand the frame progressively through grits, starting around 80 and finishing at 120 or 150, paying particular attention to the mitre joints. Fill any small gaps with a flexible decorator’s filler, allow it to dry fully, then sand again. A coat of wood primer, then two coats of your chosen colour, lightly sanded between coats with a very fine paper.
For a classic look, flat white or off-white works beautifully and suits almost any room. If you want something that genuinely looks antique rather than merely old, a base coat of dark grey or black followed by a mid-tone and then a very light dry-brush of gold or silver paint creates a depth that shop-bought frames rarely achieve. Gilding wax, rubbed sparingly with a finger along the raised profiles of the moulding, adds another layer of richness. My own bathroom mirror, made from a length of cornicing I found at a reclamation yard in South Wales for less than three pounds, has been mistaken for an expensive antique on more than one occasion.
Plaster mouldings deserve a mention here. They’re heavier and more brittle than wood, so they require a bit more care during cutting (a fine-toothed saw and patience), but they take paint with extraordinary smoothness and the level of detail in ornate profiles is something wood simply cannot match. If you’re framing a statement mirror in a hallway or reception room, plaster or resin moulding repainted in a deep colour is genuinely spectacular.
Hanging and finishing touches
A mirror adds weight, so the hanging method matters. Two D-ring picture hooks screwed into the back of the frame, positioned roughly a third of the way down from the top, distribute the load well. Use proper wall fixings appropriate to your wall type, and don’t trust a mirror of any size to a single hook.
Small self-adhesive felt pads on the bottom edge of the frame protect your wall and help the mirror hang straight. A spirit level costs less than two pounds from most hardware shops and is worth every penny at this stage. There’s something quietly disheartening about a beautiful handmade frame hanging at a slight tilt.
Once you’ve made one frame this way, the second comes together in half the time. The third, quicker still. There’s a cumulative pleasure in it, a sense of the house slowly filling with things you actually made, rather than things you merely bought. And every time someone admires the mirror in the hallway and asks where you got it, the answer is rather satisfying.