Fixing things to plasterboard walls is one of those jobs that sends even confident DIYers into a quiet panic. Hollow walls, crumbly gypsum, and the creeping fear that your shelf will end up on the floor at three in the morning, we’ve all been there. The good news is that there’s a remarkably simple alternative to the standard Molly bolt (also called a cavity wall anchor) that costs next to nothing, performs better under load, and has been used by experienced tradespeople for years Without much fanfare.
Key takeaways
- Standard Molly anchors hold only 15-20kg on plasterboard, but spring toggles hold 50kg—why hasn’t anyone told you this?
- A pair of spring toggles costs £1-2, but outperforms anchors costing ten times as much
- The installation technique matters: one simple step that most people skip determines whether your shelf stays up or crashes down
Why Molly Anchors So Often Let You Down
The Molly bolt has been around for decades, and there’s a reason it became the default. It expands behind the plasterboard as you tighten the screw, gripping the back face of the board. In theory, elegant. In practice, the results are inconsistent. Plasterboard is typically only 12.5mm thick, and that thin layer of gypsum can crumble under load, especially if the anchor wasn’t set perfectly flush, or if the board has any slight moisture damage (more common in older British homes than you’d think).
Molly anchors also require drilling a relatively large hole, usually 8mm or more, which weakens the board around the fixing point before you’ve even started. And once one pulls through, you’ve got a ragged hole that’s awkward to repair properly. At around 50p to £1 each from most hardware shops, they’re not wildly expensive, but they add up quickly when you’re fitting a kitchen’s worth of cabinet rails or a full row of bathroom shelves.
The Fix That Costs Less Than a Cup of Tea
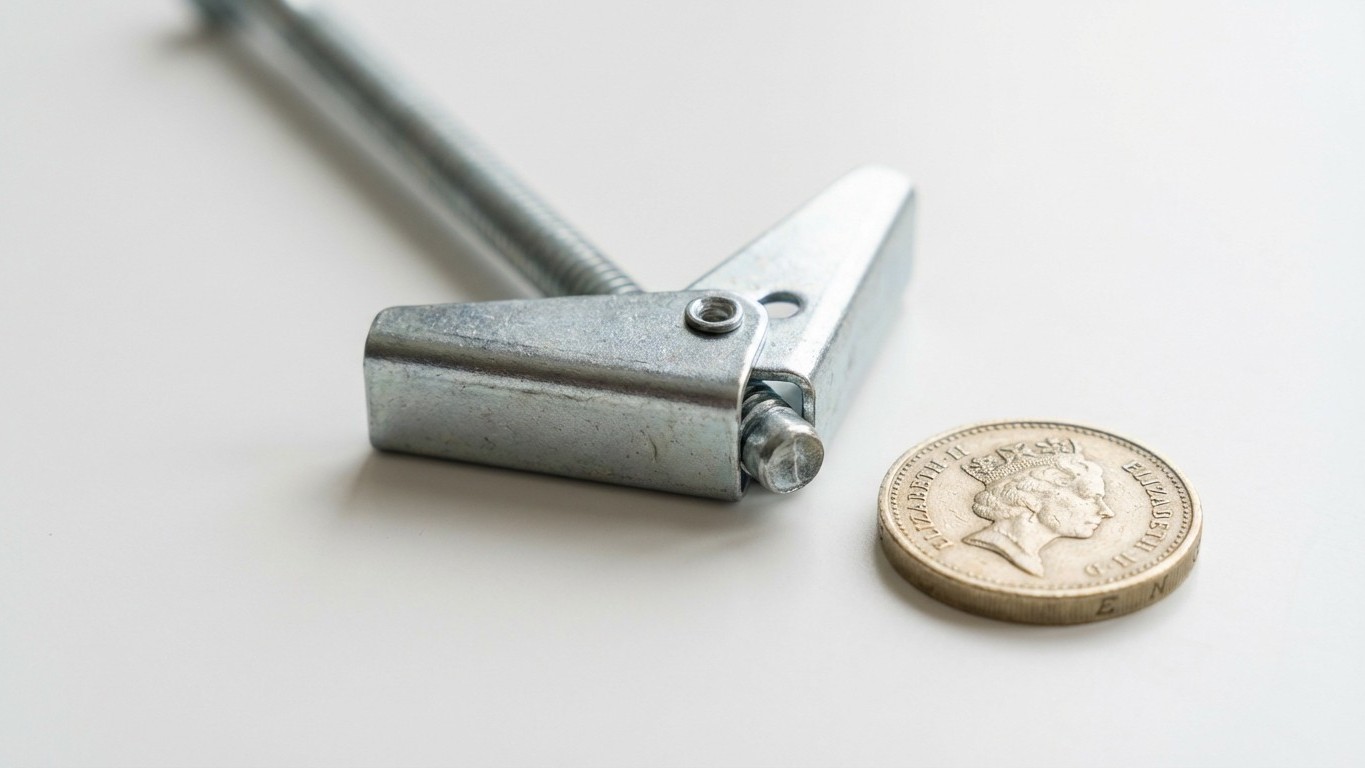
The method gaining quiet favour among plasterers and building contractors is the use of snap toggles, sometimes called spring toggles or bolt toggles depending on where you’re shopping. A pair typically costs around £1 to £2, and the difference in pull-out strength is not trivial. Independent load testing has shown that a well-fitted spring toggle in standard 12.5mm plasterboard can hold upwards of 50kg per fixing point, compared to roughly 15-20kg for a standard Molly anchor in the same board. That’s a genuine three-to-one advantage, not marketing copy.
The reason is simple geometry. A Molly anchor grips only the immediate area around the hole. A spring toggle, once pushed through the wall, opens out into a wide metal bar or butterfly wing that spreads the load across a much larger surface area on the back of the board. Think of it like the difference between standing on ice in stiletto heels versus snow boots. Same weight, entirely different pressure per square inch.
Here’s how to fit one properly. You’ll need a drill, the correct size drill bit (usually 12-13mm for most spring toggles, though do check the packet), your toggle, and a screwdriver. Start by marking your fixing point carefully, a pencil mark and a small pilot hole with a bradawl first will stop the drill bit skating across the wall. Drill your hole cleanly and brush out any gypsum dust. Fold the toggle wings flat against the bolt, push the whole assembly through the hole until you feel the wings spring open behind the board, then gently pull back on the bolt as you begin to tighten the screw. That backward tension is what seats the toggle flush against the inner face of the plasterboard, spreading the load evenly. Don’t over-tighten — firm and snug is what you’re after.
A Few Things Worth Knowing Before You Start
The one genuine drawback to spring toggles is that the bolt is not retrievable. If you unscrew it entirely, the toggle wing drops down inside the wall cavity. This rarely matters in practice, since you’re usually fitting something that will stay put, but it’s worth knowing if you’re the sort of person who rearranges their shelving seasonally. There are screw-based toggle variants on the market that allow for removal and reuse, and while they sit at a slightly higher price point, they solve this problem neatly.
Also, toggles need a minimum cavity depth behind the board to open properly. In most standard stud walls with 12.5mm plasterboard, you’ll have 75-100mm of void behind the surface, which is ample. The trouble can come with dry-lined walls, where rigid insulation is bonded directly to masonry. Here the cavity might be minimal or non-existent, in which case you’d be better served by a specialist heavy-duty plasterboard screw designed for direct contact with the masonry behind.
One more tip from hard-won experience: always try to hit a timber stud if you possibly can. A screw into a 47mm timber stud will outperform any cavity anchor, full stop. Use a stud finder or the old-fashioned trick of tapping across the wall with your knuckles and listening for the change from hollow to solid. Most studs are spaced at 400mm or 600mm centres in British construction, so once you’ve found one, you’ve likely found the rest.
Making the Most of Your New Fixing
If you’re putting up anything genuinely heavy, a flat-screen television bracket, a wall-mounted boiler, a solid oak shelving unit — it’s worth using two or three toggle fixings spread across the item rather than relying on a single point. Distributed load is the principle that keeps suspension bridges standing, and it works just as well for your bathroom mirror.
The humble spring toggle has been hiding in the back of the fixings drawer in trade vans across the country for years, quietly doing a far better job than the flashier alternatives. At £1 or £2 for a pack, it’s the sort of small discovery that makes you wonder why no one mentioned it sooner. Once you’ve used them, I suspect the Molly anchors will stay in their little plastic bag for quite some time.
Sources : amazon.co.uk | diy.com