
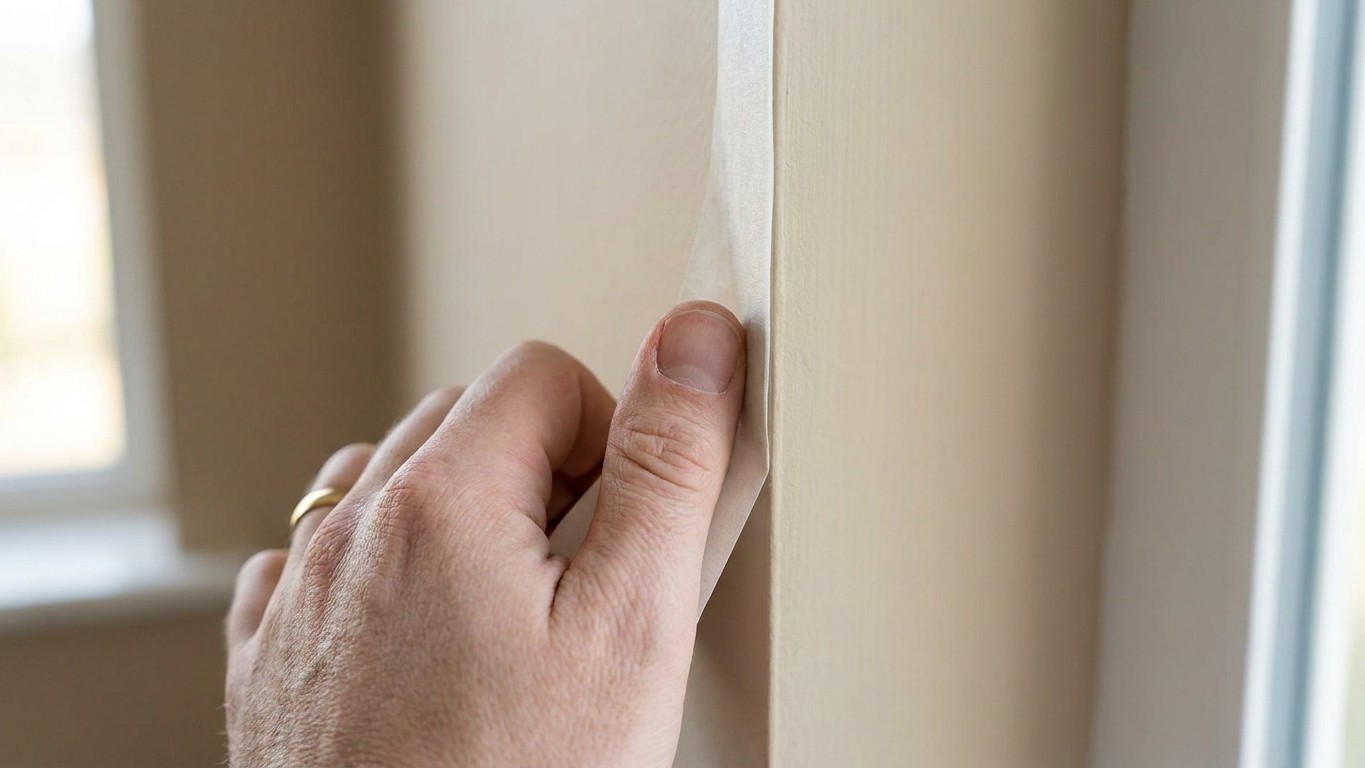
Press a strip of masking tape onto Your Freshly Painted wall, smooth it down with your thumb, then rip it back sharply. If flecks of paint come away with it, you’ve got a problem that no amount of lovely wallpaper or fresh skirting board is going to hide. This is the first thing any decent joiner or decorator does before hanging paper, fitting a dado rail, or sticking anything permanent to a wall, and it takes about ten seconds.
The logic is refreshingly simple. If nothing comes off then you probably have good adhesion, while paint that strips off with the tape indicates poor overall adhesion. No paint chemist required, no fancy kit, just a tenpenny roll of tape and a bit of nerve. Professional painters have been doing a version of this for decades. Apply a strip of white masking tape, press firmly, wait ten seconds, and rip off; if any paint is removed, the adhesion test fails. Simple, but it’s saved many a joiner from a wallpapering job that would have peeled off in sheets six months later.
Key takeaways
- A strip of tape reveals what your eyes cannot: whether paint is truly bonded to the wall beneath
- Paint that looks fine for weeks may still be off-gassing, making it fail the adhesion test before it’s properly cured
- Glossy finishes, old chalky paint, and walls contaminated by dust or moisture all fail silently—until something tries to stick to them
What’s actually being tested, and why it matters more than you’d think
There’s a proper, laboratory version of this trick too, and it’s where the tape test gets its scientific backbone. Paint conservators and manufacturers use something called the cross-cut or cross-hatch test, where a tool cuts a right-angle lattice pattern into the coating, penetrating to the substrate. Tape gets pressed over the little grid of scratches, smoothed down with something like the back of a pencil, then peeled off fast at close to a right angle. A crosshatch pattern is made through the film to the substrate, pressure-sensitive tape is applied over the cut, and tape is removed by pulling it off rapidly back over itself as close to an angle of 180 degrees. The result gets graded on a scale, with anything below a certain threshold meaning the paint simply isn’t bonded properly to what’s underneath.
A joiner on site rarely bothers with the scalpel and the grid, mind you. The flat strip of tape does the job well enough for a quick sanity check before committing hours of skilled work to a wall. If the paint lifts under a strip of tape pressed on with your thumb, it will certainly lift under wallpaper paste, under the weight of a shelf bracket, or under the slow tug of gravity on heavy lining paper. I’ve always thought of it a bit like testing whether a jam sandwich will hold together before you pack it in a lunchbox. Better to find out at the kitchen table than halfway through the school run.
Why paint sometimes fails its own adhesion test
Fresh paint is a deceptive thing. It looks touch-dry within hours, but the chemistry underneath keeps changing for weeks. Paint looks dry in hours but keeps off-gassing for weeks, and those fumes permanently contaminate the adhesive of anything you stick to it too soon. That’s one of the commonest reasons a wall fails the tape test: it simply hasn’t finished curing. Industry guidance on this varies, but professionals often recommend waiting two to four weeks, with some suggesting up to thirty days for full cure on certain paints, especially in cool or humid conditions.
Then there’s the finish itself. A glossy or semi-gloss paint is smooth by design, which is wonderful for wiping down but dreadful for anything trying to bond to it afterwards. Glossy or semi-gloss paint requires surface abrasion to promote primer adhesion, so it needs a light sanding with fine sandpaper or a chemical deglosser. Skip that step and you’re essentially asking your wallpaper paste or your primer to stick to glass. Old, chalky paint causes the opposite problem, crumbling away rather than peeling in sheets, while paint applied over dust, grease from cooking, or a whiff of damp from behind a radiator never really bonded to the wall in the first place. None of these faults show up to the naked eye. They only reveal themselves when something tugs at the surface, which is exactly what your strip of tape does.
Putting it right before you commit to the real job
If your test strip comes away clean, carry on with confidence, though it’s still sensible to check two or three spots around the room rather than just one patch near the window. Walls rarely fail evenly. A corner that catches condensation, or a section that got an extra thinned-down coat near the end of the tin, can behave quite differently from the rest.
If paint does come off, don’t reach for a thicker coat of primer and hope for the best, because as one seasoned tradesperson put it rather bluntly, primer will not help the old paint to adhere to the underlying surface. The loose paint has to go first, whether that’s a light sand, a scrape with a filling knife, or in bad cases stripping back to bare plaster. Once you’re down to a sound surface, an appropriate primer, alkyd based for old painted surfaces or acrylic for fresh plaster, gives whatever comes next a proper chance. Alkyd-based primers work best on previously painted surfaces, while acrylic primers excel on new drywall. Only once that’s sorted should the tape strip go back on for a second check.
One thing worth remembering, and it’s easily missed: the same test that protects your wallpaper can just as easily damage a wall that’s perfectly fine but simply too young. Use a proper low-tack painter’s tape rather than ordinary sticky tape for this test itself, because a strong adhesive on paint that’s only a week or two old can create the very failure you’re trying to detect. Ten seconds with the right tape, on the other hand, tells you more about a paint job than an hour of squinting at it ever could.
Sources : coohom.com | impactwizards.com