
I’ve got enough to write a rich, well-sourced piece about the vertical zone above sockets and switches, plus practical detection advice.
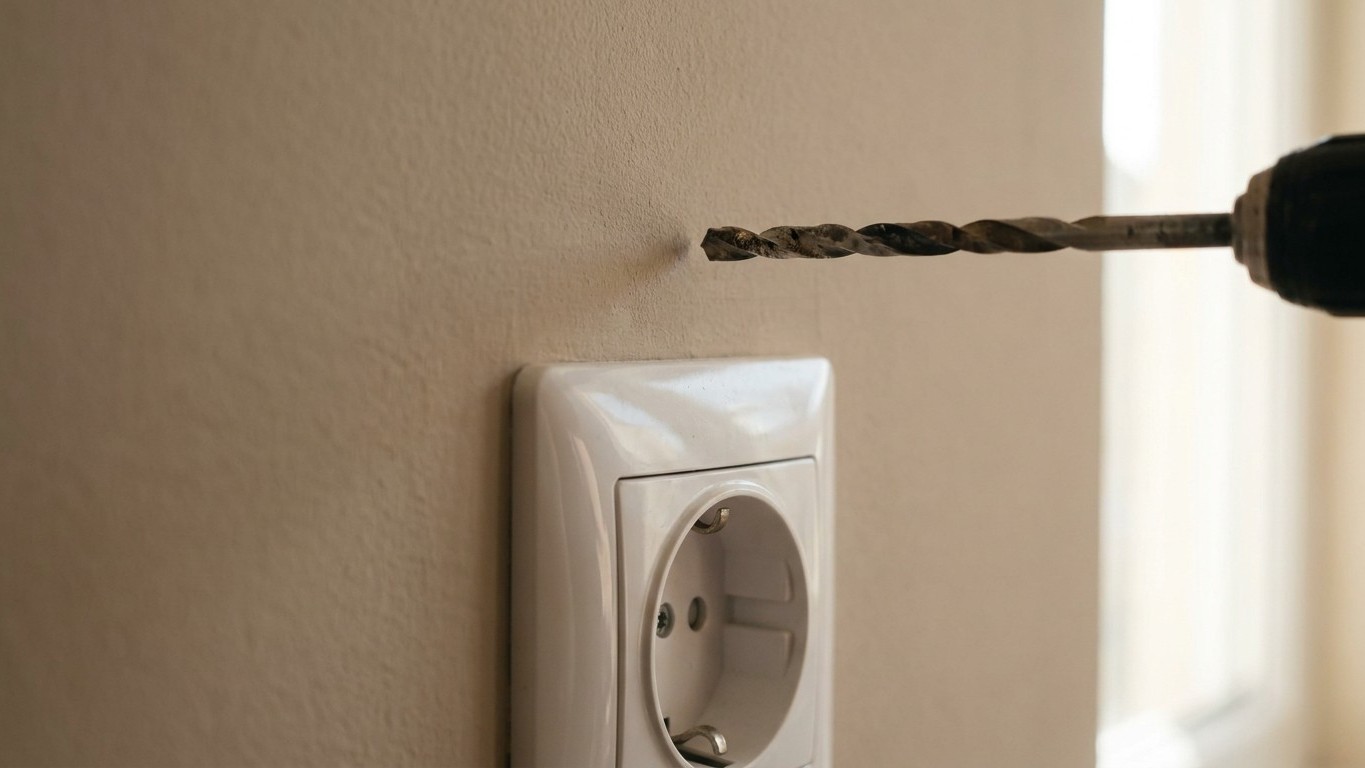
That vertical strip of wall running straight up from a socket isn’t empty space waiting to be filled with rawl plugs. It’s one of the most predictable cable routes in the entire house, and drilling into it 30cm up, even well clear of the socket faceplate itself, puts you directly in the path of wiring that almost certainly climbs from that outlet towards the ceiling void or the light above.
Here’s why that spot is so exposed. All walls have some defined areas where cables can be installed, and installing a socket, switch or other item which has cables connected to it will create additional zones vertically and horizontally from the item. Electricians don’t route cable diagonally across a wall on a whim; they follow rules precisely so that anyone drilling years later has a fighting chance of guessing where the wire runs. Electrical cables are normally run vertically or horizontally from electrical accessories so their position can be predicted. That’s the whole point of the system. But it also means the zone directly above your socket, exactly where you’d plant a shelf bracket to line things up with a window, is precisely where a live cable is expected to be.
Key takeaways
- Electrical cables are deliberately routed vertically above sockets and switches—it’s not accidental, it’s by regulation
- Nearly half of serious electric shocks in UK homes come from DIY drilling mishaps, according to industry data
- Cable detectors aren’t foolproof, especially in old walls, and knowing their limitations could save your life
The rulebook behind that wall
These aren’t informal habits picked up on site. Electrical installations in the UK are governed by a robust framework, with Part P of the Building Regulations setting the legal requirement for safety in domestic properties, and this legal requirement is satisfied by following the detailed technical specifications laid out in BS 7671. The relevant section covers what used to be called “safe zones” and is now known by a slightly more formal name. These were called ‘safe zones’ in the 17th and earlier editions, now renamed ‘prescribed zones’ in the 18th edition, though the actual zones have not changed between editions.
The rule of thumb is refreshingly simple once you know it. The safe wiring zones around electrical accessories such as socket-outlets, light switches, cooker switches etc. extend directly above and below the electrical accessory and directly to the left and right of the accessory. So that shelf bracket 30cm above the socket sits squarely in a zone the wiring regs were designed to protect, not because someone forgot to warn you, but because that’s exactly where the cable is supposed to be able to run. The same logic applies to the tops of walls, incidentally. The first zone is a 150mm wide strip at the top of any wall where it meets the ceiling, and this applies to all walls, regardless of whether any electrical items are installed on the wall.
There’s a depth caveat worth knowing too, because it explains why some people drill through this exact zone for years without incident. Safe zones are defined by BS 7671 (Wiring Regulations) and apply to cables buried less than 50mm deep in a wall. A stud wall with cable clipped to the front face of a timber upright is far riskier than a solid masonry wall where the electrician chased the cable in deep and skimmed over it. You genuinely cannot tell which situation you’re in just by looking at the paintwork, which is rather the whole problem with plaster: it keeps its secrets well.
What a cable detector actually catches, and what it misses
I’ll admit I’m fonder of a cheap cable detector than of most kitchen gadgets, because it’s one of those tools that earns its keep the very first time it saves you from a service call. A common DIY error is accidentally drilling, nailing, or screwing into cables hidden inside your walls, and a quality cable detector can help track buried cables before you start work and reduce the risk of an electric shock. Multifunction models are the ones worth having in your toolbox, since multifunction detectors can detect wood studs, metal pipes, and live electrical wires, giving you a fuller picture than a basic stud finder ever could.
Using one properly takes a bit more care than most people assume. It pays to switch off nearby electronics or lights, and unplug any nearby appliances to reduce electrical interference, which helps ensure the detector picks up only the hidden wires behind the wall. Jewellery causes its own headaches: to avoid confusing the detection device, don’t wear any jewellery on your fingers or hands, otherwise the red LED light that means “Don’t drill here!” will be lit up the whole time. Sweep the same patch several times before you trust the reading, since making several passes to confirm the object’s location and shape helps ensure you don’t accidentally drill into it from another angle. No detector is infallible against thick plaster or old lath-and-plaster walls, so treat a clear reading as reassurance, not a guarantee.
Why the consequences are worse than a snapped drill bit
The figures on this are more sobering than most people expect from something as mundane as putting up a shelf. It’s shocking to learn that around 50% of all serious electric shocks in UK homes come from DIY errors. A separate industry survey found the same pattern repeating itself among the professionals who end up fixing the fallout: a survey of 1,000 registered electricians revealed one-third had seen or been involved with fixing electrical DIY mishaps that had resulted in fires, serious electric shock, or significant repair costs. That’s not scaremongering, that’s the daily reality for tradespeople who get called out after someone’s Saturday afternoon project goes sideways.
The physical mechanism is worth understanding rather than just fearing. Electrocution can result when a live cable is damaged and makes contact with the drill, forming a circuit through the user’s body. Even when nobody gets hurt, the aftermath is rarely cheap or quick: at the very least, drilling into wiring is disruptive and costly, and you’ll need to call in an electrician to investigate and fix the damage, which often involves removing a section of the plasterwork and installing a new cable. A snapped £3 masonry bit suddenly looks like the good outcome by comparison.
Your best insurance, beyond the detector, sits in your consumer unit. A Residual Current Device is a life-saver that rapidly cuts power in the event of an electrical fault, significantly reducing the risk of fatal electric shock, and it should be tested regularly, usually every 3-6 months, using the ‘T’ or ‘Test’ button. If your fuse box is old enough that you’re not sure whether RCD protection exists at all, that’s worth a five-minute check before your next shelf goes anywhere near a wall. And if in doubt about what’s lurking behind the plaster, there’s no shame in shifting the shelf sideways by twenty centimetres instead, out of that vertical strip entirely. The window will still look level. Your fingers will thank you for the extra caution, and so, frankly, will your electricity bill.
Sources : gaultelectrical.co.uk | homebuilding.co.uk