
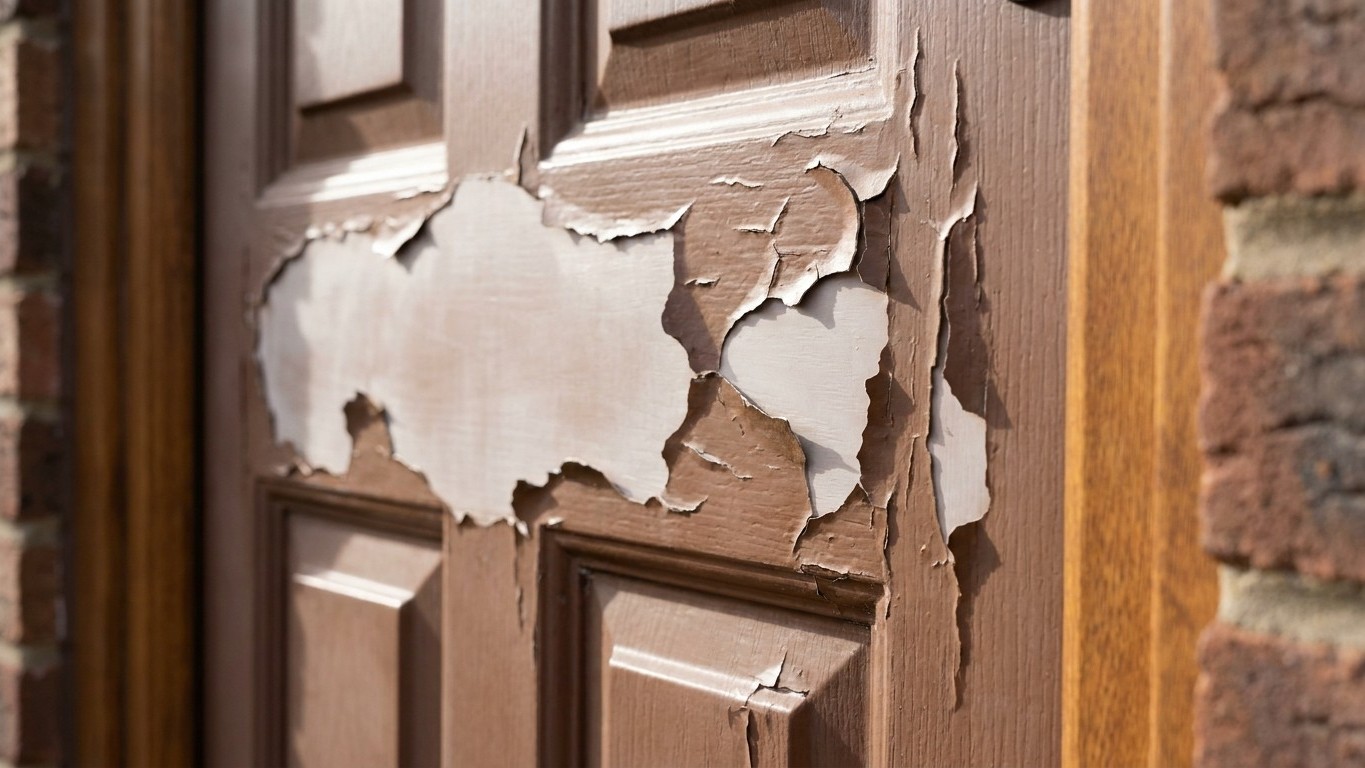
That tacky, dimpled feeling under your finger a week after painting isn’t the gloss “still settling in”. It’s the first sign that the paint has never properly bonded to the door at all, and within a few weeks you’ll likely be picking at flakes of it with your thumbnail. I’ve heard this story more times than I care to count from readers who thought a tin of ordinary gloss and a Saturday afternoon would sort out a tired brown front door, so let me explain what’s actually happening beneath that sticky surface, and how to put it right without buying a whole new door.
Key takeaways
- Ordinary gloss sits on uPVC like skin on glass—it has nothing to grip
- Manufacturing resins continue leaking from new doors for up to 12 months, sabotaging any paint job
- The solution involves specialist primer, light sanding, and flexible topcoat—not just more paint
Why ordinary gloss never really stood a chance
uPVC isn’t timber, and that’s the whole problem. Your uPVC door is made of a smooth type of plastic that is very slick, and paint does not like to stick to it. I always tell people to think of it as painting a pane of glass rather than a wooden panel. Ordinary household gloss is formulated to soak slightly into porous surfaces like wood, gripping the grain as it dries. uPVC has no grain, no pores, nothing for the paint to key into, so it simply sits on top like a skin. The paint cannot soak into the door material, it just sits on top, and as soon as the sun heats the door, or the door moves when you close it, the paint cracks, which is why you see paint flaking away.
There’s a second nasty surprise waiting for anyone who’s bought a door in the last year. Never paint uPVC that is less than 12 months old, as it continues to secrete the resins used in the manufacturing process for up to a year and these resins will stop paint from binding to the surface. Even on an older door, that “tacky finger” feeling you noticed is a classic sign the paint never cured properly, and it will only get worse with the first bit of summer sun. Bright colours suffer doubly here, too: the sun’s strong UV rays break down the colour pigment in the paint, causing fading, so a bright red door might look pink within a year if the wrong tin was used.
The method that actually lasts
None of this means uPVC can’t be painted well, plenty of people do it successfully every year. The difference is entirely in the preparation and the products, not elbow grease. Start by giving the door a proper wash with warm water and a little washing-up liquid to shift grime and old wax, then dry it thoroughly. Next comes the step most impatient DIYers skip: a light key with fine or medium-grit sandpaper across the whole surface. After cleaning, lightly sanding the door roughens up the surface, allowing the primer and paint to stick better. Wipe away every trace of dust with a dry cloth, because any grit left behind will show up as a bump under your topcoat.
The bit ordinary gloss skips entirely is a proper primer designed for difficult, non-porous surfaces. uPVC doors have a smooth, non-porous surface, so they need a primer suitable for uPVC to ensure the paint adheres well. Once that’s brushed or rolled on, patience matters more than speed. Wait a few days for the primer to fully ‘cure’ before applying the topcoat, to avoid any cracking later. Skip that curing window and you’re back to square one, with a lovely colour that lifts off at the first knock from a delivery box.
For the topcoat itself, resist the urge to reach for whatever gloss is left in the shed. Rather than exterior gloss or satinwood for the topcoat, acrylic or polyurethane-based paint is better suited, offering superior flexibility as the door expands and contracts. There are now genuine multi-surface exterior paints made specifically with uPVC in mind, some of which claim usable results without a separate primer, though even the manufacturers admit that if you decide to use a shade from the gloss range instead, you need to use a specialist difficult-surface primer first. Whichever route you take, apply thin coats rather than one thick one, and give each coat the full drying time on the tin before adding the next.
If you’ve already made my reader’s mistake
Should your door already be tacky or starting to lift, don’t panic and don’t just paint over it hoping a third coat will save the day, that only adds weight to a bond that was never there. The honest fix is to strip back to bare plastic. One decorator with decades in the trade put it plainly on a DIY forum: strip back to bare uPVC, light sand to help the primer key to it better, clean down with a degreaser, use a proper primer, then two top coats of a durable exterior finish. It’s more work than you bargained for, certainly, but far less than the cost of a replacement door, and once it’s done properly you shouldn’t need to touch it again for years.
Before you even reach for a scraper, though, ask whether the door genuinely needs painting at all. uPVC was chosen by millions of households precisely because it doesn’t need this faff. If the door has faded or discoloured, that’s often a sign of cheap uPVC that hasn’t worn well, and painting over a worn-out door isn’t always the best fix, you can end up with a shabby door that merely has paint on it. Sometimes a good scrub with sugar soap and a fresh set of handles does more for kerb appeal than any tin of gloss ever will, and it costs a great deal less than a week of regret.
Sources : upvcspraypainters.com | pinkscharming.com