
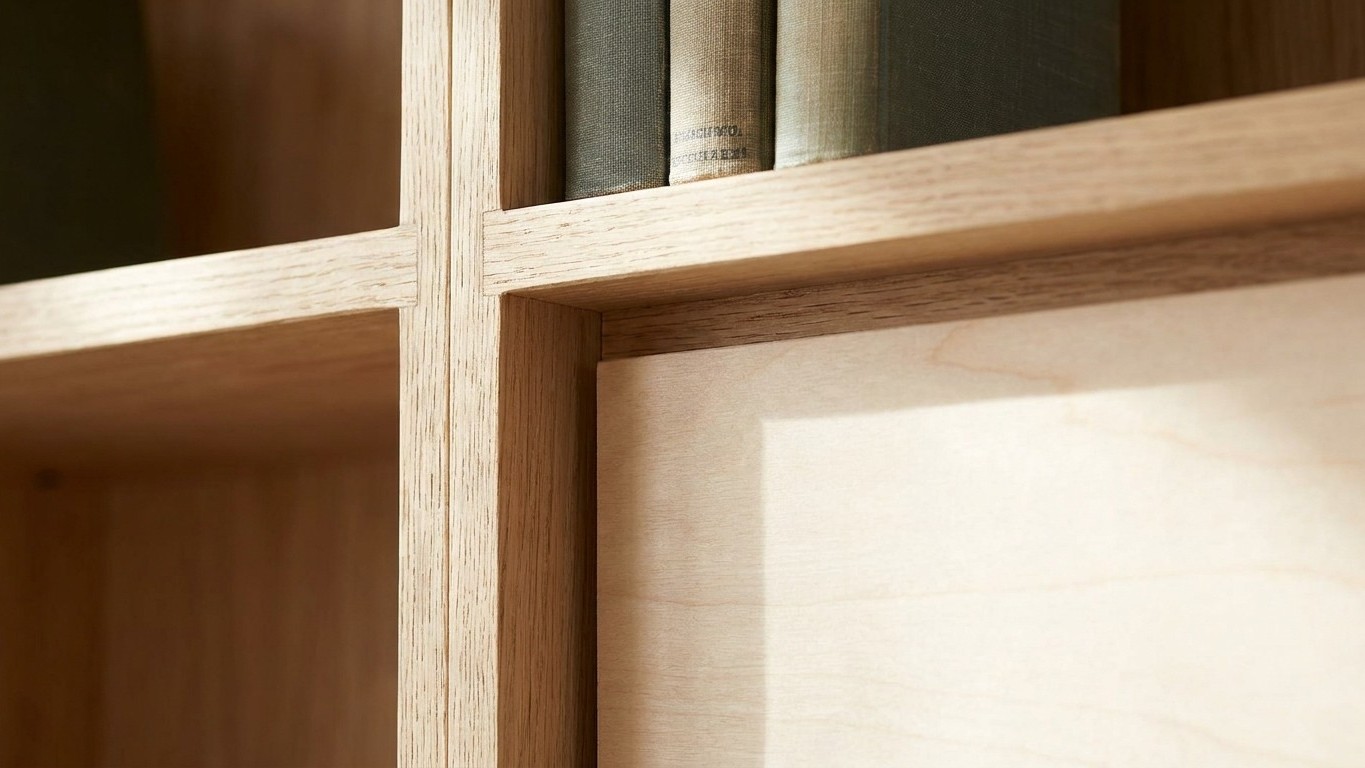
That sheet of thin hardboard stapled or pinned to the back of your bookcase isn’t doing what you think it’s doing. Right across Britain, homemade shelving units wobble and lean because the backing panel is simply tacked to the surface rather than locked into the frame. The fix that actually stops the leaning isn’t a thicker sheet or more staples. It’s swapping that surface-pinned board for a panel let into a rebate cut along the inside edges of the case, then screwed firmly in place.
Key takeaways
- Why your bookcase leans despite that hardboard backing everyone installs
- The mechanical reason staples and surface nails fail under pressure
- A simple routing technique that costs almost nothing but changes everything
Why stapling thin board to the back doesn’t stop the wobble
A bookcase is, mechanically speaking, a rectangle held together at four corners. Push it sideways and those corners want to shift, turning your neat rectangle into a parallelogram. Woodworkers call this racking, and it’s the reason a perfectly sturdy-looking shelf can suddenly lurch when someone leans on it or a toddler uses it as a climbing frame. You need to strengthen the shape to avoid it being able to “rack”, or move side to side, because you have a reflex parallelogram at this point, meaning all of the joints can move in the same plane, at the same rate.
The thin fibreboard many flat-pack units arrive with is meant to solve exactly this problem, but it’s often let down by how it’s attached. Susceptibility to lateral movement stems from the flexibility of the thin fibreboard back panel, which is typically secured only with small nails, intended to provide shear resistance and keep the rectangular frame square, but the minimal attachment often proves insufficient under stress. It’s a bit like trying to stop a wobbly card table by sellotaping a postcard to the underside. The postcard has plenty of stiffness in theory. It just isn’t gripping anything hard enough to matter.
The rebate is what actually locks the frame square
Cut a shallow groove, a rebate, along the inside back edge of the sides, top and bottom, then set your backing panel snugly into that recess and screw it home. Rather than a decoration pinned onto a finished box, the panel becomes a structural member sharing the load with the rest of the carcass. Furniture makers who’ve compared the two methods are blunt about which wins. A back may not have the normal squaring tendency when racking the box if it isn’t firmly fastened, and though a plain slot has a clean look, it may not offer as much strength as a rebate joint does.
You don’t need anything exotic for the panel itself. A quarter-inch sheet of plywood is perfectly adequate for strength, with no need for anything thicker unless you’re planning to hang something from it. That’s roughly 6mm in proper units, and it’s a fraction of the price of a full sheet of thicker board. The trap most DIY shelves fall into is using genuinely flimsy 1/8 inch hardboard, the sort discount stores typically nail on the back with small brads, and then pinning it flush to the surface instead of recessing it into the frame. Swap that same cheap sheet into a proper rebate with screws every few inches, and you’ve turned a decorative afterthought into a working brace.
Research into cabinet furniture backs this up from the engineering side too. Studies have found the performance of existing designs can be improved by attaching the shelves to the back of the case with screws, making the ends of the shelves rigid, increasing panel thickness, or using a board with higher stiffness values. In plain terms, screwing the shelves into the backing panel, not just the sides, spreads the load and stops the whole thing hinging at the weakest joint.
What to do if you’d rather not pull the back off
Sometimes taking the whole unit apart to rout a rebate isn’t practical, especially with a loaded bookcase you don’t fancy emptying on a Tuesday evening. There’s a genuinely good workaround for this. Lateral stability can still be achieved through internal diagonal cross-bracing, running thin steel cables or metal strapping diagonally from the top corner of the unit down to the opposing bottom corner in an X-pattern, with the tension resisting deformation by introducing opposing tensile forces that counteract the racking movement. It looks slightly industrial fixed to the inside of a back panel, but tucked behind a run of books nobody will ever spot it.
If you’re building from scratch and fancy something with a bit more character than a plywood sheet, solid timber has its fans too. Some woodworkers prefer thin pine boards shiplapped vertically on the back, then screwed (not glued) to the sides and shelves, which adds a lot of strength to the structure while allowing for seasonal wood movement, resulting in no racking and no shelf sag. It’s more work than a single sheet, admittedly, but it ages rather nicely and avoids the slightly clinical look of plywood showing through an open-backed design.
A note on cost before you start
None of this needs to break the bank. A rebated 6mm plywood back costs barely more in materials than the hardboard offcut it replaces, the real saving is in your own labour, since a router pass or a few passes with a hand rebate plane takes minutes once the case is apart. Worth remembering too that the screws matter as much as the panel: staples pull straight out of chipboard sides under repeated stress, whereas even modest wood screws, spaced every four to six inches along a proper rebate, spread that same load across dozens of grip points rather than a handful of weak pinpricks.
Sources : docs.lib.purdue.edu | byggahus.se