Wood filler is one of those products that sits quietly in kitchen drawers across the country, half-used and slightly dried out, waiting for the day someone decides to tackle those battered door frames that have been quietly bothering them for years. The good news: with the right technique, a tube of filler and a few hours on a weekend afternoon, you can make old, damaged door frames look genuinely new again. Not “good enough for now” new. Actually new.
Key takeaways
- Why most people’s wood filler repairs fail within months (hint: it’s not the filler)
- The one preparation step decorators never skip but homeowners always rush
- How layering, priming, and sanding transform a repair from ‘good enough’ into invisible
Why Door Frames Take Such a Beating
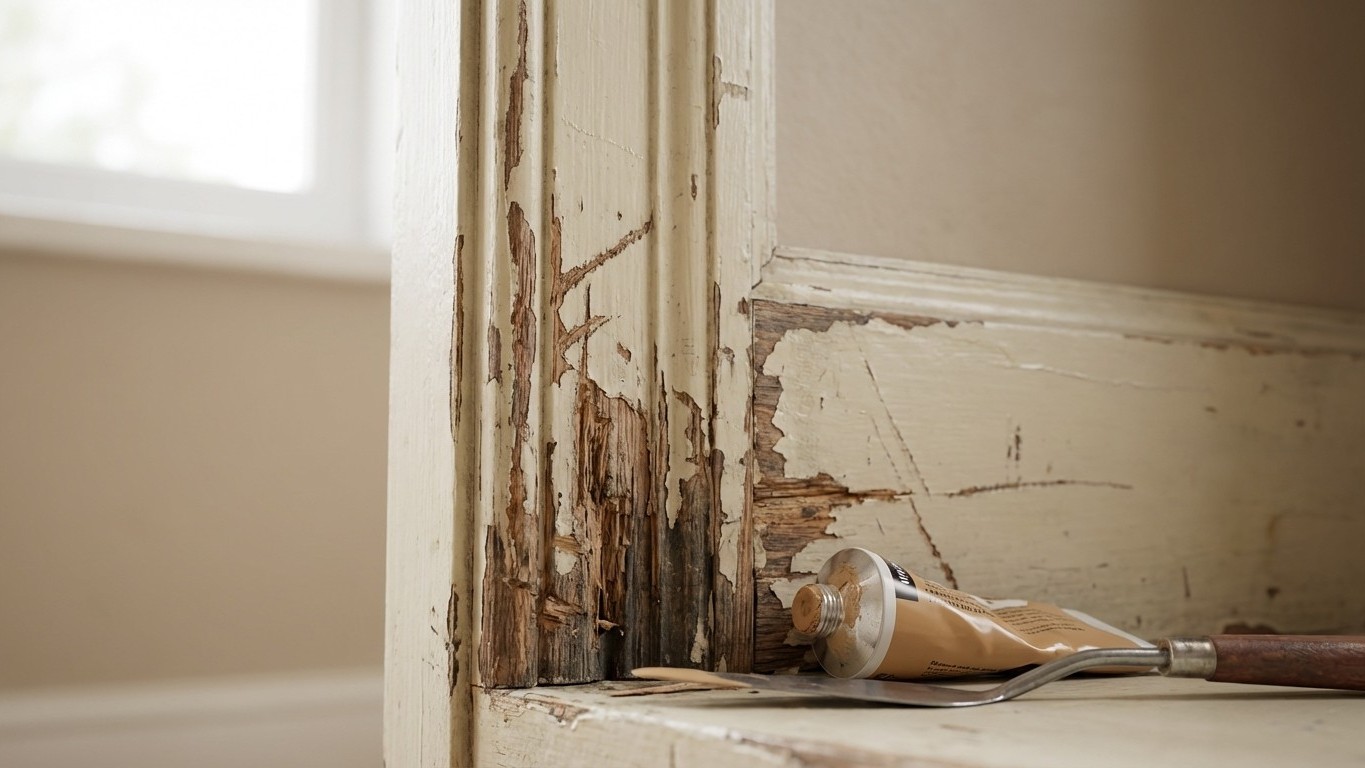
Door frames live a hard life. Every slam, every dragged piece of furniture, every excited dog skidding around a corner leaves its mark. The bottom corners are usually worst, where shoes and hoovers have chipped away the paint and gouged the wood over decades. The hinge side often develops those characteristic splits where screws have been over-tightened or the wood has simply dried out. And the top of the frame, if you’ve ever had a leak or condensation problem, can go soft and crumbly in patches.
Most people reach for wood filler and slap it straight in. Then it falls out six months later, or shrinks below the surface, or takes paint differently from the surrounding wood, and they conclude that wood filler is useless. The filler isn’t the problem, though. The preparation is.
The Preparation That Changes Everything
Before you open the filler, spend twice as long preparing the surface as you think you need to. This is the step that separates a repair that lasts twenty years from one that fails before Christmas.
Start by cleaning the damaged area thoroughly. Grease, old wax polish, and paint residue all stop filler bonding properly. A cloth dampened with white spirit does the job well, and it costs almost nothing. Let it dry completely before touching the surface again. Then take a piece of medium-grit sandpaper (80 grit is ideal) and roughen the area inside the gouge or crack. You’re giving the filler something to grip. Smooth, painted surfaces are slippery; roughened wood is not.
For deeper repairs, say anything more than about 5mm deep, don’t try to fill it in one go. Filler shrinks slightly as it dries, and a deep application will pull away from the edges or crack down the middle. Build it up in layers of no more than 4-5mm, letting each layer dry fully before adding the next. Yes, it takes longer. No, there’s no shortcut that works as well.
One trick that many decorators use for really loose or crumbly wood is a diluted PVA solution applied with an old brush before any filler goes in. One part PVA to five parts water, brushed into the damaged area and left to dry, consolidates the fibres and gives the filler something stable to cling to. It’s the kind of thing that doesn’t appear in any instructions but gets passed down from person to person on building sites.
Choosing and Applying the Filler
Two-part wood fillers (the kind that come with a separate hardener) are stronger and more durable than ready-mixed products for structural repairs or anything outdoors. For interior door frames, a good quality ready-mixed filler works perfectly well and is far easier to handle. Look for a product labelled for interior woodwork and, if you plan to paint over it, one described as “paintable” or “flexible” rather than a masonry or multipurpose filler, which behave differently under paint.
Apply the filler with a flexible palette knife or an old kitchen knife, pressing it firmly into the repair and slightly overfilling the area. The slight overfill is deliberate. Once it’s dry, you’ll sand it back level, and a small excess gives you material to work with. If you underfill and the surface dips even slightly below the surrounding wood, the shadow it casts under a coat of paint will give the game away every time the light catches it.
Drying times vary, but most indoor fillers are ready to sand within one to two hours in a warm room. Don’t rush this. Sanding wet filler just smears it and ruins the surface. Press your fingernail gently into the filler; if it leaves a mark, it needs more time.
The Finish That Fools Everyone
Sanding is where the repair either succeeds or fails visually. Start with 80 or 100 grit to bring the filled area down to the level of the surrounding wood, then finish with 120 or 150 grit for a smooth surface. A small sanding block (even a piece of sandpaper wrapped around a pencil eraser works for tight corners) keeps the pressure even and stops you accidentally rounding off sharp edges that should be crisp.
Before painting, apply a thin coat of wood primer to the filled area. Filler is more porous than the surrounding painted surface, and skipping primer means your topcoat gets absorbed unevenly, leaving a dull, flat patch that shows through even two coats of gloss. The primer seals the filler and gives both surfaces the same level of absorbency, so paint goes on evenly.
Two coats of gloss or satinwood, lightly sanded between coats with 180 or 240 grit paper, and the repair becomes genuinely invisible. Run your hand across it. Look at it in raking light from the window. If you prepared the surface properly and built up the layers, there’s simply nothing to find.
There’s something quietly satisfying about fixing something old rather than replacing it. A door frame that’s been in a house for eighty years has a solidity that modern timber often lacks, and filling a few dents to keep it going another eighty seems like a reasonable exchange for an afternoon’s work and a few pounds spent on materials. The question worth sitting with is how many other things around the house have been written off as too far gone, when really they just needed a little patience and the right preparation.