Plasterboard will betray you. Not immediately, not dramatically, but with a slow, creeping inevitability that usually strikes at the worst possible moment, often in the early hours when the curtain pole gives way and takes a chunk of your wall with it. This is one of the most common DIY disasters in British homes, and the reason is simple: plasterboard, that ubiquitous layer of gypsum and paper lining our modern walls, has almost no holding strength when a screw goes straight into it without any additional support.
The standard wall screw that comes in the box with your curtain pole bracket is designed for masonry or timber. Driven into bare plasterboard, it grips initially, feels solid, and then gradually works itself loose as the curtain is pulled open and closed, day after day. The gypsum crumbles around the thread, the hole widens, and one morning you find your curtains on the floor along with a satisfying chunk of wall. A fully dressed curtain pole, with fabric and track, can weigh several kilograms, and that weight multiplied across two brackets creates a surprising amount of downward and outward force on whatever is holding them up.
Key takeaways
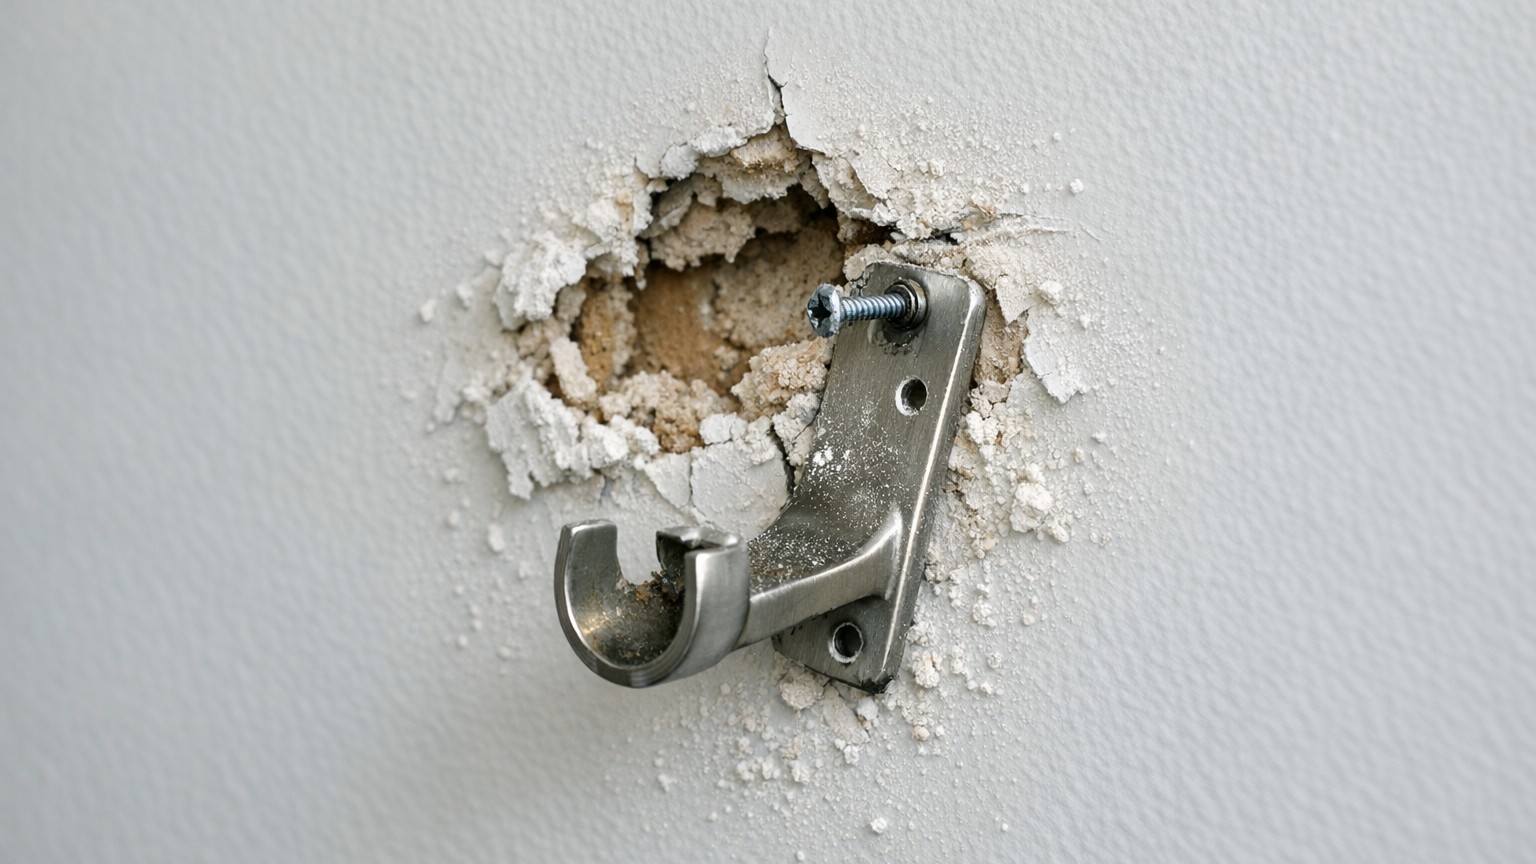
- A screw in bare plasterboard gradually works loose as curtains open and close, until the wall fails catastrophically
- The studs behind your walls are what actually hold things up, but your brackets almost never align with them by chance
- Professional methods like spring toggles and resin anchors create genuinely strong fixings where studs don’t exist
Why plasterboard is so deceptive
There is a reason this mistake is so common. Plasterboard feels firm when you tap it. A screw goes in cleanly and sits tight. For lighter fixings, like a picture hook or a small shelf bracket, a basic cavity fixing or even a decent plastic wall plug will do the job adequately for years. The problem is that curtain poles are a different proposition entirely. They span a wide distance, they carry weight that shifts dynamically, and the brackets are fixed at a point where gravity and leverage combine to put real stress on the fixing.
The other deceptive thing about plasterboard is that it is rarely alone. Behind it, at regular intervals, run timber studwork or metal channels, and these are the structures your fixings actually need to reach. The studs in a standard stud wall are typically spaced either 400mm or 600mm apart, and hitting one of those with a screw transforms a fragile fixing into something genuinely robust. The catch, of course, is that your bracket holes rarely align conveniently with where a stud happens to be.
How to find the stud and fix it properly
A stud finder is the obvious solution, and a basic one costs very little from any DIY shop. Run it slowly across the wall and it will beep or light up as it detects the denser material behind the board. If you do not have one, an old trick is to use a strong magnet along the skirting board line, where the board is nailed to the stud, to locate the fixing points, then measure upward. You can also knock gently along the wall and listen: a hollow sound means cavity, a duller, slightly denser knock means timber behind. None of these methods is infallible, so a thin pilot hole to confirm before you commit to a larger fixing is always sensible.
When a stud does fall conveniently behind your bracket position, use a proper wood screw, ideally at least 50mm long, and you will have a fixing that will outlast the curtain fabric itself. The trouble comes when, as happens more often than not, your bracket lands squarely in the cavity between studs. This is where cavity fixings earn their keep.
The two types worth knowing about are spring toggles and resin anchors. Spring toggles, sometimes called gravity toggles, fold flat to pass through the drilled hole and then spring open behind the board to spread the load across a wider area. They are inexpensive and work well for moderate loads. For heavier poles or for peace of mind, a resin anchor (also sold as chemical anchor) involves injecting a two-part resin into the cavity and allowing a threaded rod to cure solid within it. This gives you a genuinely strong fixing point in a location where there is no stud, and the technique is the same one used professionally for structural fixings in hollow construction.
Repairing the damage before you start again
Before you can rehang anything, the hole left behind needs addressing. A small hole, up to roughly the size of a 50p coin, can be filled with a ready-mixed fine surface filler, pressed in firmly, allowed to dry completely, and then sanded flush. Larger holes, especially where a chunk of board has come away entirely, need a patching piece of plasterboard cut slightly larger than the hole, held in place with a proprietary repair clip or battened from behind with offcuts of timber screwed to the surrounding board, then skim-coated with jointing compound. The finish will need a coat of mist paint (diluted emulsion) before your topcoat goes on, otherwise the filler will absorb the paint unevenly and leave a visible patch.
One thing worth knowing, and this surprises many people, is that the position of your curtain pole brackets relative to the window frame matters structurally as well as aesthetically. Fitting brackets closer to the frame, rather than extending far out to make the window look wider, reduces the lever arm and significantly lowers the stress on each fixing point. A pole that sits 100mm beyond the frame edge puts far less strain on its fixings than one running 300mm out, simply because the physics of leverage work in your favour. So if you are starting fresh, choose your bracket positions with both look and load in mind. Your plasterboard, and your sleep, will thank you for it.