As the chill of winter sets in, keeping your home warm becomes a top priority. One of the simplest and most cost-effective ways to prevent heat loss is by addressing draughts. These sneaky currents of cold air can seep through gaps under doors, around windows, and even through letterboxes, making your heating system work harder and increasing your energy bills. Fortunately, creating a DIY draught stopper is a straightforward project that can be completed in under an hour, using materials you likely already have at home.
Key takeaways
- Discover the surprising impact of small draughts on your home’s warmth and bills.
- Learn how simple household items can become an effective draft stopper.
- Uncover additional tips to further block cold air and save energy.
Understanding the Impact of Draughts
Draughts are more than just a minor inconvenience; they can significantly affect your home’s energy efficiency. According to the Energy Saving Trust, draught-proofing your home can save you around £40 per year on heating bills. By sealing these gaps, you enhance comfort. Also, reduce your carbon footprint.
Materials You’ll Need
Before you begin, gather the following items:
- A piece of fabric (an old pillowcase, trouser leg, or any sturdy material)
- Filling material (rice, dried beans, sand, or even old socks)
- Scissors
- Needle and thread or a sewing machine
- Measuring tape
- Optional: decorative elements like ribbons or buttons
Step-by-Step Guide to Making Your Draught Stopper
1. Measure the Door or Window
Start by measuring the width of the door or window where you plan to place the draught stopper. Add an extra 2–3 cm to this measurement to ensure a snug fit.
2. Cut the Fabric
Using your measurements, cut a rectangle from your chosen fabric. The width should be approximately 15–20 cm, and the length should match your door or window width plus the extra allowance.
3. Sew the Fabric
Fold the fabric lengthwise with the right sides facing each other. Sew along the long edge and one short edge, leaving one end open for filling. If you’re using a sewing machine, a straight stitch will suffice. For hand sewing, a backstitch provides durability.
4. Turn the Tube Right Side Out
Once sewn, turn the fabric tube right side out so that the seams are on the inside.
5. Fill the Tube
Fill the tube with your chosen material. Rice and dried beans are popular choices due to their weight and flexibility. Fill the tube until it’s firm but still pliable enough to mold to the door or window.
6. Sew the Open End
After filling, fold the raw edges of the open end inward and sew it closed. Ensure the stitches are tight to prevent the filling from escaping.
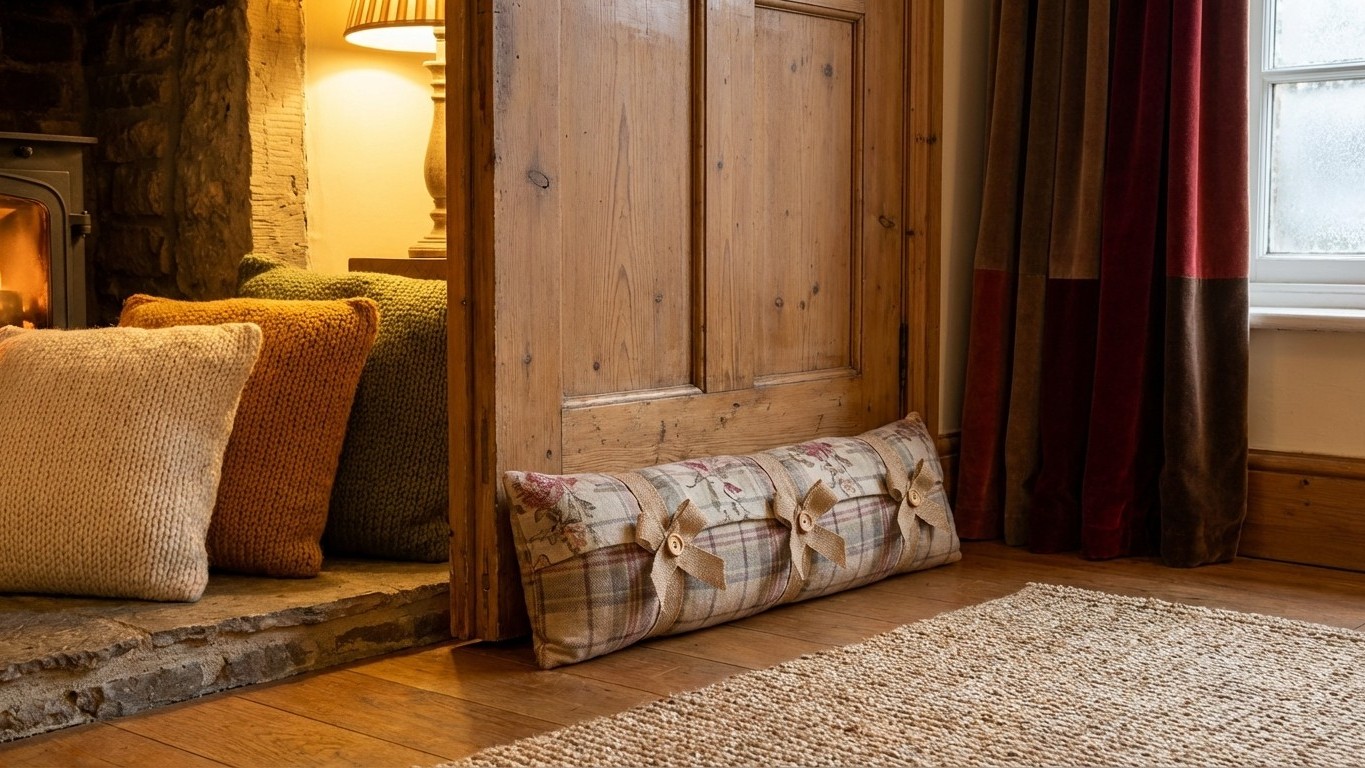
7. Add Decorative Touches (Optional)
If desired, add decorative elements to match your home décor. This could include sewing on buttons, adding ribbons, or using patterned fabric.
Additional Tips for Draught-Proofing Your Home
While a draught stopper is an excellent start, consider these additional measures to enhance your home’s warmth:
- Seal Gaps Around Windows and Doors: Use self-adhesive draught strips to seal gaps around window frames and door edges.
- Install Brush Strips on Letterboxes: Prevent cold air from entering through the letterbox by fitting a brush or flap.
- Use Heavy Curtains: Thick, lined curtains can reduce heat loss by up to 14%, especially when closed at dusk.
- Insulate Floorboards: Fill gaps between floorboards with a flexible filler to prevent draughts from below.
By taking these steps, you can create a more comfortable living environment and enjoy the added benefit of lower energy bills. Remember, small changes can lead to significant savings and a cosier home during the colder months.